Turn any photo into a dot grid artwork with these Photoshop actions. You'll get great results with dots that change size. They get larger in brighter areas and smaller in darker areas. Free download available.
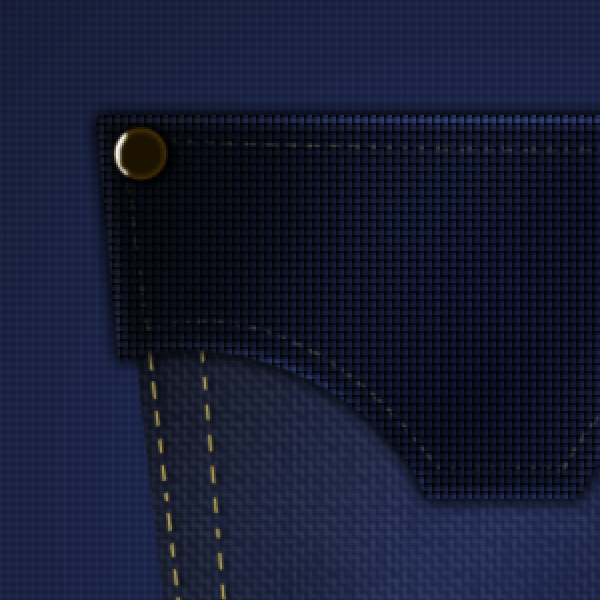
Change this layer to 'Overlay'
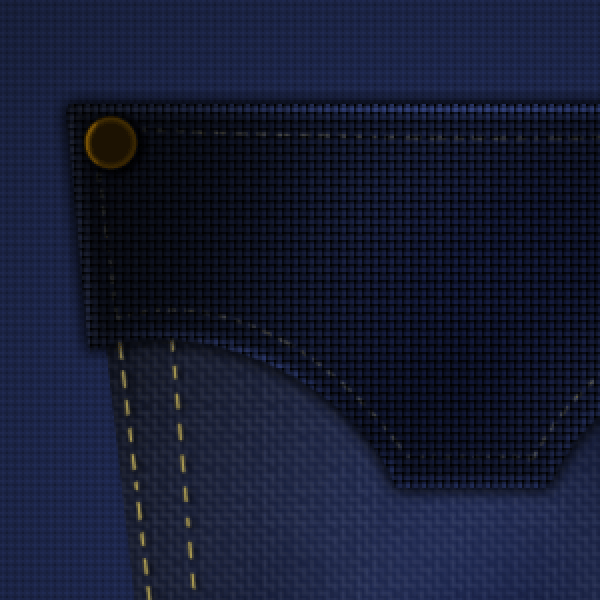
Step 24
Create a New layer and name it 'Inner Circle'. Grab your Elliptical Tool and make a circle and fill it with #795404
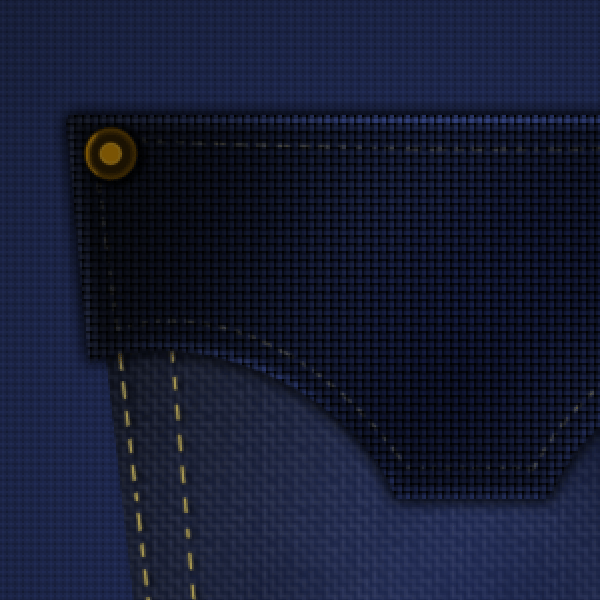
Step 25
Next we are going to add another highlight on top of the 'Inner Circle'. Make a new layer (name it 'Highlight Inner Circle') and grab your Paint Brush tool (9px, soft round brush #ffffff) and place a dot on top of the inner circle.
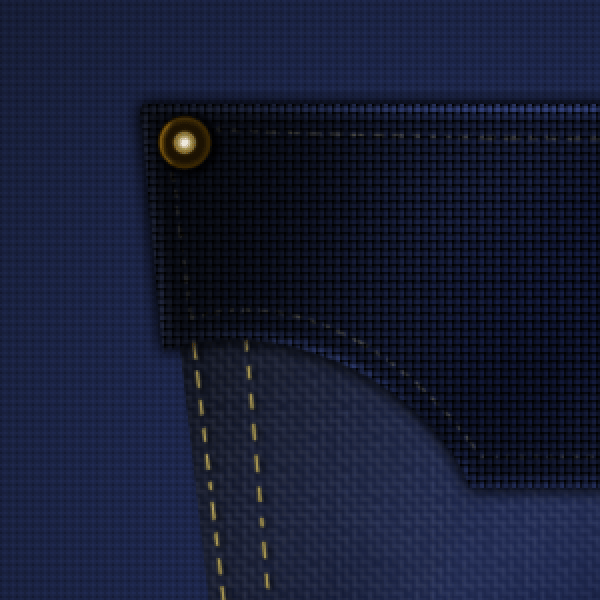
Change this layer to Overlay.
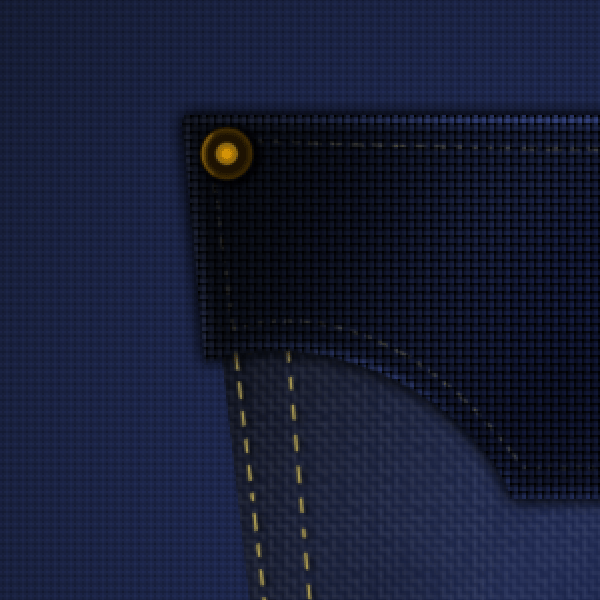
Step 26 - Duplicate Group
Take this 'Small Button' group and duplicate it. Move the 2nd 'Small Button' group to the other side of the flap like the image below
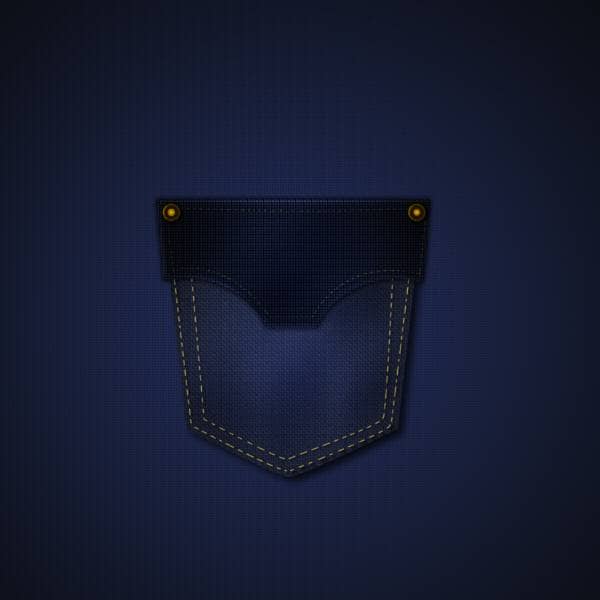
Step 27 - Flap Opening
Now we are going to make an opening where the button goes through. Create a New layer and name it 'Opening.' Grab your Pen tool and make a shape like the image below.
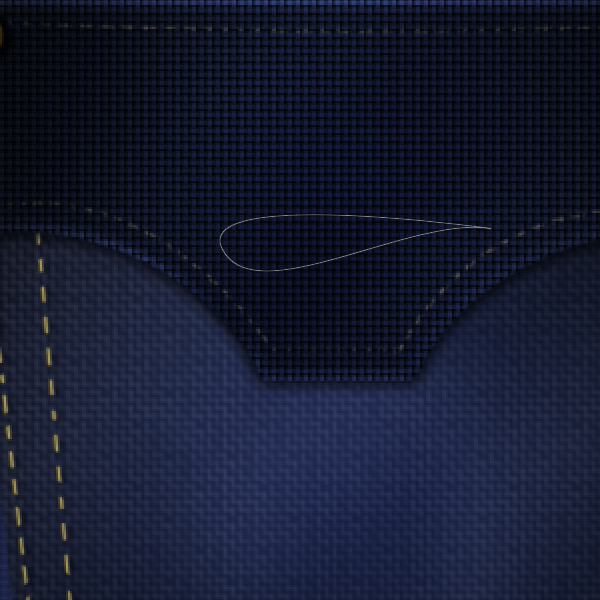
Step 28 - Fill Opening
Right click on the shape you just create and then click on 'Make Selection' click 'ok.' Fill this selection with #bba958
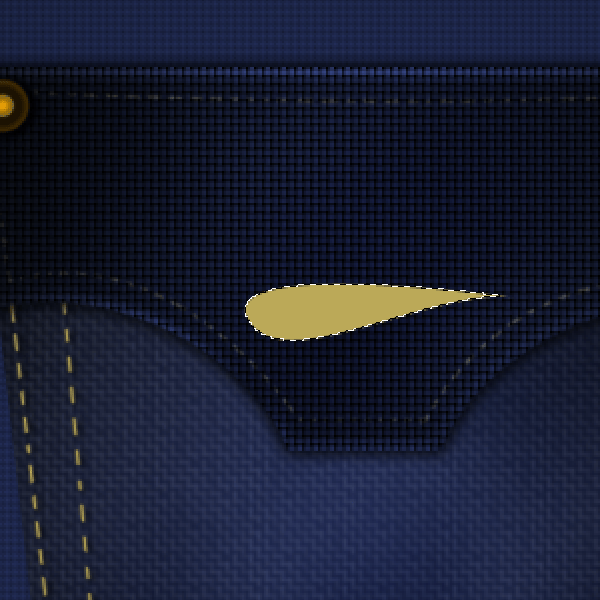
Step 29
While the selection is still activated contract it. Select > Modify > Contract by 7px
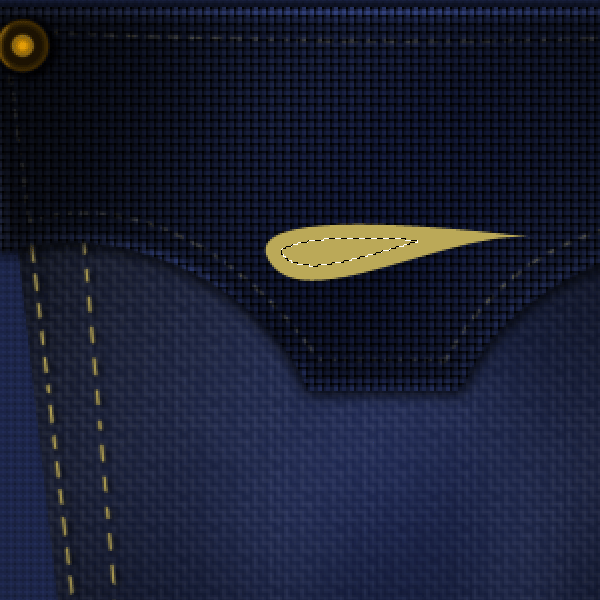
Press the "Delete" key

Step 30
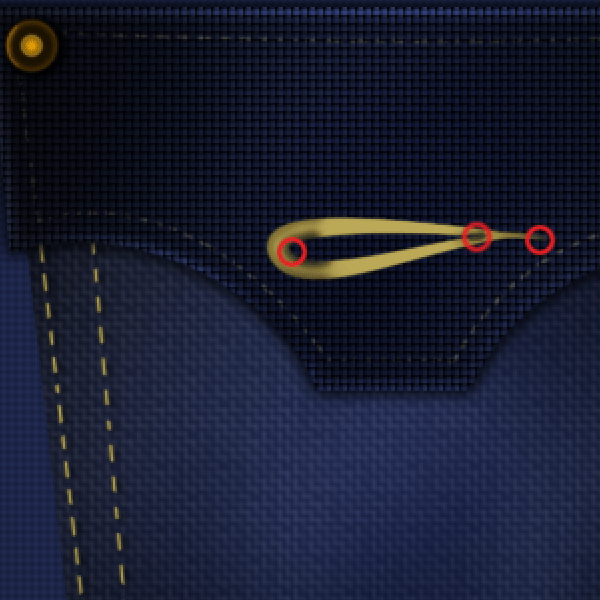
Grab your Burn tool and burn the areas I circled in the image below. Note: 12px Brush, Midtones, Exposure: 100%
Step 31 - Drop Shadow
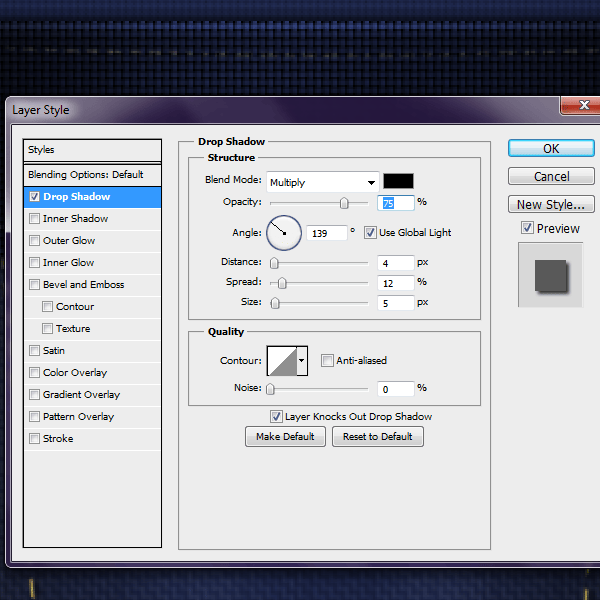
Add the Drop Shadow
Step 32 - Weaving Texture
Create a New layer and name it 'Weaving'. Create small lines across the opening. I used a 2px hard round brush #000000
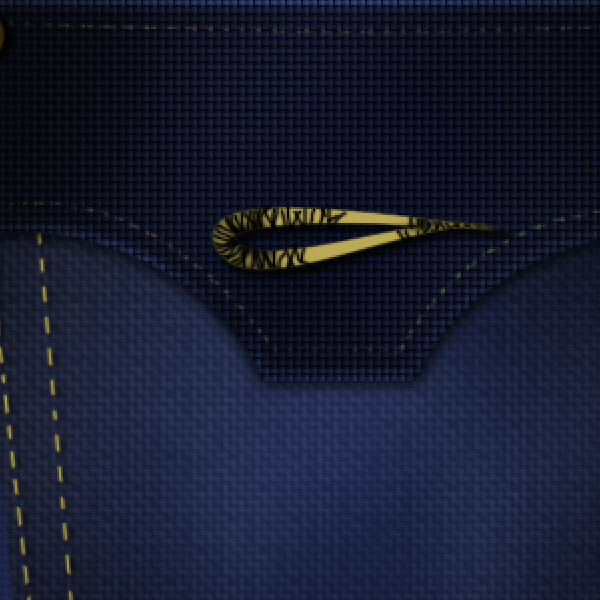
Change this layer to Soft Light.
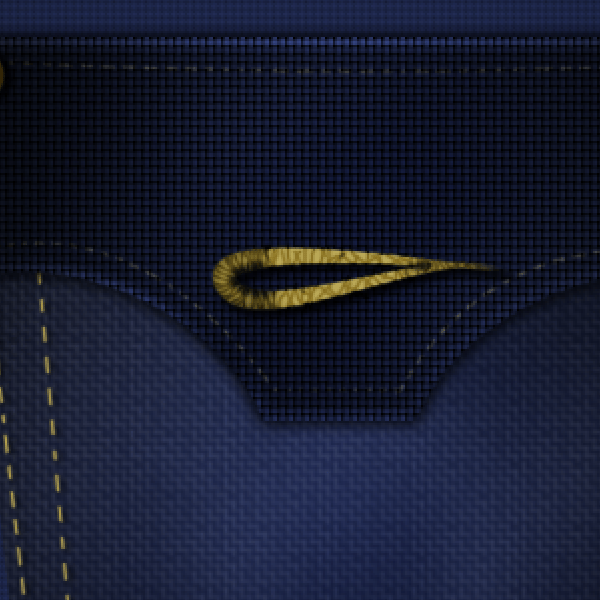
Step 33 - Button
Create a New Layer, name it 'Button'. Grab your Elliptical Tool and make a circle. Fill it with #1c1202
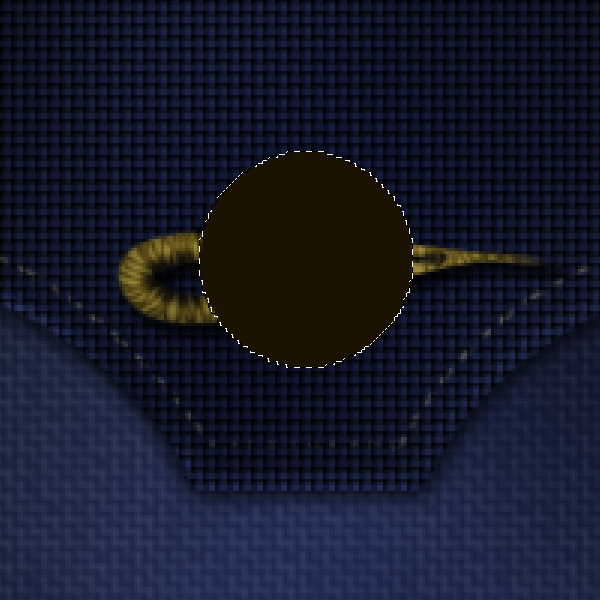
Step 34 - Stroke
Add a Gradient Stroke to this 'Button' layer.
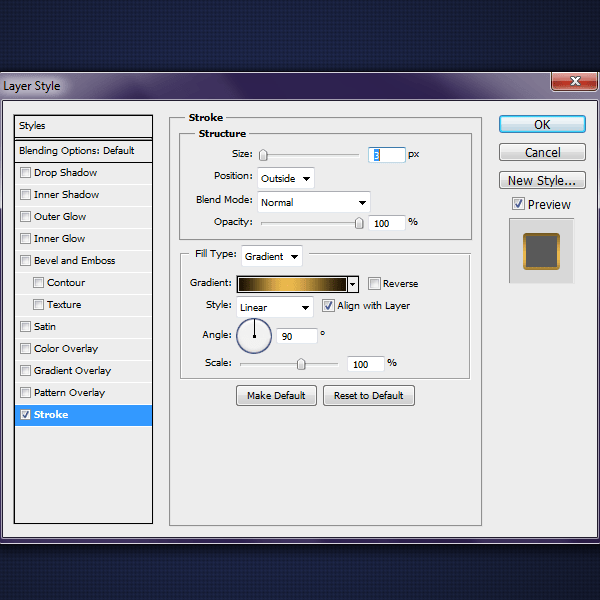
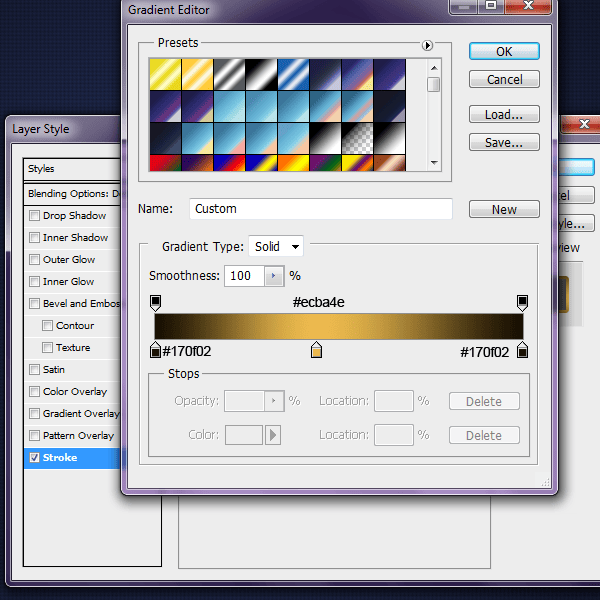
Add a Drop Shadow
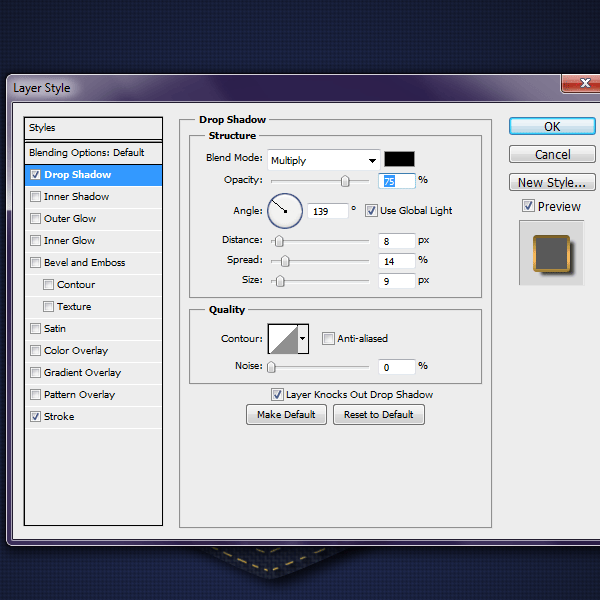
Step 35
So far, this is how your button should look.
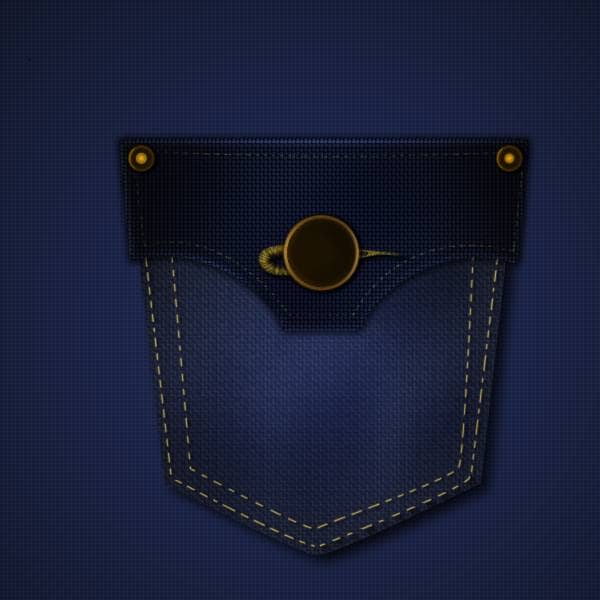
Step 36
Now we will enhance the button a little bit mare to make it more believable. Create a New Layer and grab your 32px Paint Brush #000000 and paint around the edges. Erase the parts of the brush that goes outside of the button.
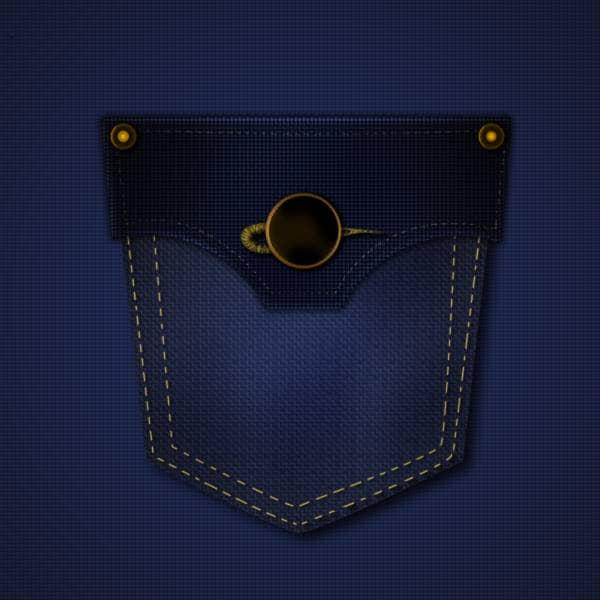
Change the Opacity of this layer to 35%
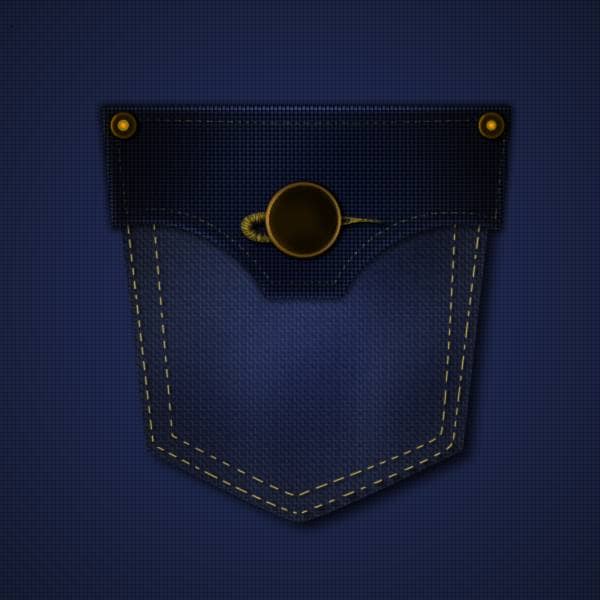
Step 37 - Button shine
Now we will add some shine to the button. Create a New layer and add grab your Paint Brush tool (25px soft round brush #ffffff) and brush it in like the image below.
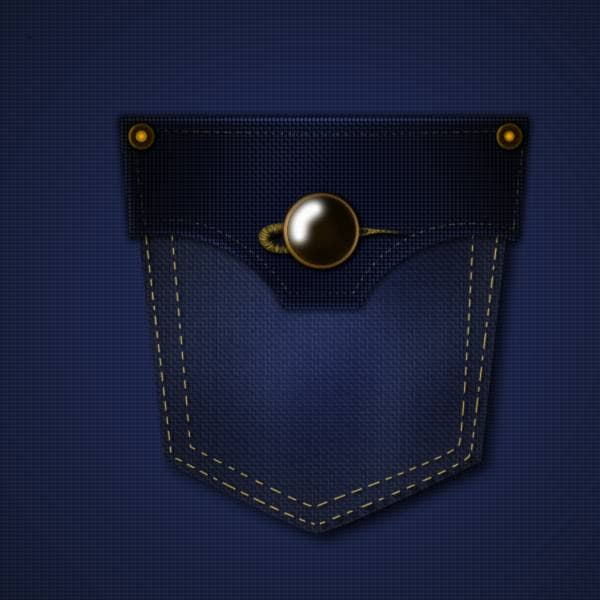
Change this layer to Soft Light
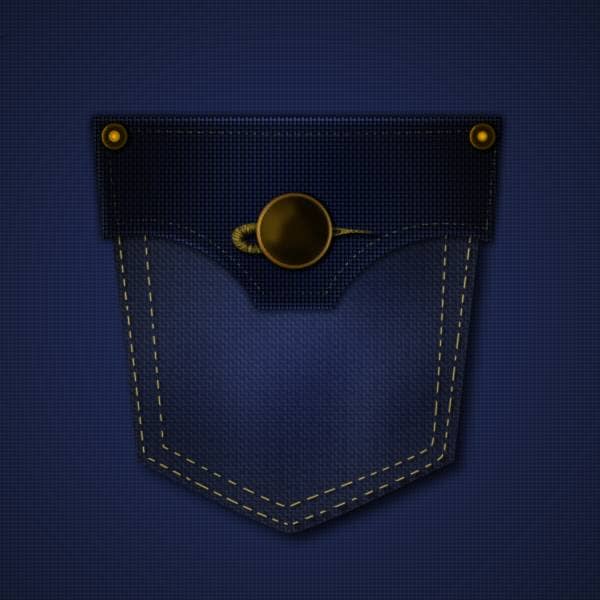
Step 38 - Text
Now we are finished with the pocket for now. Next, we will go on to the text effect. Grab your text tool and type out whatever you want it to say, but for this tutorial I will use the word 'Jeans.' I'm using the font 'Ackbar' 183pt, and a color of #bba958. Note: It would be best for you to type out each letter in its own layer.

