Luminar AI lets you turn your ideas into reality with powerful, intelligent AI. Download the photo editor and see how you can completely transform your photos in a few clicks.
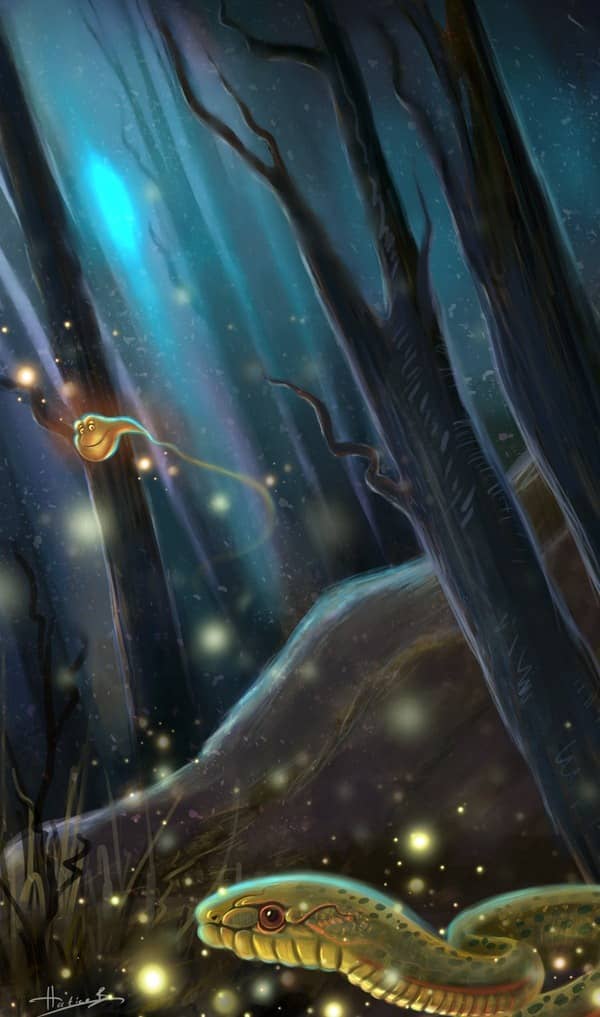
Learn step by step how this painting was created. I suggest that after following this tutorial, you find out what works best for you. In this tutorial I will be using Adobe Photoshop and Wacom Tablet to create the finished result. I will also be using techniques and methods that I feel most comfortable with when coloring. I suggest that after following this tutorial, you find out what works best for you.
Preview of Final Results

Golden Snake and the Dark Wildwood Painting Photoshop Tutorial
Resources
- Program: Photoshop CS2
- Digital Painting-Photoshop Tutorials
Step 1 - Base sketch and image composition
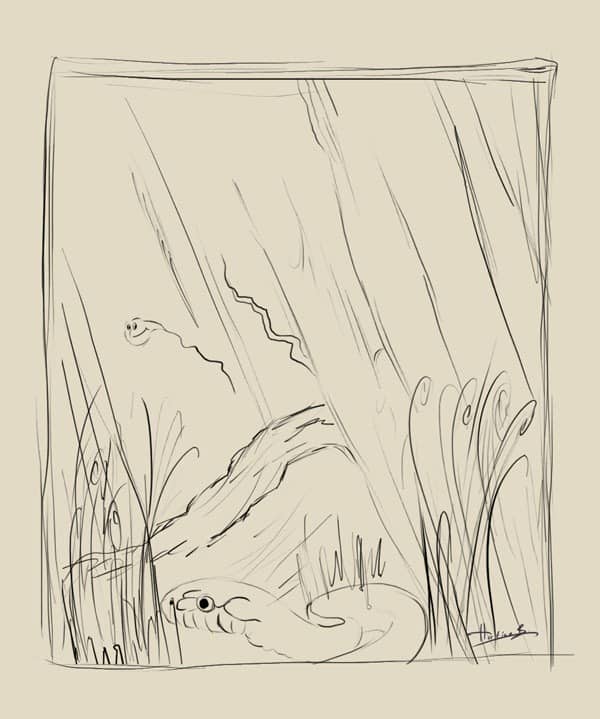
I decide to paint a golden snake and a dark forest for my tutorial. And here are two sketches about my main environment. I started with some quick sketches about the main idea and here let me show you my main sketch work. I start with a sketch work as you see but maybe you can prefer working directly with color. Some artist prefer to begin painting process directly with colors. But if you ask me, I advice you to start always with a sketch work to any painting. Because to begin directly with colors are more proper for an experienced artist.

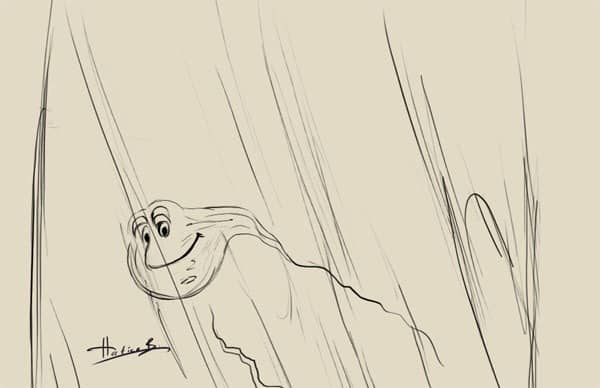
Well as you see on these sketch works there are two character. The golden snake and a little alien character. Golden snake is the keeper of the Dark Wildwood. And he is looking doubtfully to the strange creature. And he doesn't want stranger characters in his forest. Here is a very close screenshot for my alien character.

Step 2 - Setting the Canvas
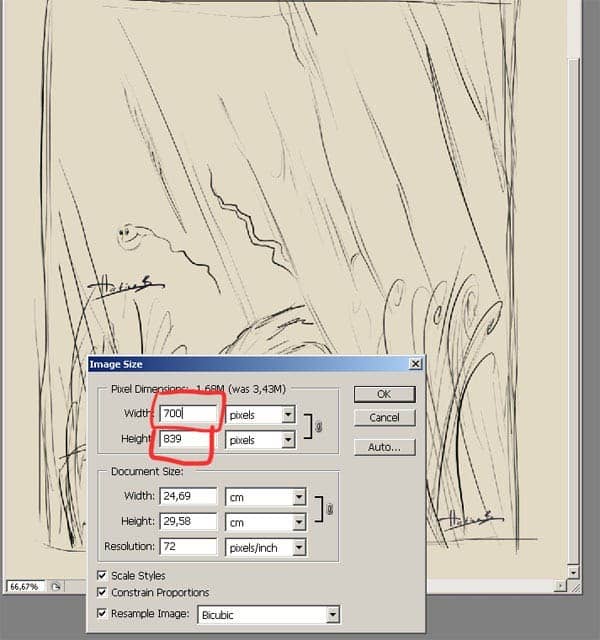
Photoshop File size of the initial sketch work of is 700x839. Resolution must be 72 for now. Later you need to make it bigger to add painting details. But not now.
Here is the canvas settings:
- Width: 700 pixels
- Height: 839 pixels
- Resolution: 72 dpi

Step 4 - Choosing a brush
For my illustration I use only standard brushes with some different Pen Pressure settings. Here let me show my brush settings. In the Brushes palette (Window > Brushes), you'll find many settings that you can adjust for your brush. In the Other Dynamics settings, I set the control to Pen Pressure. This is important if you are using a pen tablet for your painting. A pen tablet, such as the Wacom pen tablet, is essential for painting in Photoshop. It lets you paint using a pen instead of a mouse and adjust the strength and angle of your stroke. Set your brush settings to the one shown in the image below and try painting to see what it is like.

