Turn any photo into a dot grid artwork with these Photoshop actions. You'll get great results with dots that change size. They get larger in brighter areas and smaller in darker areas. Free download available.
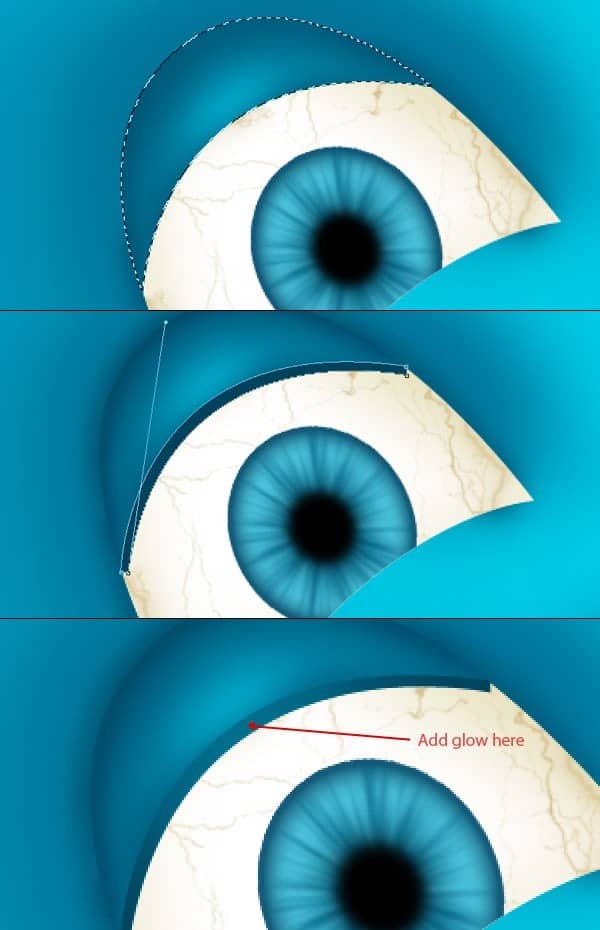
Step 17
Now we will add lights on eyelid lining, to do this, select pen tool and create a shape like this, don't forget to turn path layer on. Next, select a brush of size 2 pixels, color white and hardness 100%. Next, select pen tool, right click and select stroke path. Make sure to turn stimulate pressure option on.
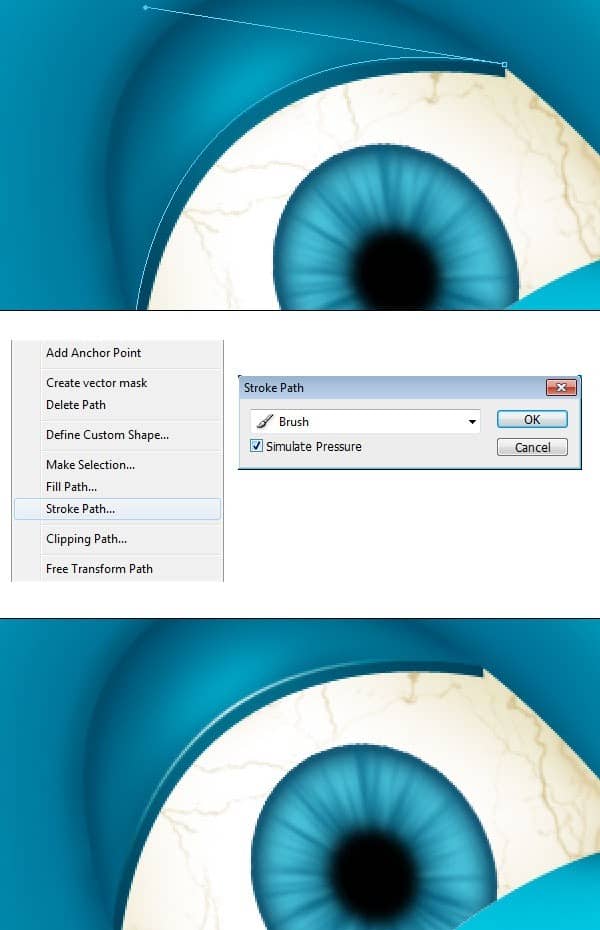
Step 18
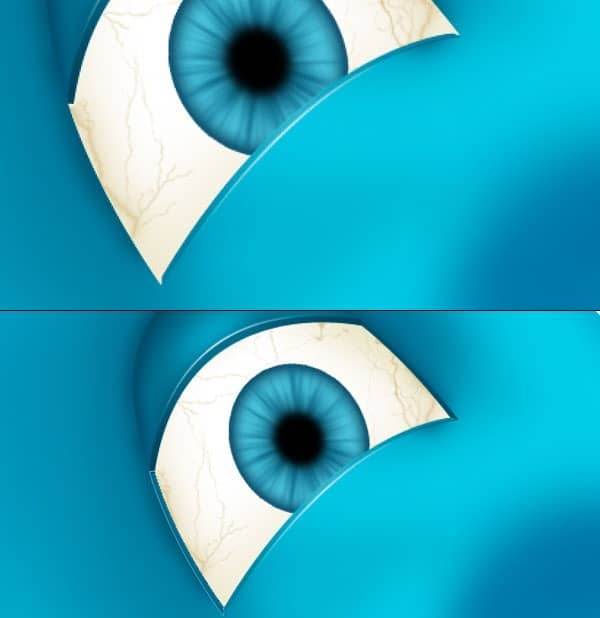
Repeat step 16 & 17 to create lower eyelid and name the group "lower eyelid". Select pen tool, turn shape layer on and create eye lining with colors #0b506a & #15698b.
Step 19
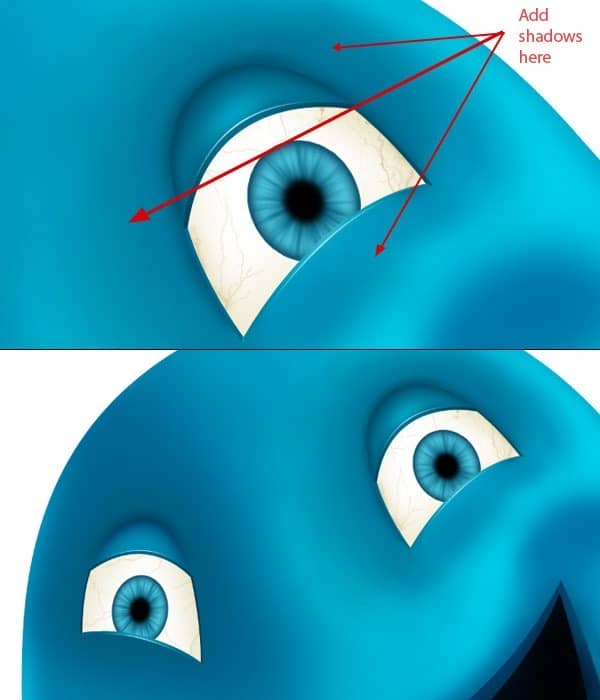
Now add some shadows around right eye and repeat step 11 to 18 to create left eye. Add some shadows to left eye, group all layers and name the group to "left eye".
Step 20 - Creating cheek wrinkles.
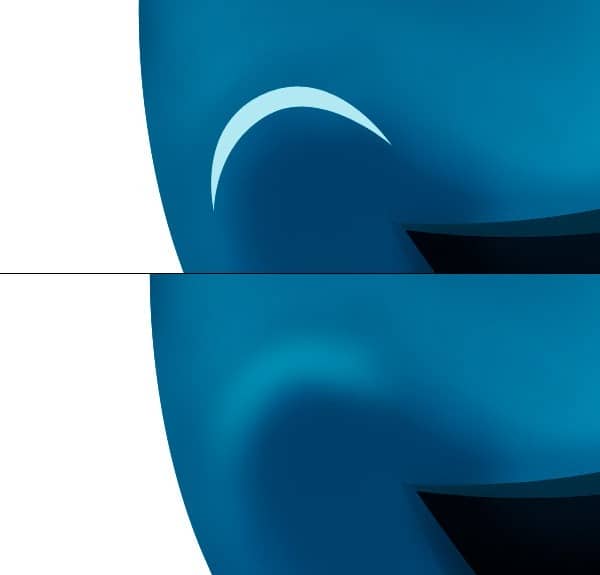
It's time to create wrinkles in the character, let's start with wrinkles on cheek. Create a shape to add light to cheek area, change its color to #c2e7f1 and apply gaussian blur of radius 17 pixels.
Step 21
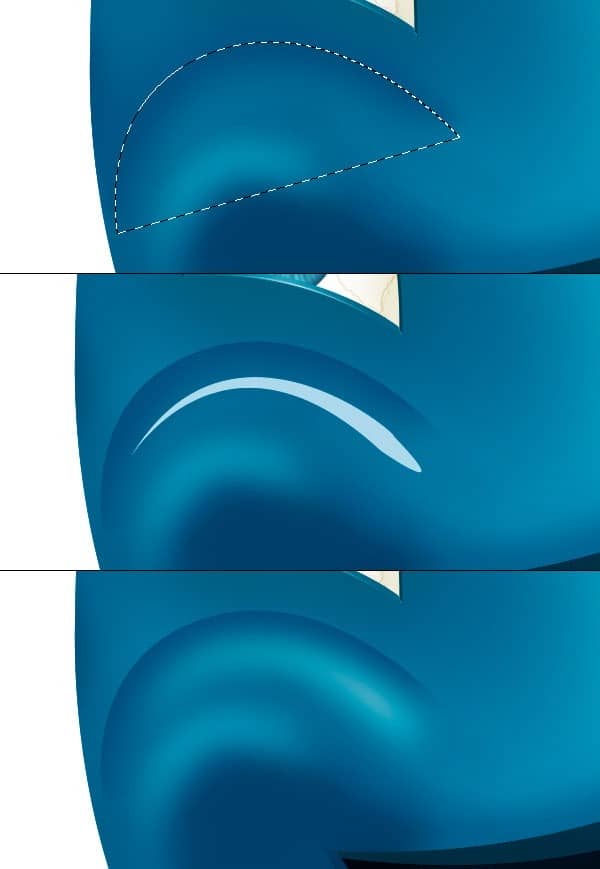
Create a selection for wrinkle, select a soft brush of size 100 px &color #004576 and brush around the edges to create wrinkle. Make sure to save selection before deselecting selection then create another shape of color #add8eb and apply gaussian blur of radius 15 pixels.
Step 22
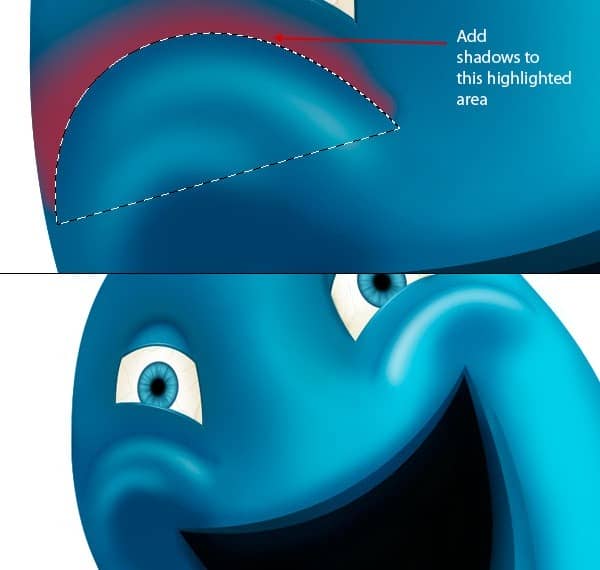
Now load the saved selection of wrinkle, press Ctrl + I to invert the selection and add shadows outside the wrinkle by a soft brush of color #0d5983. Group wrinkle layers and name the group "left wrinkle". Similarly, create right side wrinkle with same method by repeating steps 20 & 21.
Step 23 - Creating wrinkles on body.
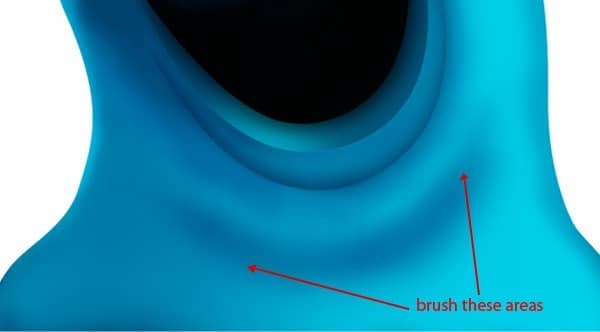
Now we will create wrinkles on lower body of character to do this, select a soft brush of size 175 px, hardness 0% & opacity to 50%. Set the brush color to #0d6897 and start brushing to define wrinkle area.
Step 24
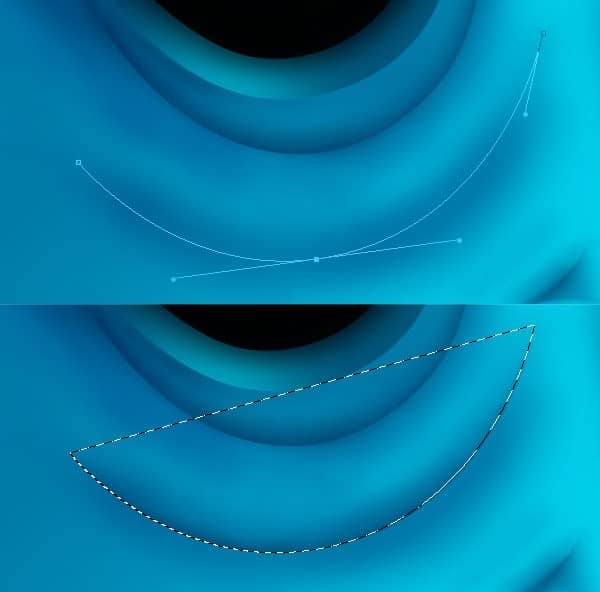
Press P to select pen tool, turn path layer on and create the main wrinkle path. Save this path and press Ctrl + Enter to get its selection. Select a soft brush of size 200 px & color #0e547b, invert the selection and start adding shadows to main wrinkle. Change the brush opacity wherever needed.
Step 25
Add shadows to lower part of character by a soft brush of color #0a6791. Change the brush color to #0f5b83 to add more shadows.


8 comments on “How to Create a Cute Gooey Blob from Scratch Using Photoshop”
Thanks for the time you spent. really useful
Amazing turorial my friend!!Thank you very much!!!
I didn't get to try this yet, but read through the whole tutorial. I can't wait to try it. I think it's outstanding and clever use of many basic tools. I got lots of good ideas from it.
i hate this tutorial real talk
worst tutorial ever fk this shit
It is not SS-light-beams.color but it is SS-light-beams.abr that is an photoshop brush file to be import in photoshop to use. If you are using CS5 then you can just double click on brush and it will be loaded in your photoshop.
I am sorry if you found some problem while following the tutorial and understanding. I would keep in mind to create more detailed tutorials. Thanks for your feedback.
good,