Make skin look perfect in one-click with these AI-powered Photoshop actions.
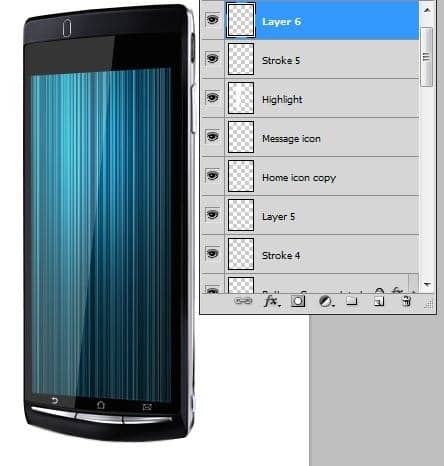
Add a 1 px black stroke(right click on the path -> stroke path) like I did in the picture below
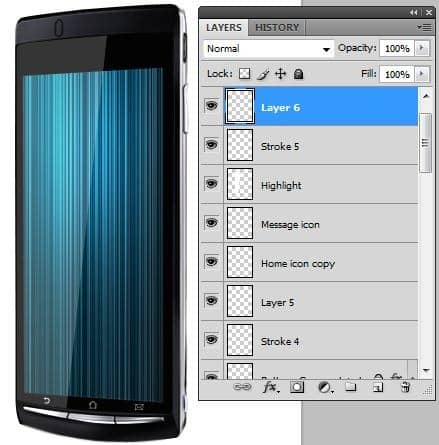
Duplicate the layer with the black stroke (you can duplicate a layer by selecting it and pressing Ctrl+J)
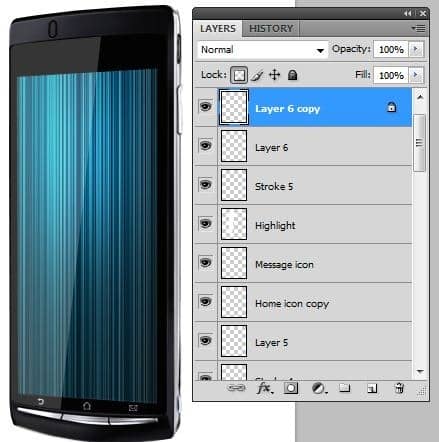
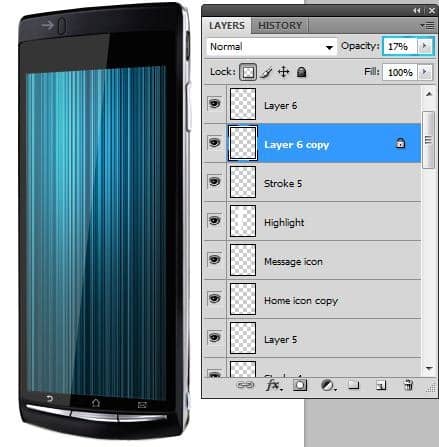
Make the stroke white and move a little to the left then decrease the opacity of it to ~17%
Step 26
Use Rounded Rectangle Tool (U) to add a dark grey rounded shape
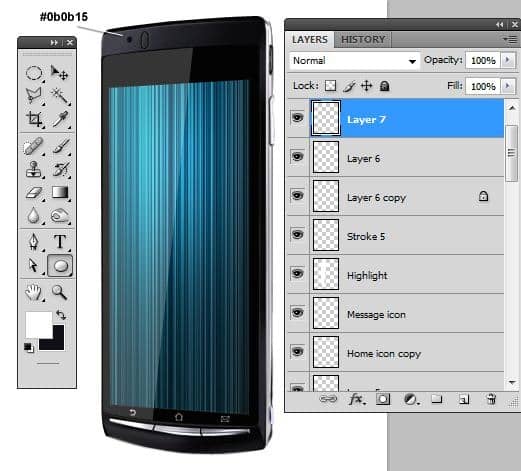
) Use Pen Tool (P) to add a white stroke (Simulate pressure on) to give a highlight effect)
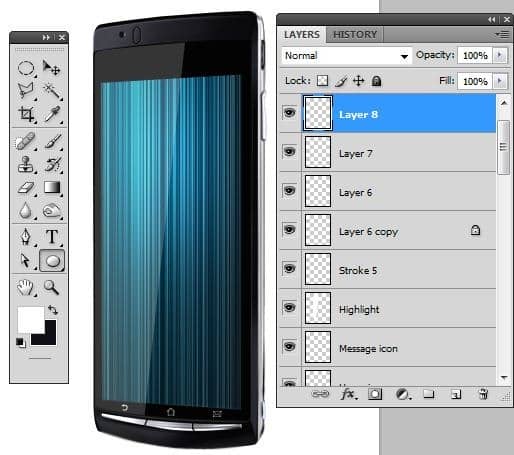
Inside the grey rounded shape, into a new layer add a grey point
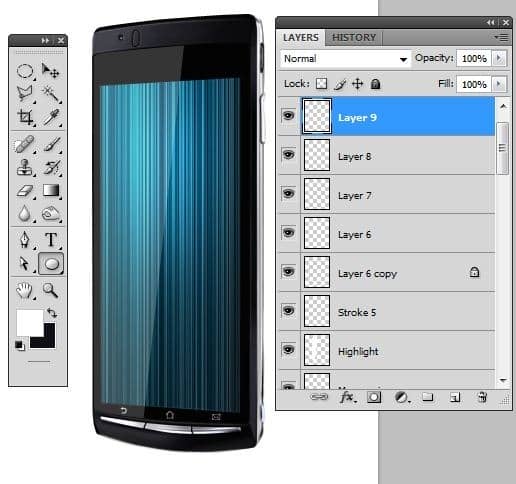
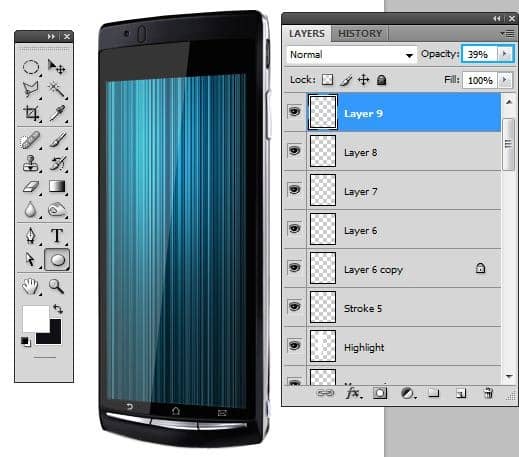
Decrease the opacity of the layer with the point to 40%
Step 27
Make another new layer and using Pen Tool (P) make next path
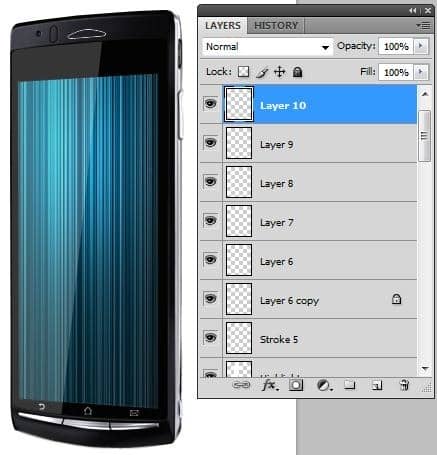
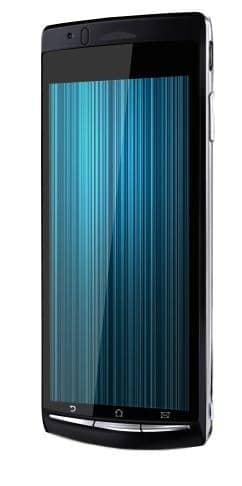
Fill the path created above using a grey color
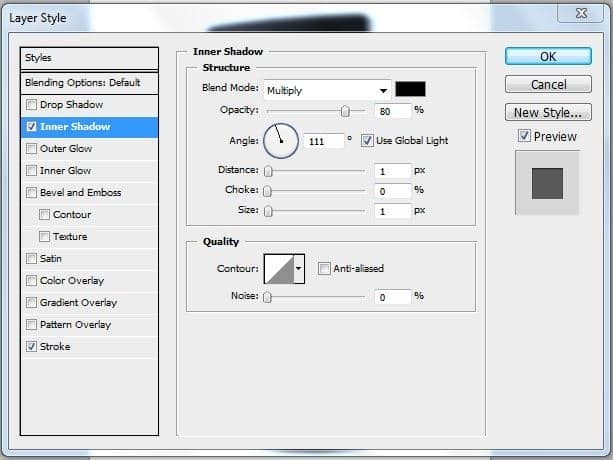
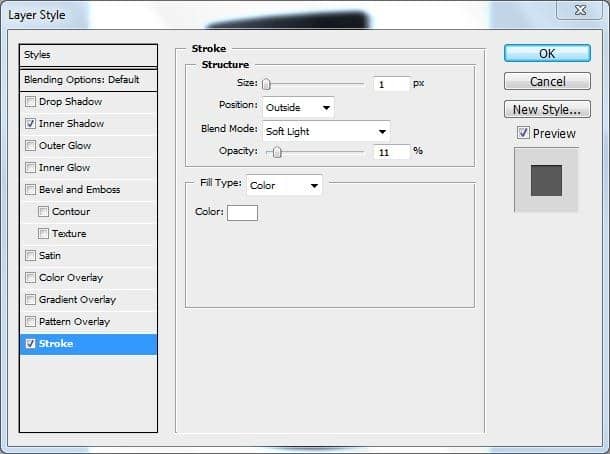
Now press right click on the layer ->Blending Options and make next settings for the Stroke and Inner Shadow options
Step 28
Use Rounded Rectangle Tool (U) and make a black rounded shape like in the next picture
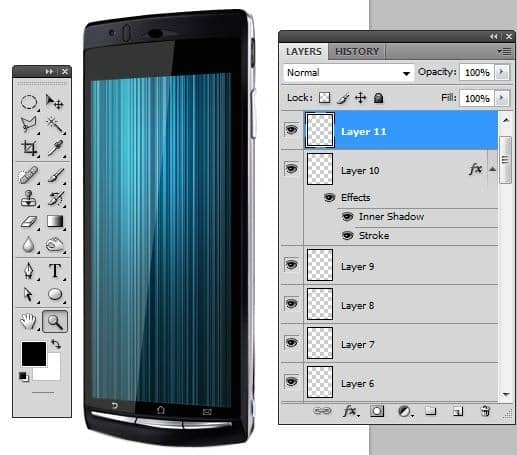
Fix the rounded shape using Free Transform in the layer created at the step 27
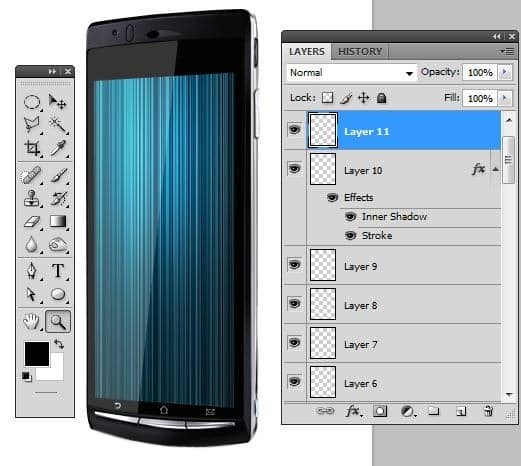
Erase the excess using Eraser Tool (E)
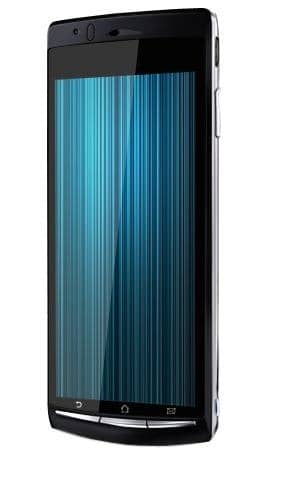
Then select the layer created at the step 27 and add some shadow in the indicated places using Burn Tool (O)
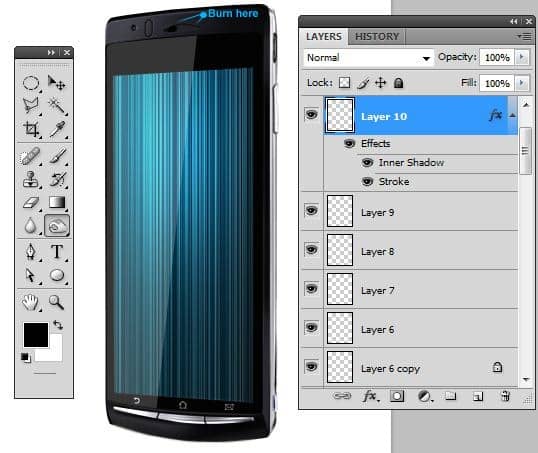
Step 29
Into a new layer add a 1 px black stroke in the indicated place
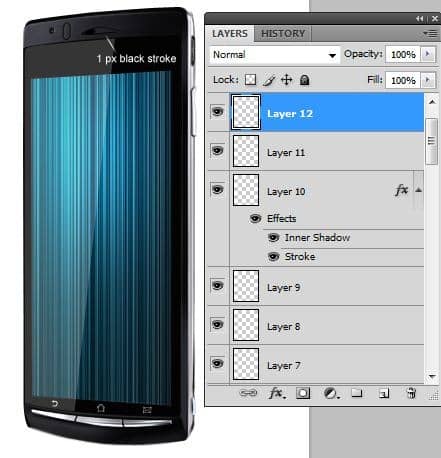
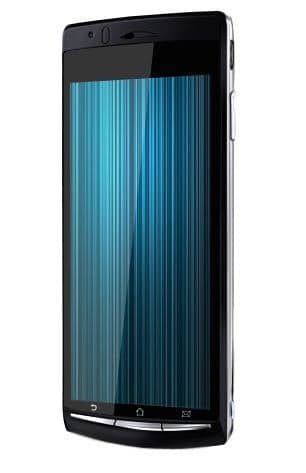
Make it look better using Eraser Tool (E)
Step 30
With the Base layer selected, pick up a selection tool and make next selection at the bottom of the phone
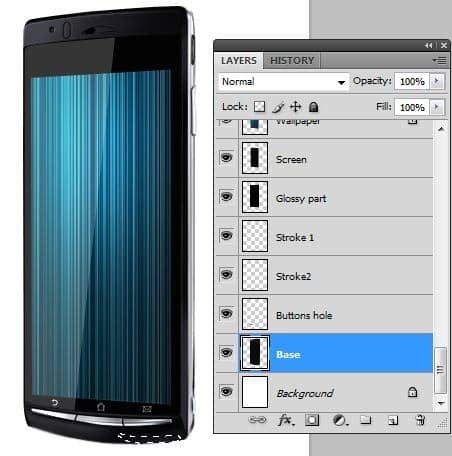
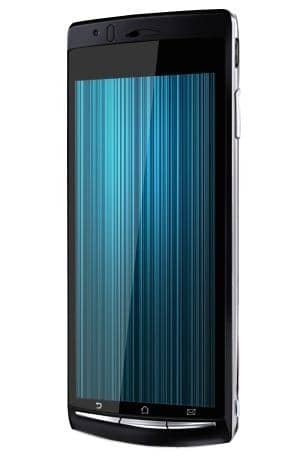
With the next settings for Dodge Tool(O) add some highlights (reflections) in the selection created above

Step 31
Now we`ll create the shadow for our phone… Make a new layer(Ctrl+Shift+N or you can go to Layer->New->Layer or you can press the indicated button in the picture below ). Rename the layer to "shadow". You can rename a layer by pressing right click on it , then selecting "Layer properties" option and in the "Name" box you can enter what name you prefer then make next selection using Eliptical Marquee Tool (M)
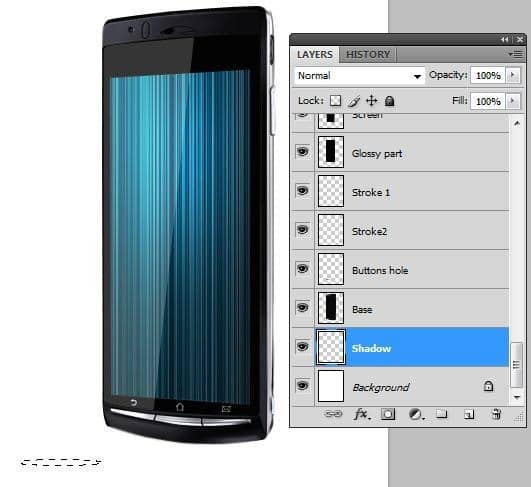
Fill the selection using a black color #000000
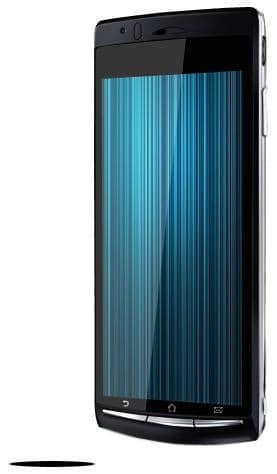
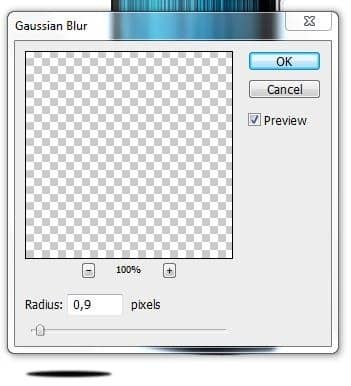
Go to Filter->Blur->Gaussian Blur & Motion Blur and make the settings below
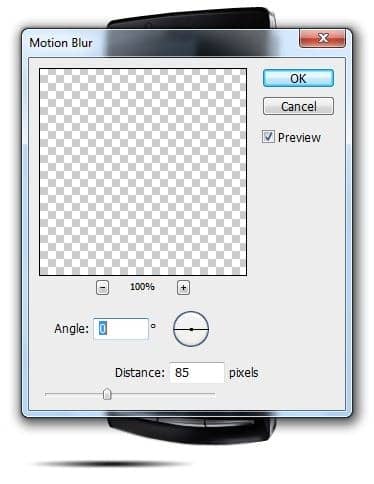
Fix the shadow under the phone using Transform options


One comment on “How to Create a Sony Xperia Ad in Photoshop”
Its nice, thanx