Make your artwork look like they're from an alternate universe. These Cyberpunk presets work with Photoshop (via the Camera Raw filter) and Lightroom. Download all 788 presets for 90% off.
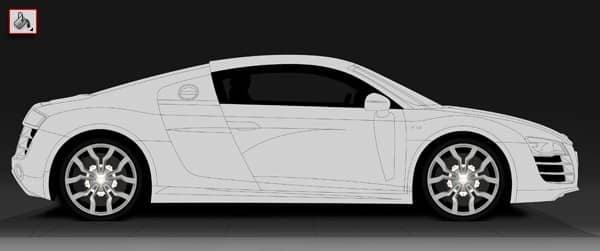
Step 7 - Ground Plane
Select the area just in front of the car and fill that in with black then reduce the opacity until you get a second shadow falling.
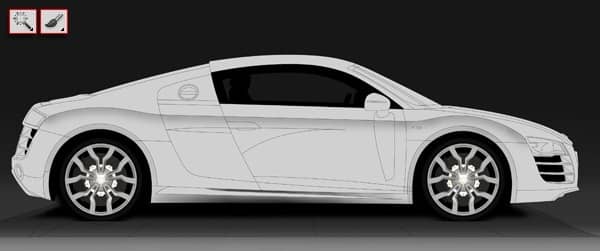
Step 8 - Gradients
Use the magic wand to select the lower part of the car from the shoulder-line downwards.
Select the brush tool and select soft round pressure size. Make the colour black and change the flow to about 5.
With the area selected stroke a gradient as shown. The more you stroke the darker it will get.
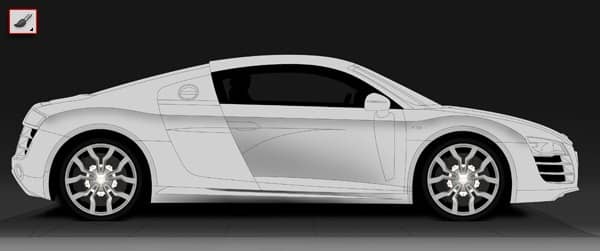
Step 9 - Door Shape
Add a gradient to suggest that the door has some body section and an air intake just behind the door.
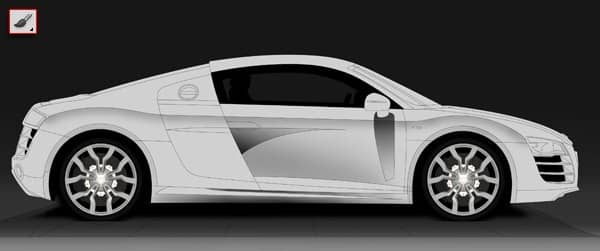
Step 10 - Wing Mirror Shadow
Add a gradient for the shadow being cast by the wing mirror and just underneath the shoulder to illustrate the undercut in the door.
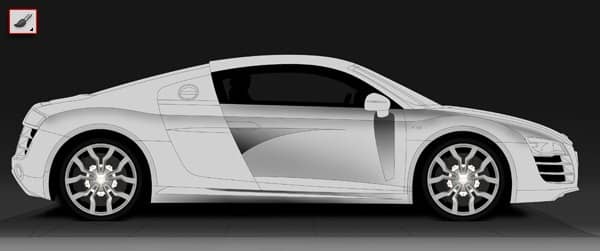
Step 11 - Beltline Gradients
Add gradients in the beltline areas and hood to give it more shape.
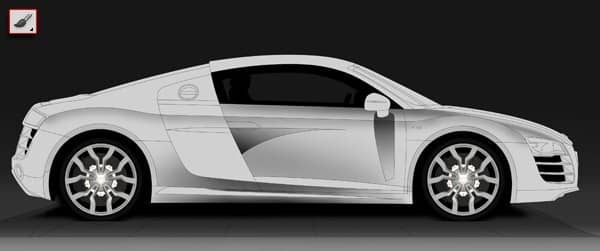
Step 12 - Ground Plane Shadow
Add a gradient to the bottom of the car.
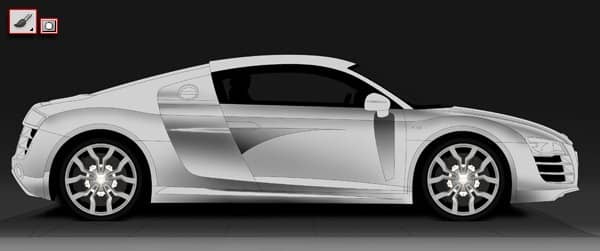
Step 13 - Blade Detail
Continue to add gradients with a combination of a layer mask so you can quickly add and subtract colour as required.
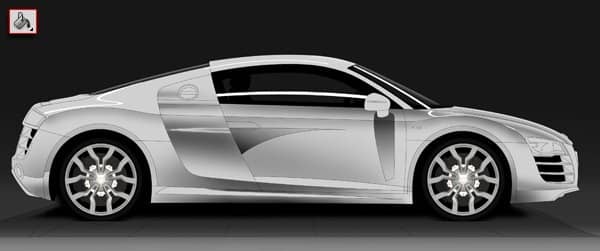
Step 14 - Strip Light Reflections
Car design studios have strip lights in them to make it easy to read a cars design language. Imagine how the light would fall on the car if it was standing in line with them.
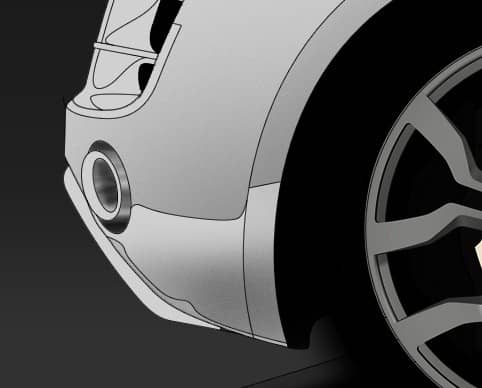
Step 15 - Exhaust 1
Select the exhaust pipe housing and fill in the dark areas. Then select the exhaust pipe itself and stroke some horizontal paths along it to give it a chrome like appearance.
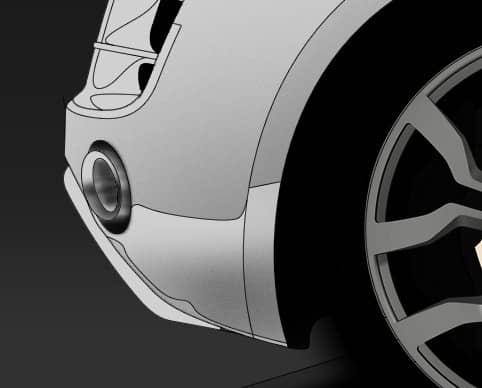
Step 16 - Exhaust 2
Add some dark gradient to the lower inner edge of the exhaust.
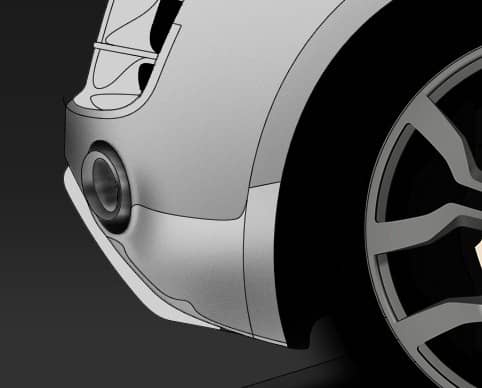
Step 17 - Exhaust 3
Select the outer-most boundary of the exhaust and expand the selection. Select inverse and add a gradient to the bottom right area to make it look like it slightly swollen for the exhaust.
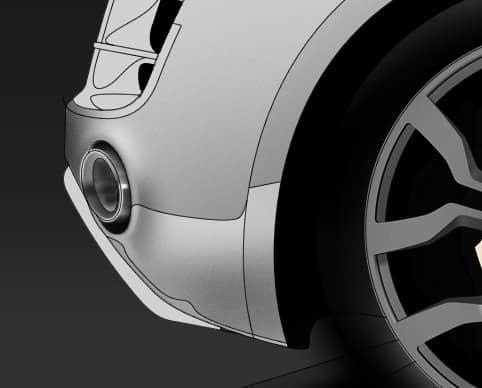
Step 18 - Exhaust 4
Finally add some some white to the exhaust to make it look more like chrome.
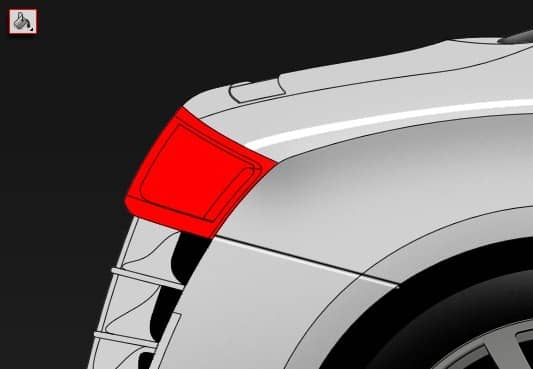
Step 19 - Back Light 1
Fill in the whole light with a red colour.
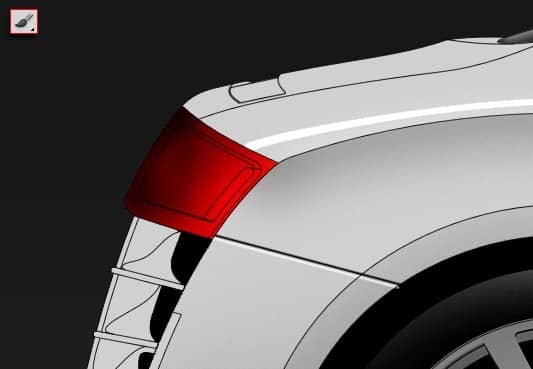
Step 20 - Back Light 2
Add a gradient from the left side fading into nothing on the right.
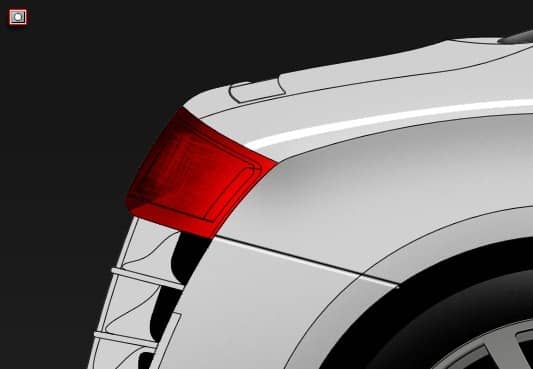
Step 21 - Back Light 3
Create a new opacity mask on the layer with the gradient and scribble some lines as shown. This demonstrates a reflective nature of a light can.
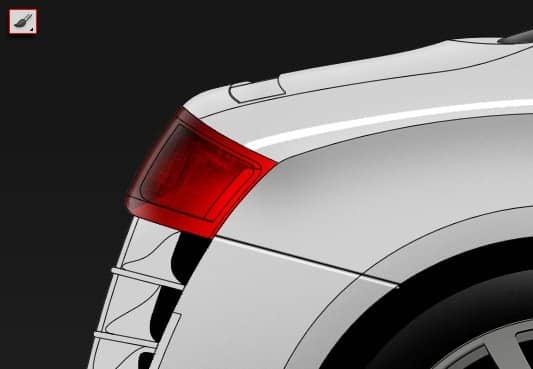
Step 22 - Back Light 4
Add a white gradient from the left to give it the appearance of light coming in from the left.
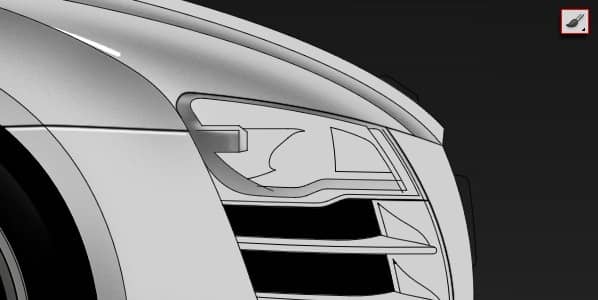
Step 23 - Head Light 1
Select the outer frame of the light and add some gradient.
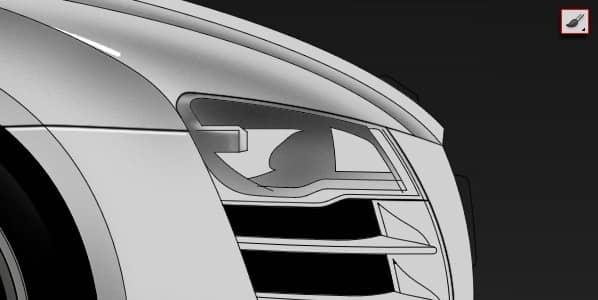
Step 24 - Head Light 2
Select the inner area of the light and add some gradient to the top.


2 comments on “How to Render a Professional Audi R8 in Photoshop”
how to select all the paths
ctrl+shift+a