Luminar AI lets you turn your ideas into reality with powerful, intelligent AI. Download the photo editor and see how you can completely transform your photos in a few clicks.
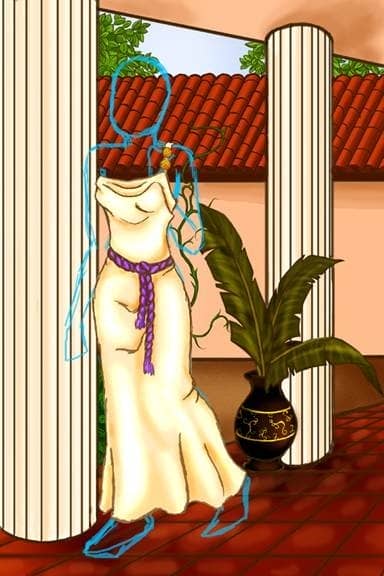
Step 36
Make a new layer above the “dress” layer.
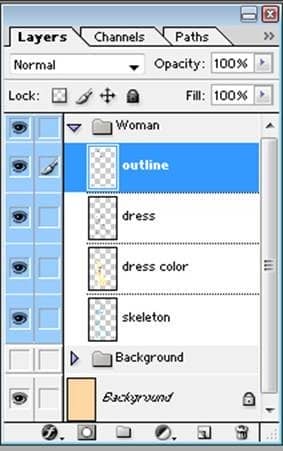
Step 37
Outline the body with color #592C00 (opaque, 9 pixel brush).
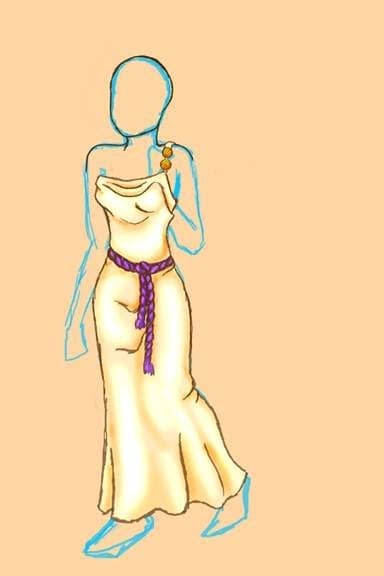
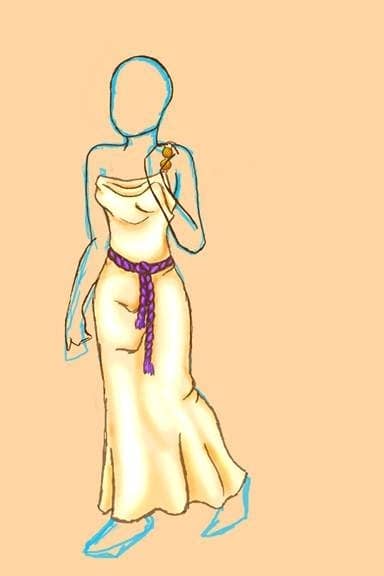
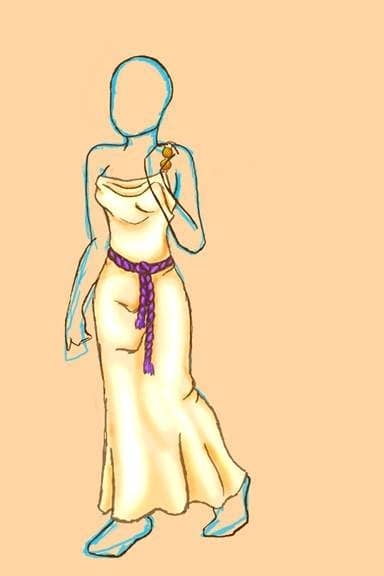
Step 38
Outline the individual toes and fingers.
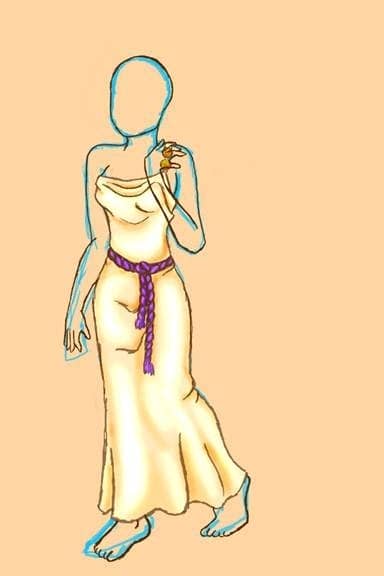
Step 39
Delete the “skeleton” layer.
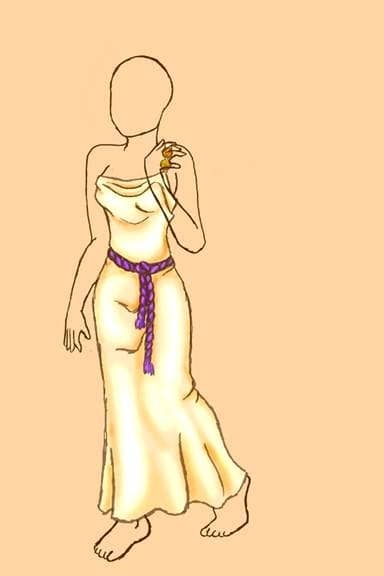
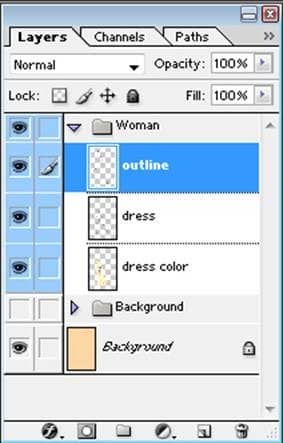
Step 40
Make a new layer above the outline, “face outline”.
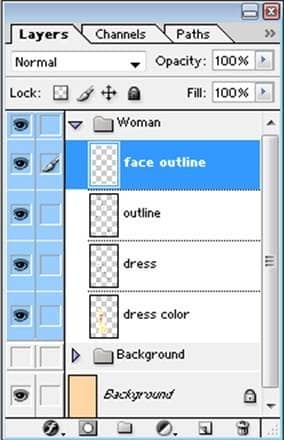
Step 41
Draw the nose to the left of the head-shape. The nose is a lot like a curving “L “.
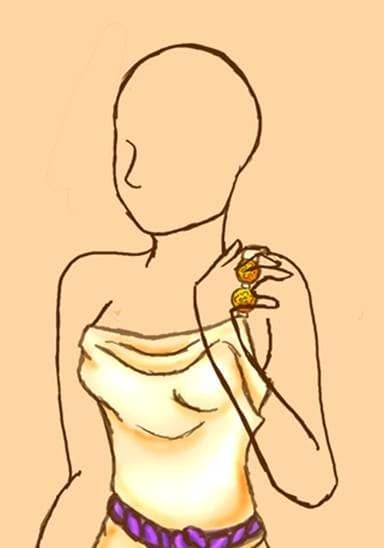
Step 42
Draw the nostrils. The right one looks like a “ ) “ parentheses, the other is only slightly showing.
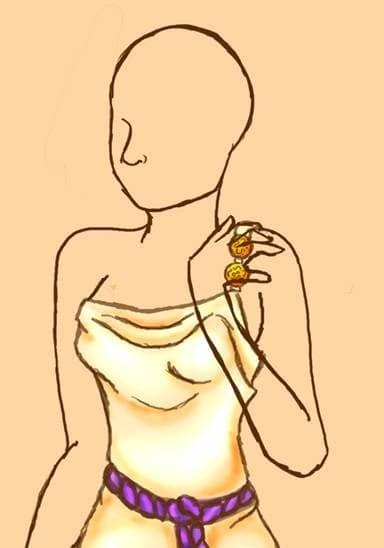
Step 43
Draw the mouth. Draw the top lip connecting to the middle line, and the bottom lip connected too at the left side (where the lips round off), but leave the right corner open. Also, you can add a little line under the nose if you wish (only as indication, it will be added as a shadow later).
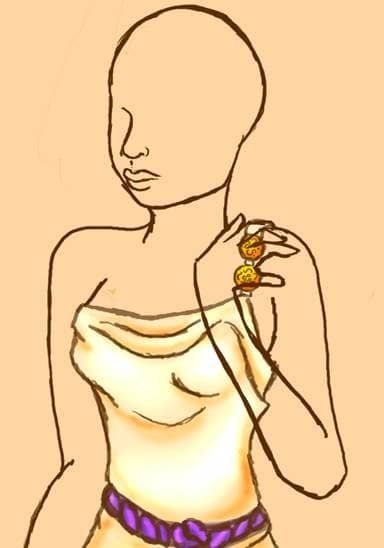
Step 44
Draw the eyes as a sort of elongated almond shape. The left eye will be rounded on the far left side.
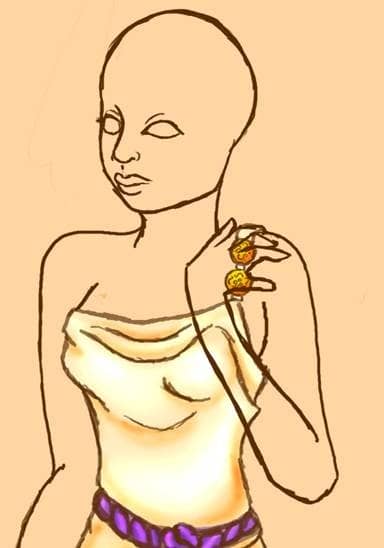
Step 45
Draw iris's in the eyes and eyelashes to their outer corners.
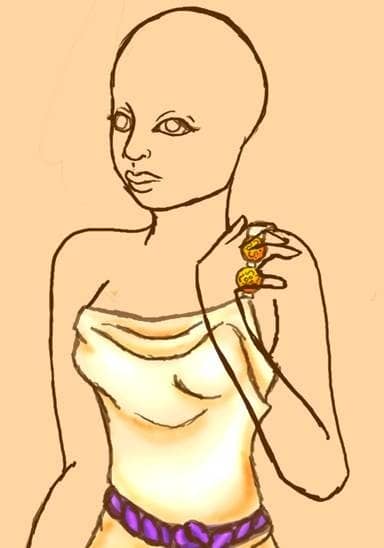
Step 46
Sketch in the eyebrows using short thin strokes.
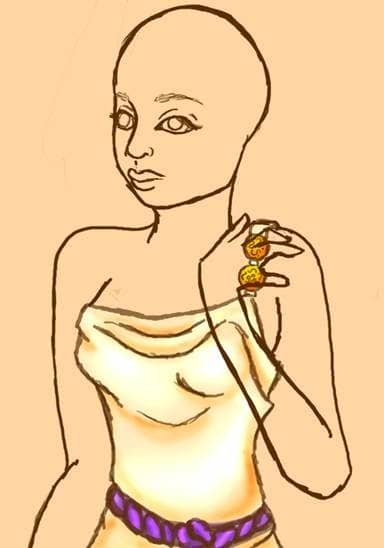
Step 47
Fix the jaw by erasing the right half and making it less square by raising the point where the jaw meets the back of the head.
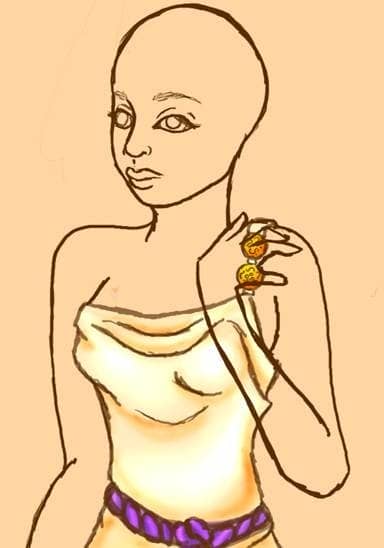
Step 48
Draw the ear right where the skull meets the jaw. The top of the ear should be in line with the eyes. A little tip in the shape of the ear, it is kind of shaped like half a peanut.
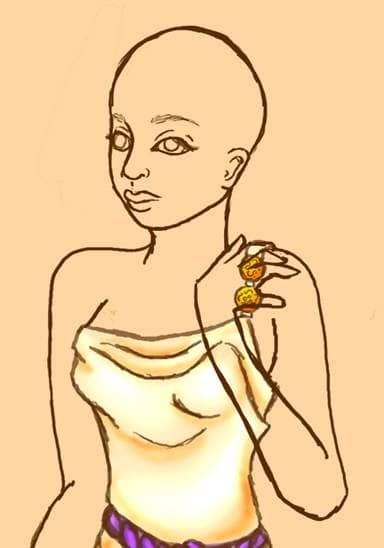
Step 49
Make a little “U” shape to indicate her right cheek.
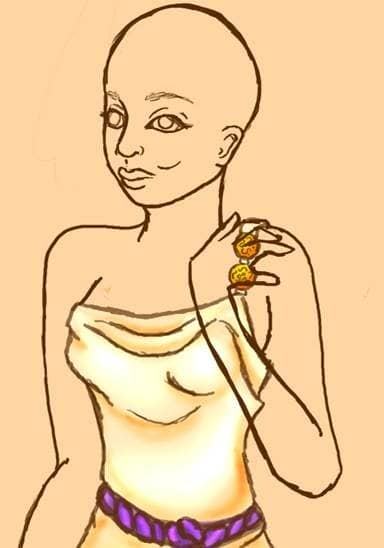
Step 50
Make a new layer above the “dress” layer.
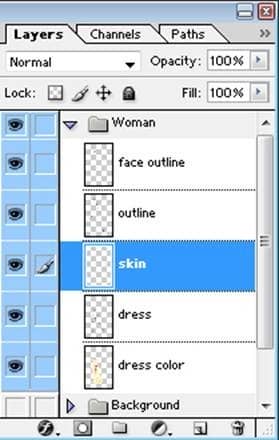
Step 51
Fill in the entire figure with color #FFE8C3 (opaque).
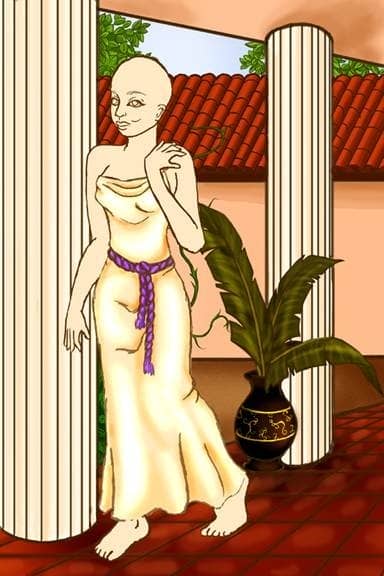
Step 52
Block in the dark shadows with color #E4AF84 (49% opacity)
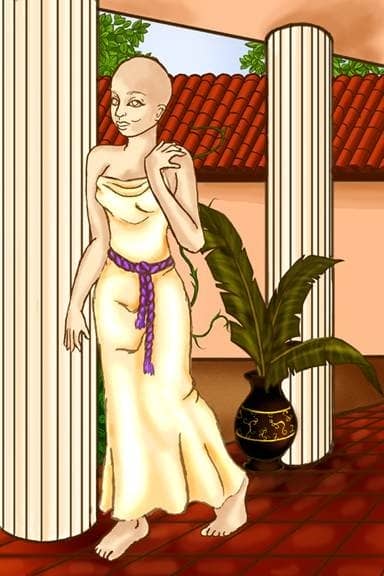
Step 53
Soften the darks with color #F4CFAA (49% opacity) on their edges.
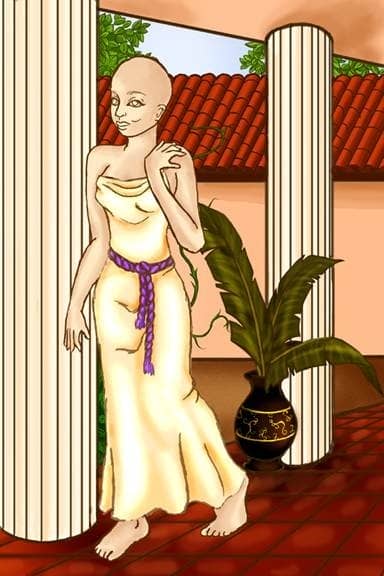
Step 54
Highlight the skin with color #FFF6DF.
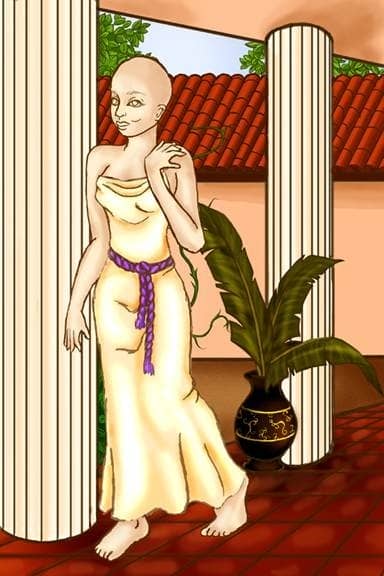
Step 55
Use the burn tool (midtones mode, 46% exposure) to darken the darkest area of the skin (between toes and fingers, and under the chin).
Step 56
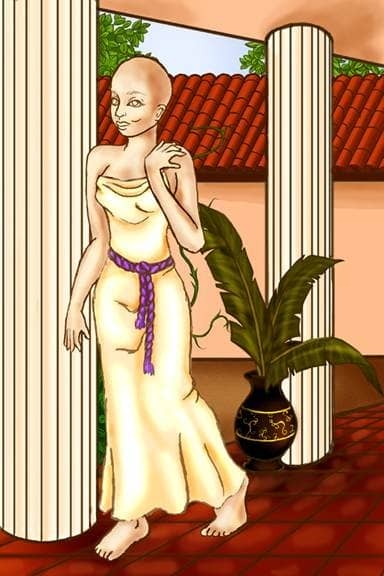
Add a streak of pink right on the cheekbone with color #F4BCA1.
Step 57
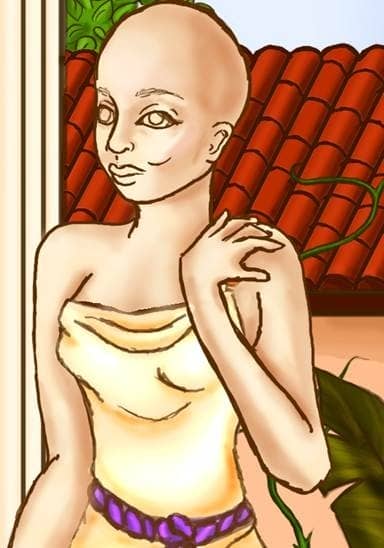
Highlight the cheeks with color #FFE6D9.
Step 58
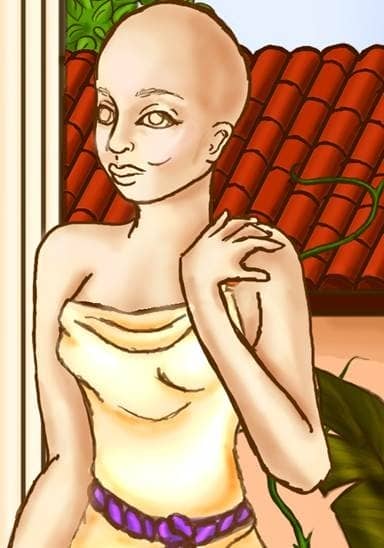
Fill in lips with color #E4AF84.
Step 59
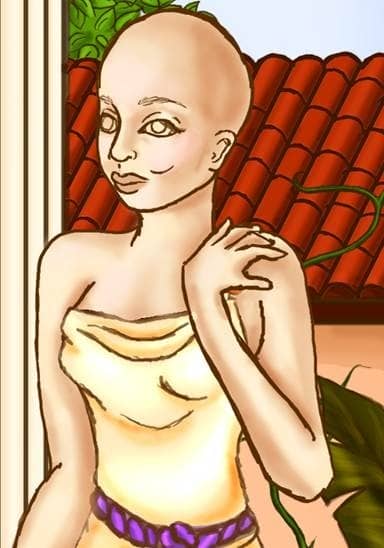
Add some color to the lips with color #FFB594 set to 41% opacity.
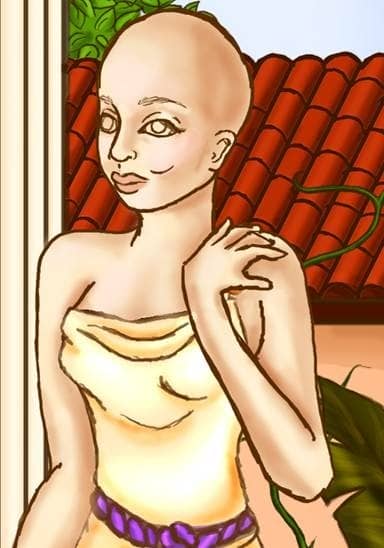
Step 60
Darken the bottom of both the top and bottom lips with the burn tool on its previous settings.
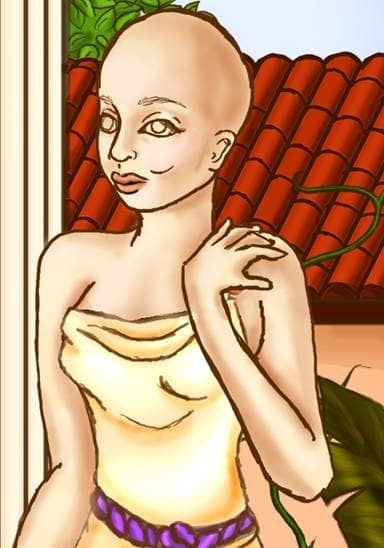
Step 61
Highlight the top and bottom lip with color #FFEACA (41% opacity).
