
Download Lightroom presets and LUTs, absolutely free. Use the presets to add creativity and style to your photos.
Simplicity is the key to beautiful web layouts. Learn how to draw a beautiful navigation bar in Photoshop.
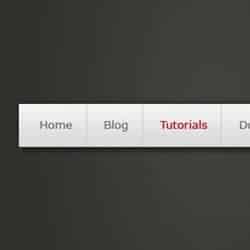
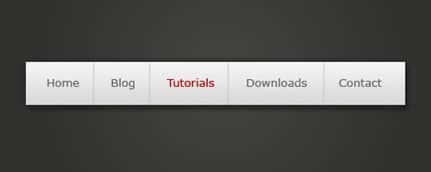
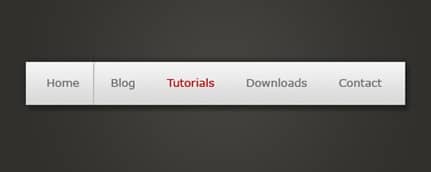
Preview of Final Results
Clean White Navigation Bar Photoshop Tutorial
Step 1
To start off with, create a new document, for the purpose of this tutorial I have chosen 500 by 200 pixels. Fill the background with a radial gradient from a medium-dark grey to a darker grey. You can do this by selecting the gradient tool from the tool box and setting it to radial. Set your foreground colour to #45443f and your background colour to #31302c. Left click in the middle of the document, drag to the right and release.

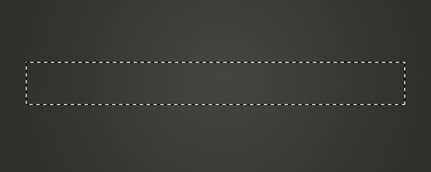
Step 2
Create a new layer (Layer > New > Layer) and select the rectangular marquee tool. Make a fixed size selection of 440 by 50 pixels in the middle of your document.
Step 3
Fill the selection with a linear gradient from #f4f4f4 at the top to #d9d9d9 at the bottom.

Step 4
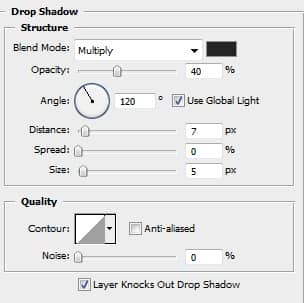
We are now going to be applying a couple of layer styles to this layer.
Layer > Layer Styles > Drop Shadow
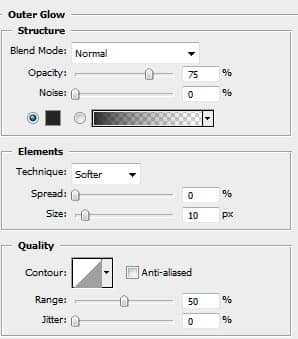
Layer > Layer Styles > Outer Glow
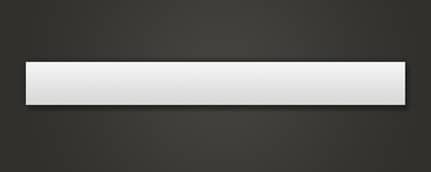
Result:
Step 5
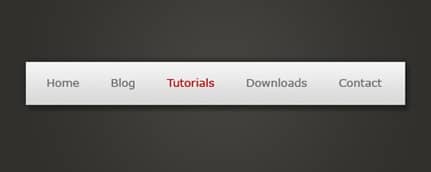
Now using the text tool add in some text links. The font settings I've used are Verdana, Regular, 13 pt, Sharp, #686868 (and #ac0000 for a hover effect).
Step 6
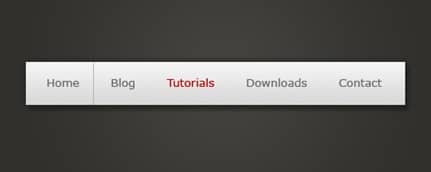
Lastly, we are going to be adding some dividers between the links. Firstly, create a new layer and select the rectangular marquee tool again. Make a selection of 1 by 50 pixels between the first two links. Fill (Edit > Fill) the selection with the colour #b4b4b4.
Step 7
Now move the selection across to the right by one pixel (left arrow key on your keyboard). Fill this selection with the colour #d9d9d9.
Step 8
Duplicate this layer and move the duplicate layer along to the right so it is between the next two links (hold down the shift key while moving the divider to the right to keep it in-line. Repeat this process for the rest of the links and you are finished. I've also lowered the opacity of the layers by 50% so they don't stand out so much - but that's up to you ;-)
3 comments on “Clean White Navigation Bar”
The most of important part of changing the colour whilst hovering you didn't state how to do
great tutorial for web designers, thanks a lot
Thanks, nice tutorial