Make your artwork look like they're from an alternate universe. These Cyberpunk presets work with Photoshop (via the Camera Raw filter) and Lightroom. Download all 788 presets for 90% off.

The background is done! Just group the background's layers in order to make your layer section more organized. Name the background group "Textures".
Step 3: Creating the Background of the Application's Icon
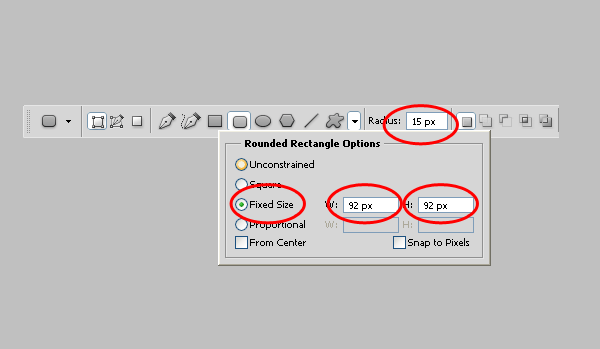
Create a new layer above the group Textures. Group the new layer and name the group "App". Use the Rounded Rectangle Tool (U) and create a rounded rectangle with the following settings:

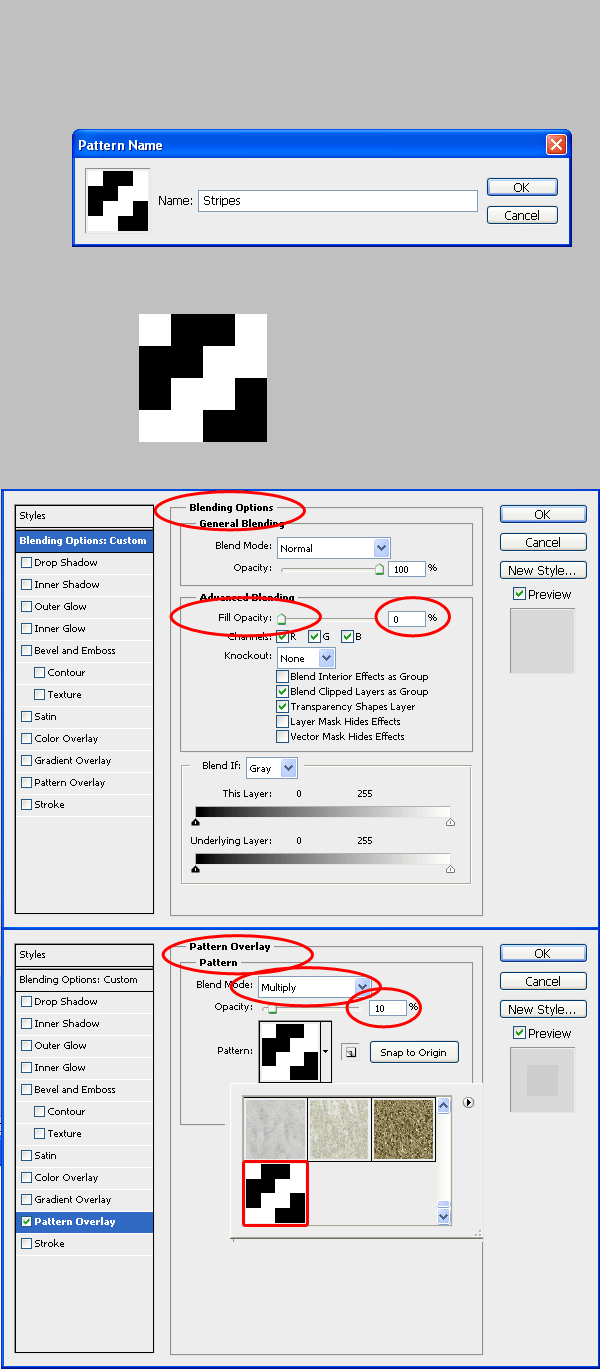
After creating the rounded rectangle click Layer > Layer Style > Gradient Overlay. Change the gradient's colors to #277282a and #5092a5. Now duplicate the rounded rectangle and decrease its width and height by 2px (90px on 90px). Double click on the decreased rectangle. Go to the Gradient Overlay section again and change the colors of it to #8dc2c4 and #c8f5ff. Now, After you have a pair of rounded rectangles, duplicate again the top one, or the brighter one, and decrease its width and height by 2px (88px on 88px). After you have decreased the rounded rectangle, change its Gradient Overlay colors to #49849d and #91ced9. Duplicate the top rounded rectangle and double click it. set its Fill Opacity to 0% and apply a Pattern Overlay with the stripes pattern from before. Now, select all of the rounded rectangles and align them horizontally and vertically.
If you have followed the steps correctly you are supposed to get this result:

Step 4: Creating the Person on the Application's Icon
Open your profile photo and select the area in which the head and shoulders appear. Apply a layer mask on the layer to hide everything except yourself. Notice! The selection you select does not have to be very accurate. Later on we will decrease the size of your image to a small size (about 90px on 90px), and we will apply a Color Overlay on it, so you won't be able to see the small details.

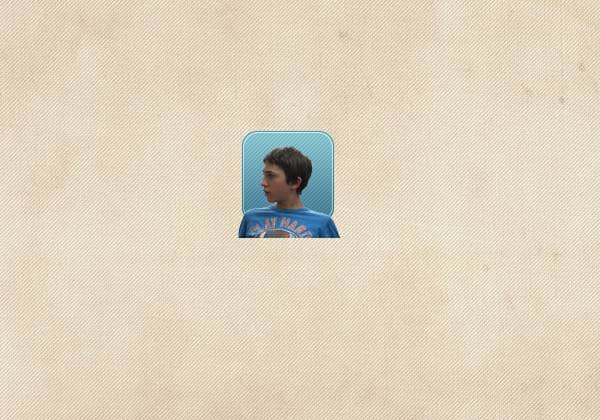
Drag your edited profile photo to the original document. Decrease the photo's size to about the size I did (See Below).

Then load the Stripes layer's selection, and apply a layer mask on you photo's layer. Then, double click the Profile Photo's layer and apply the following styles:

We're almost done with the icon! The only thing left is to create a highlight layer. Create a new layer above the Profile Photo and name it Highlight. Select the Ellipse Tool (U) and create a white ellipse above the rectangles and the photo. It should look like this:

