Make skin look perfect in one-click with these AI-powered Photoshop actions.
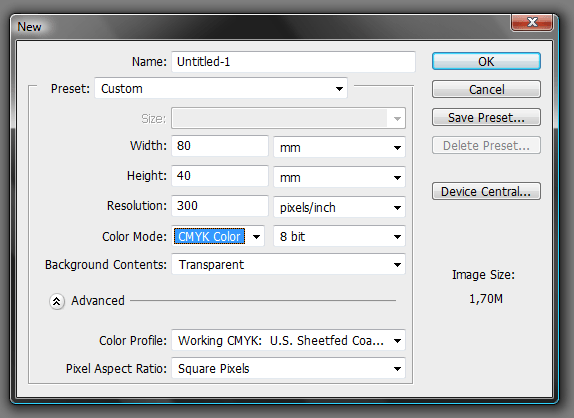
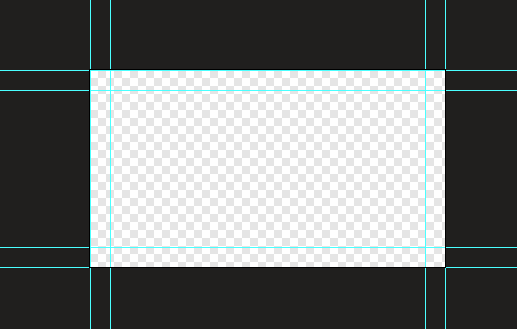
Now go to View > New Guide (twice time) and add horizontal and vertical guides with 0 px in input box.
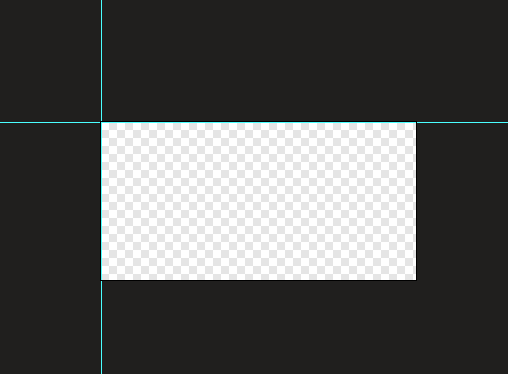
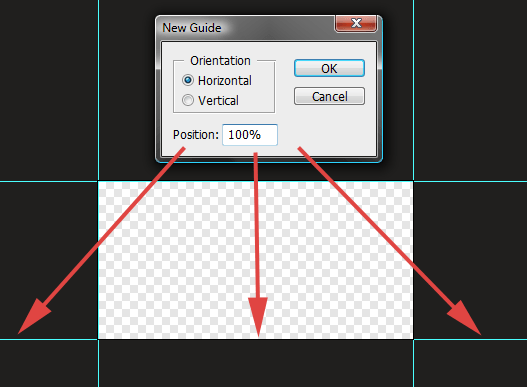
Duplicate this action, but instead of 0 px type in 100% (you can determine guides not only with pixels but also with centimeters, inches or percents). You will get the following:
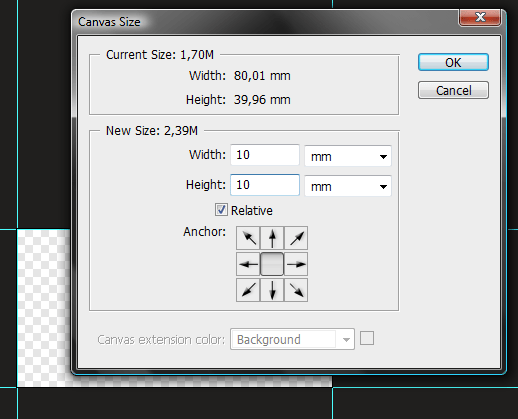
Then go to Image > Canvas size and type 10 milimeters in each field (because this is the size of margins). Make sure that Relative checkbox is checked.
And again, add guides the same way. Here's a tip: You can record a guides adding process as a Photoshop action (for you don't have to type a specific values, just a beginning and end), so it will be even faster.
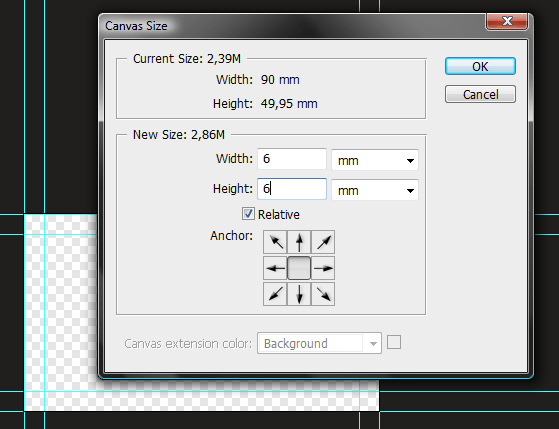
And at last go again to Image > Canvas size and type in boxes 6 milimeters, for this is the size of bleeds. As you can see the values are relative and always the same, and by that universal, so you can make a one huge Photoshop action to fasten this process.
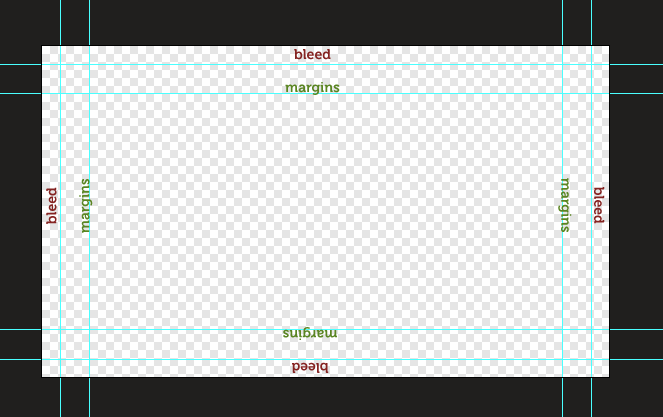
Here, I have even prepared one for you. While playing this action you will get a dialog box four times. Just type100% in the input box and hit [Enter] each time. That's all. The easy process becomes even easier. Of course sometimes you will be asked to make bleeds of some other value than 3 mm, so you should also remember the process.
Margins&bleeds.atn | 1,5 KB
Step 5 - Stop that talk, start design!
All right, it is all for today's dirty work. Hopefully some of you have learned something. Now we can go straight to the design part. Do you remember what we are actually creating? I am scared that I confused you with that business card's talking. So we are making a tri-fold A4 brochure, here's the specs:
![step-001[1] step-001[1]](https://cdn.photoshoptutorials.ws/images/stories/398442762450_BAFA/step-0011.png?strip=all&lossy=1&quality=70&webp=70&avif=70&w=1920&ssl=1)
And here is a 3D concept to make it easier to understand by you.
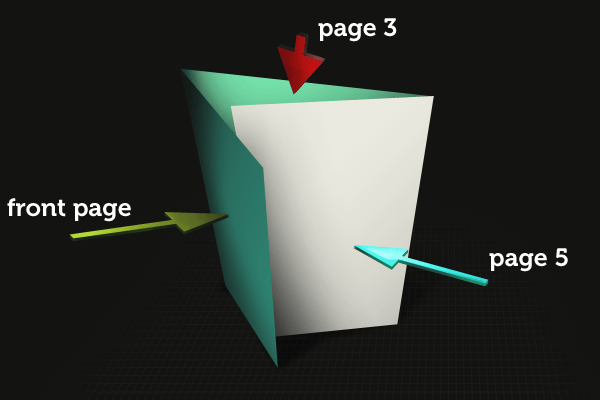
Have you noticed something? When you will leave bleeds you will get the following sizes of each pages: 208 / 211 / 211. Why this bold dimension vary from others? It is just folding aspect. The page that is shorter just need to hide itself inside the fold. And if its size would be 211 mm (as rest) it could not fit into the fold and make paper blobs on brochure. So by getting those two or three milimeters back you will avoid those potential troubles.


27 comments on “How to Create Brochure Mockups in Photoshop”
Thank you so much. This is an excellent tutorial. You're awesome! I hope your New Year is great! :)
Nice work
great stuff! thanks...
Thanks for the info!
Great article!
Thank you so much for this!
Great info!
not clear
Tutorial was confusing and unclear,You really have to find simpler ways of explaining things to people. Thanks for the information though.
Thank you bro .. U are realy great. Thanks for helping me a lot.
This really helped me . Thanks a bunch. I made a creating brochure present please.
Fascinating. It seems like most Adobe users would naturally choose InDesign over Photoshop for something like this, since that's essentially what InDesign is made for. But this is a very thorough tutorial for hardcore Photoshop users!
It's great! Thanks a lot!
Really helpful and inspiring ! I learnt a lot~thank you !
amazing tutorial.
keep up the good work.
love it
very important and very useful information.. i m a web graphic designer and didn't have knowledge about printing graphics and bleed and safety margin etc etc.. this is very useful to me.. thanks keep it up. please refer font size information on business card that what should be font size in photoshop and in illustrator.. etc etcc thankkss please mail me.
nice Great Work ...
Thanks for sharing such a great information about print design
I'm sure this tutorial is great for beginners, but the title is very confusing. I thought this was about making the mock-ups not the whole brochure and just tell us to download your finished mock-up psd file.
That's what I also thought. I guess that we won't find any tutorial on how to make a mock-up template soon. :|
tq for the efforts... dont stop creating guides..:-)
Thank You very Much...its help me a big time..
thanks a lot. :)
This really helped me out. Thanks a bunch. I made a great 3 fold for my business. I tweaked some stuff to make it my own, but it was very helpful to utilize the file you posted as an outline.
i learn more form here. and this web.
not clear
asas