
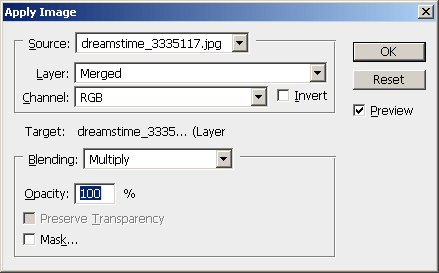
Make skin look perfect in one-click with these AI-powered Photoshop actions.
Your layer mask thumbnail should be an black and white copy of the image you're working on. This layer mask means that the layer is masked out where the shadows in the images are.

Step 6
With the layer mask still selected, choose Filter > Stylize > Solarize. This will seem to darken the image in the layer mask. What the Solarize filter did was make the highlights in the image black as well so that the highlights are masked out as well. This leaves only the midtones white so that the layer only affects the midtones.

The problem now is that the overlay diffusion effect is hardly visible. In the next step, we'll make the effect more visible by increasing the contrast and brightness in the layer mask.
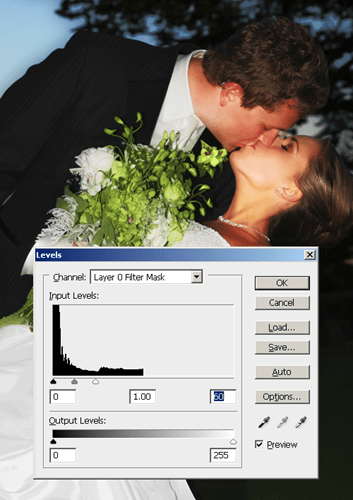
Step 7
With the layer mask selected, choose Image > Adjustments > Levels. Using the Levels tool, move the white input slider towards the left. This will increase the contrast and brightness in the layer mask. The more you move the slider to the left, the more visible the effect will be. Click OK when done.
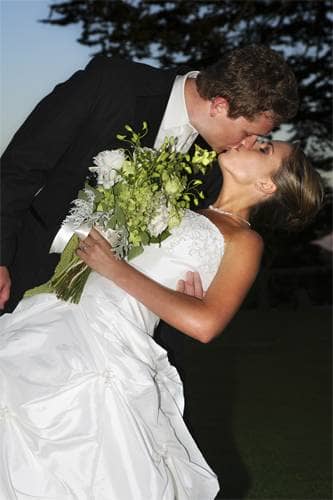
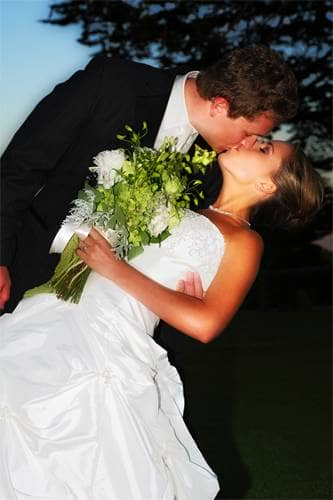
Final Results
Here is the final result. The image now has the overlay diffusion photo effect but the shadows and highlights are still detailed. You can preview the effect by holding the Shift key on your keyboard and clicking on the layer mask thumbnail in the Layers palette.
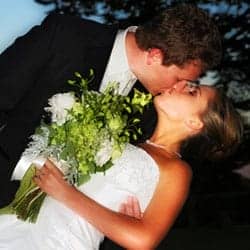
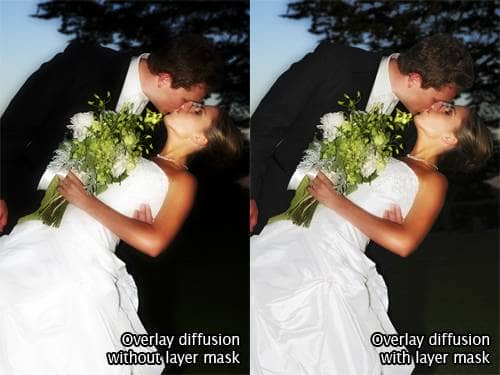
Here is a comparison of the overlay diffusion effect without and with a layer mask. With the layer mask that we applied, the details in the dress is visible and the groom's hair doesn't blend into the background anymore.
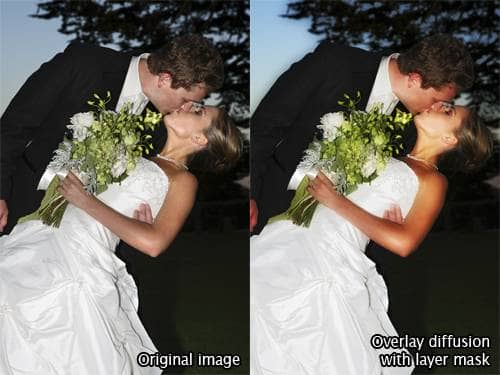
And finally, here's the before and after results.
One comment on “Masked Overlay Diffusion”
This looks awful, the original is better.