
Download Lightroom presets and LUTs, absolutely free. Use the presets to add creativity and style to your photos.
Note: If you are working on a Smart Object with Photoshop CS3, the filter you apply will be smart which means that you can edit the settings anytime you want.

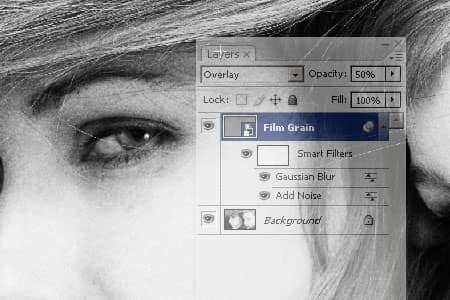
Step 6: Blur the noise
We added some noise, but it looks like digital noise instead of film noise. Fixing this is easy: just blur the noise. Choose Filter> Blur> Gaussian Blur. Adjust the radius to get the noise result you like and click OK.

Step 7: Adjust the intensity of the noise
The grain should appear to be very strong; perhaps too strong for most situations. To reduce the visibility of the film grain, simply reduce the opacity of the Film Grain layer. If you are using Photoshop CS3, you can double click on the Gaussian Blur Smart Filter and edit the settings if it is not what you want.
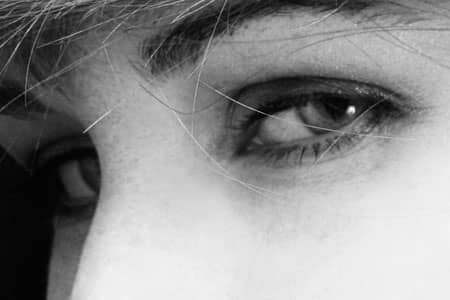
Final Results
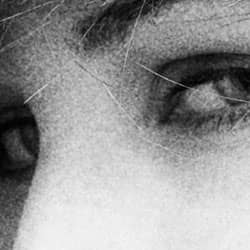
Original Image
Natural Film Grain Photoshop Tutorial

5 comments on “Natural Film Grain”
I really like it..............
Thank you for sharing. This pure Photoshop technique is generic but fast and useful if you care not for a more specific approach to olden times' film emulsions. I have published a comparison article where this here tutorial is parroted and compared to different grain image overlay methods.
oi
Awesome! I love having grain in my images, I will be using this method a ton :)
Good tutorial, many thanks!
I own DSLR and I like grain effect. Your article will be very helpful for me.
(in case of video, I found free film grain overlay here: http://vegasaur.com/film-grain – also very useful!)