

Turn any photo into a dot grid artwork with these Photoshop actions. You'll get great results with dots that change size. They get larger in brighter areas and smaller in darker areas. Free download available.
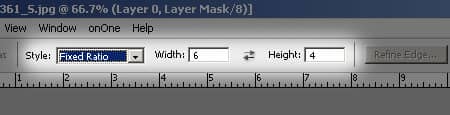
Step 9: Create a selection and fill
First, make sure that the layer mask is selected. Now create a rectangular selection and fill the selection with white. Don't worry if you can't get the selection where you want it to be; we will fix this later.
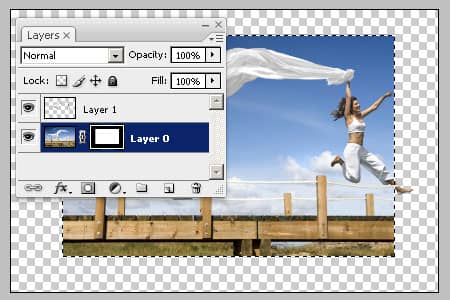
Step 10: Unlink the layer mask
Between the layer and its layer mask, there is a link icon. Click on that icon and it should disappear indicating that the layer mask is unlinked from the layer. With the layer mask unlinked, we can move the contents of the layer mask without causing the layer to move.

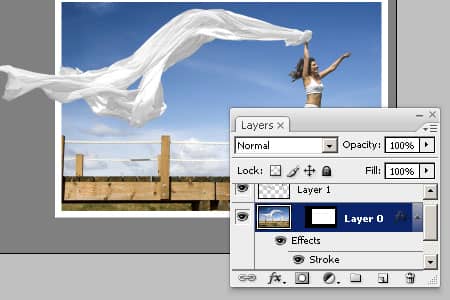
Step 11: Access the blending options
Right-mouse click on the layer and select "Blending Options".

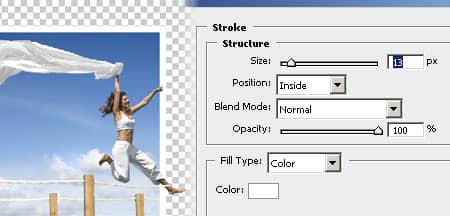
Step 12: Fill the area
In the Blending Options window, checkmark and select "Stroke". You should now have a set of options for the stroke. First, set the position to inside and color to white. Then, adjust the size to create a white border around the photo. Click OK when done.
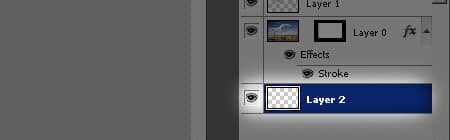
Step 13: Create a new layer
Click on the "Create a New Layer" button in the Layers pallet. Drag the new layer to the bottom of the stack.
Step 14: Fill the layer
Press Ctrl+Backspace to access the Fill tool. With this tool, you can fill the layer with any color you like. I'm going to select the 50% Gray for this step. Click OK when you have your color selected.

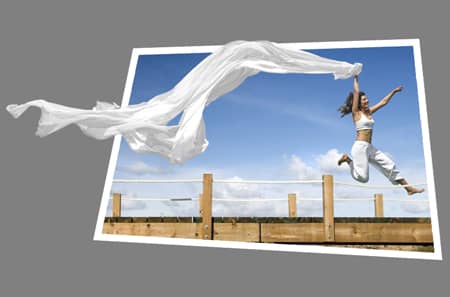
Step 15: Fill the area
Finally, we're at the last step where we can reposition the photo. Select the layer mask then select the move tool from the toolbar. Drag the frame around to position it in a creative position where part of the subject is outside of the photo.
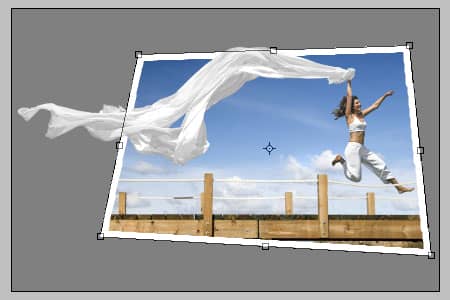
Step 16: Distort the picture (Optional)
To add a more three dimensional effect, you may distort the image. To do this, press Ctrl+T to activate the Transform tool. Now hold the Ctrl key and drag each of the four corner to skew their position.
Final Results
Original Photo

Photo Cutout Photoshop Tutorial
11 comments on “Photo Cutout”
nice effect
not bad ......
nice one
nice tutz
me gusta mucho la pagina
Great Tutorial!. Thank you so much!.
Ytah
tahnks ytou
Nice tutorial..
why i cant use the pixelate after gaussian blur??im using cs3 anyway
Thanks for this fine Tutorial