

Make skin look perfect in one-click with these AI-powered Photoshop actions.
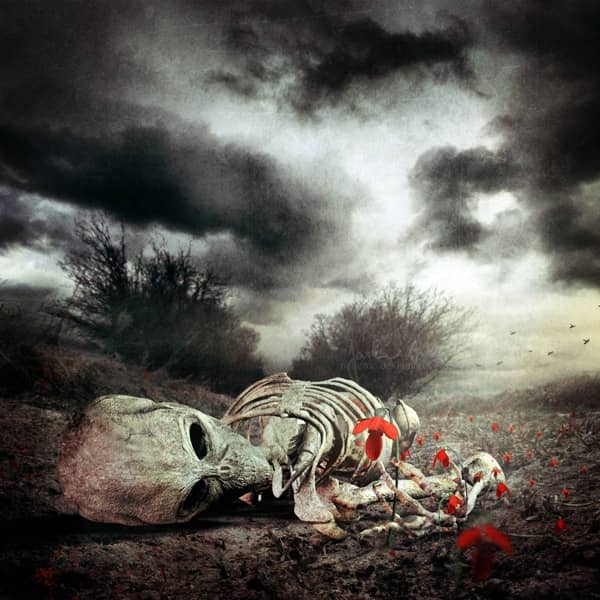
In this tutorial I will show you how to combine photos with simple 3D elements to get realistic looking picture. I will also show you different ways how to set lights and shadows and how to adjust colors and apply texture to unify the overall look. Let’s get started!
Preview of Final Results

Deathly Photo Manipulation Photoshop Tutorial
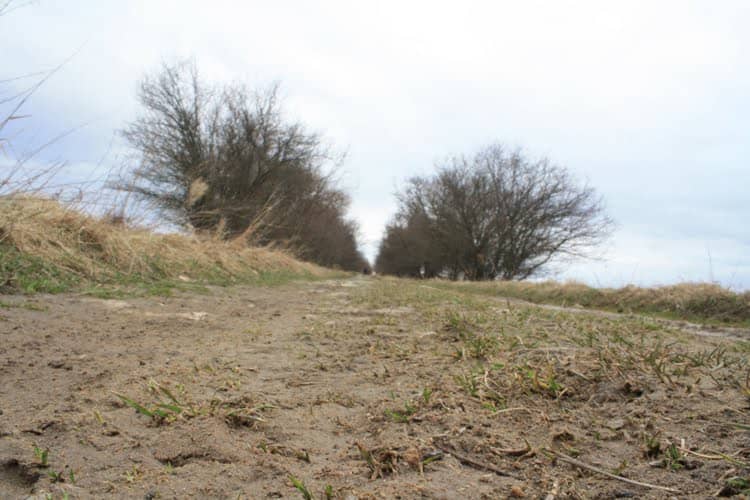
Step 1 - Removing Sky From Background
Download the picture of the ground and open it in Photoshop. First of all we need to remove the current sky which is boring and really uninteresting so we can replace it with more dramatic one in next steps. Cutting the sky out with Lasso Tool or Pen Tool would be really time consuming and hard. To avoid that we use Channels.
Click on the Channels palette. If you don´t see it go to Window > Channels and it will appear. On the palette you can see separated red, green and blue channel.

Duplicate the one where is the highest contrast between the sky and the ground. I duplicated Blue Channel. Press Ctrl + L. It activates Levels color adjustment. Set Input Levels similar as it is shown on the picture bellow.

Grab the Brush Tool (B), pick black color and paint over the rest of the ground which is not black but only grey. You should end up with something similar to this one:

Click back on RGB Channel to be able to see the picture in colors again.
On your Layers palette right click on the background layer and choose the option Layer From Background. Name the layer GROUND.
Now go to Select > Load Selection and set the Channel on Blue copy. Press OK. This step activates selection based on the Blue copy Channel which you’ve created a while ago.
Press Ctrl + Shift + I to invert the selection and add Layer Mask. The button Add layer mask can be seen on the bottom part of the Layers palette.
This cause that the sky disappear.

Step 2 - Deflection of Ground
In this step you will deflect the ground so it will have better shape for putting the skeleton. Go to Image > Rotate Canvas > 90° CVV and then to Filter > Distort > Shear and set the curve as you can see bellow.

Choose the option Repeat Edge Pixels instead of Wrap Around and press OK. No go to Image > Rotate Canvas > 90° CV to give it back the right orientation.
9 comments on “Create a Deathly Photo Manipulation”
The image on the top has an error it's half white.
Thank you for letting us know! It's fixed now.
A quite good tutorial. Thanks for sharing.
this tut is horrible liek get no scoped bud!
Would love to try this but can't find the photos
I enjoyed this tutorial greatly. Thank you.
très bon tuto,bien expliqué,dont j'ai fait une libre interprétation ,merci encore
Great tutorial thank you!
thanks for this tut it us really great .