

Turn any photo into a dot grid artwork with these Photoshop actions. You'll get great results with dots that change size. They get larger in brighter areas and smaller in darker areas. Free download available.
To make the skeleton lighter and with bit more contrast add adjustment layer Levels and set the Input Levels on 8; 1,29; 205. Press OK and also create clipping mask.

Step 8 - Adding Details to the Skeleton
Since the skeleton is only a very simple render, the texture of bones has very few details which doesn’t look nice. We will add some details now.
Open the grunge texture you used to add details to the ground and drag it into the manipulation again. Place in on the top of the layers and create clipping mask to it affects only the skeleton. Change the Blending Mode on Overlay.
Open another texture from the pack and do the same process with it.

Step 9 - Adding Mist
Mist always creates nice, mysterious atmosphere. To create mist add a new layer on the top of your layers. Name it MIST. Grab Brush Tool (B), select some soft round brush and lower the Opacity on 20%. Pressing Alt click on some bright part of the sky to select its color and then gently paint over the horizon. Change the color frequently to get more realistic result.
Bellow you can see exactly what I painted. The layer with mist has Normal Blending Mode, I just put black layer under so you can see exactly how the mist layer looks.

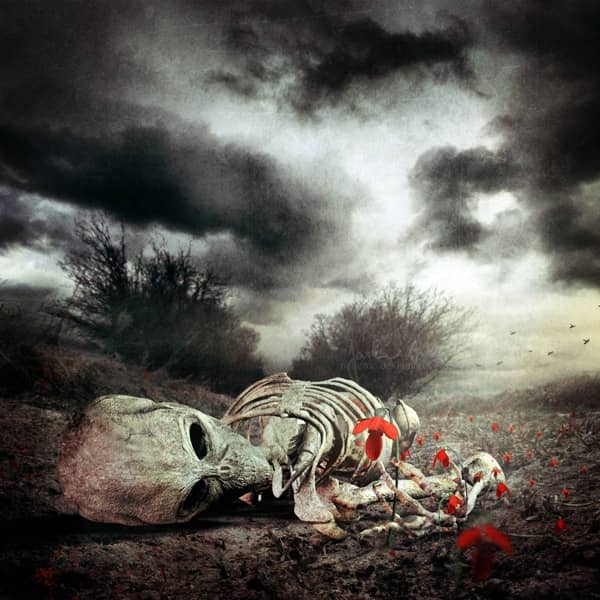
Bellow it’s show how the manipulation looks so far.

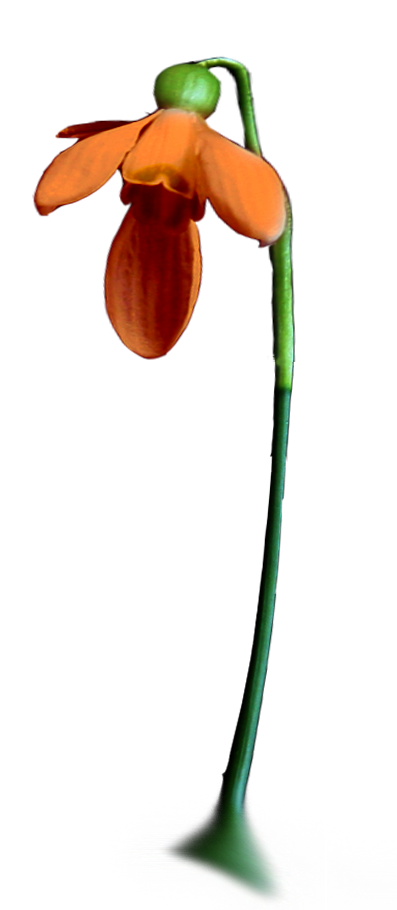
Step 10 - Adding Flowers
Download picture of flower and drag it into the manipulation. There is nothing special on this step. Just duplicate the original picture, resize it, flip it and place it similar as you can see on the final preview.
To add more depth to the picture I made one flower in front little bigger and blur it with Gaussian Blur so it looks out of focus. You can do the same. Just go to Filter > Blur > Gaussian Blur... and set the Diameter on about 1 px.
Step 11 - Adding Shadows
Since we want to the picture looks realistic we need to add shadows to the flowers. I will show you the process on the main flower which grows around the skeleton´s hand. The process will be same with the rest of the flowers.
Duplicate the flower and flip it vertical (Edit > Transform > Flip Vertical). Press Ctrl+T and rotate this new layer so it has the same direction as the light.
9 comments on “Create a Deathly Photo Manipulation”
The image on the top has an error it's half white.
Thank you for letting us know! It's fixed now.
A quite good tutorial. Thanks for sharing.
this tut is horrible liek get no scoped bud!
Would love to try this but can't find the photos
I enjoyed this tutorial greatly. Thank you.
très bon tuto,bien expliqué,dont j'ai fait une libre interprétation ,merci encore
Great tutorial thank you!
thanks for this tut it us really great .