Make skin look perfect in one-click with these AI-powered Photoshop actions.
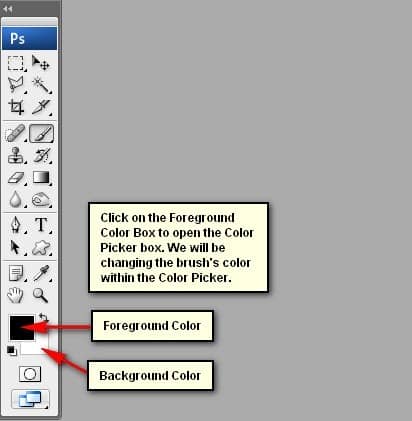
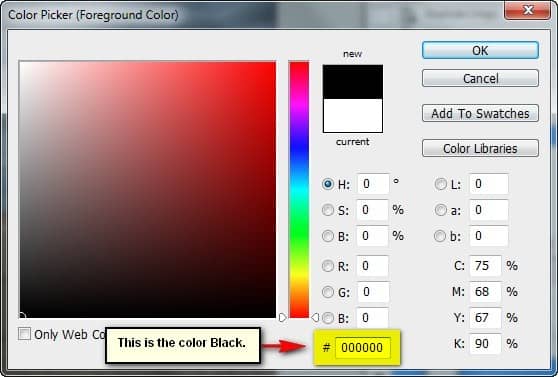
Once it opens input 000000 on the # space.
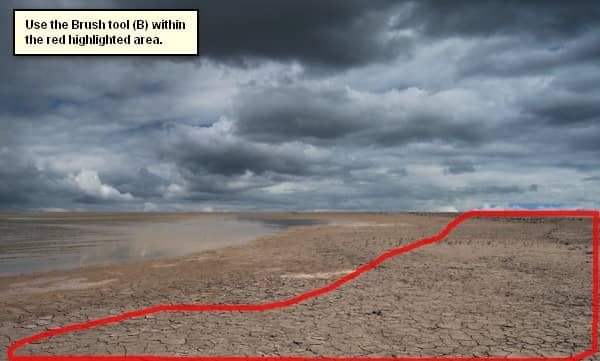
Now, let’s darken the areas that need to be darkened:
The result should be similar to this:
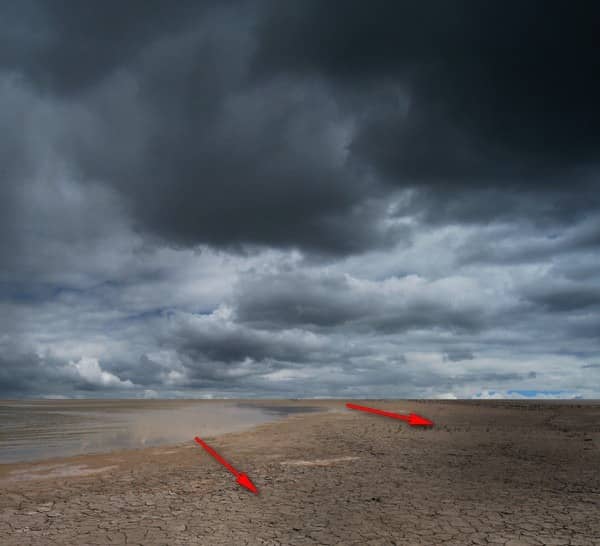
Next, we will brighten the horizon of the sky; to do that, let’s create a new layer again (Ctrl/Cmd + Shift + N) and in the name box, input “horizon”. Make sure though, that this layer is above the “darken” layer.
Once the layer is created, activate the Brush tool (B) and input the following settings:
- Brush size: 800px
- Hardness: 0%
- Opacity: 15%
- Flow: 100%
- #: ffffff
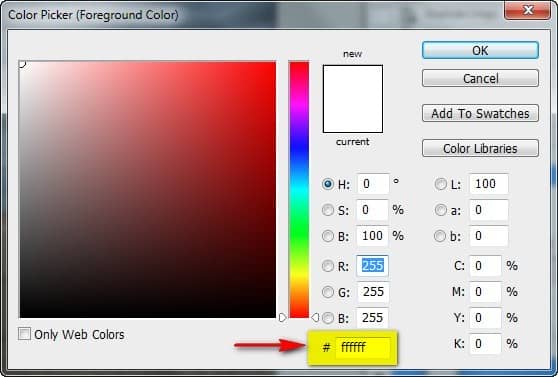
Now, we can paint in the horizon.
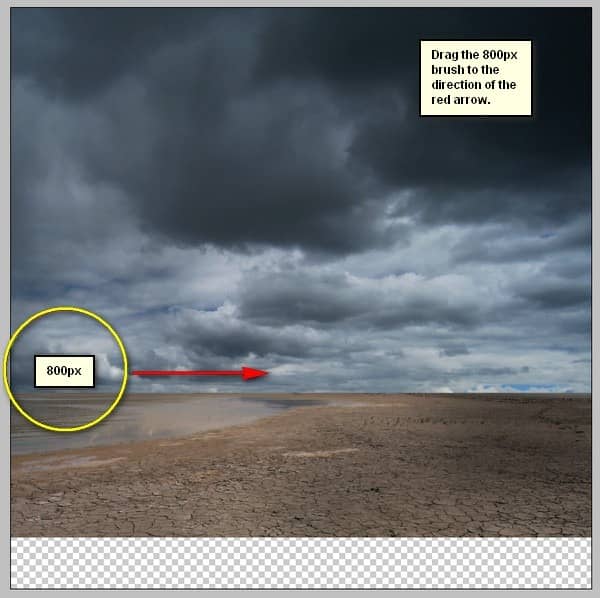
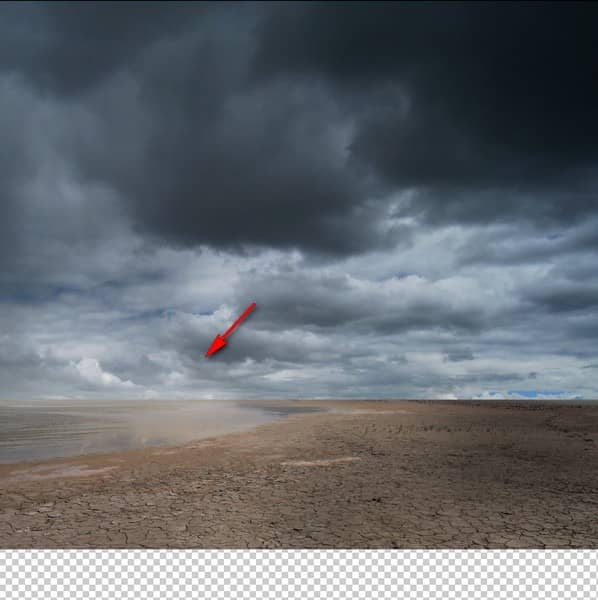
The result of that should give a brighter horizon such as shown on the image below:
Next, it’s time we added the second stock image which will feature the rocks in this deserted wasteland. To start, open the stock image: “Petrified Forest National Park 2” by dynamix.
Once the stock image is open, activate the Polygonal Lasso Tool (L) because we will use this to create a selection area over the rocky region of the image.
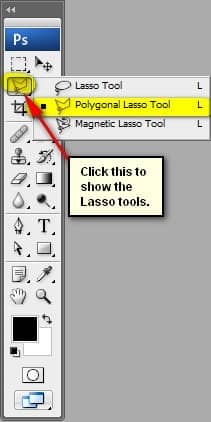
Let’s do it!
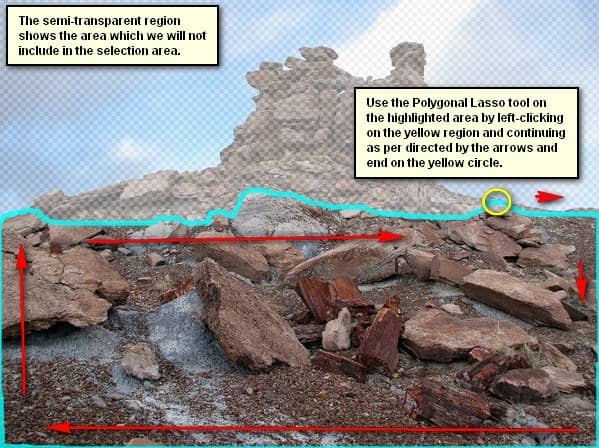
Once the selection area has been made, activate the Move tool (V) and drag it to our canvas. Make sure to put it above all the layers that we’ve created.
Position it as shown below:
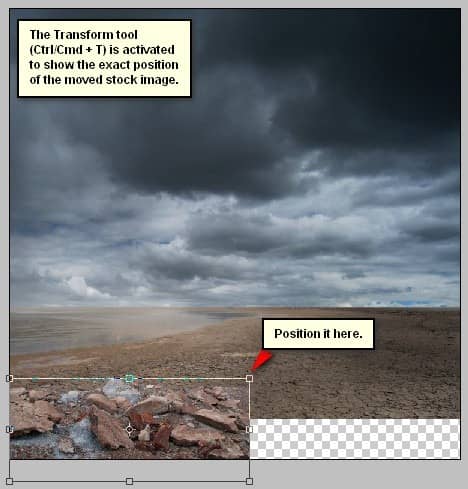
Rename this layer now to “ground 2”. Next, activate the Transform tool (Ctrl/Cmd + T) and resize it as shown on the images below:
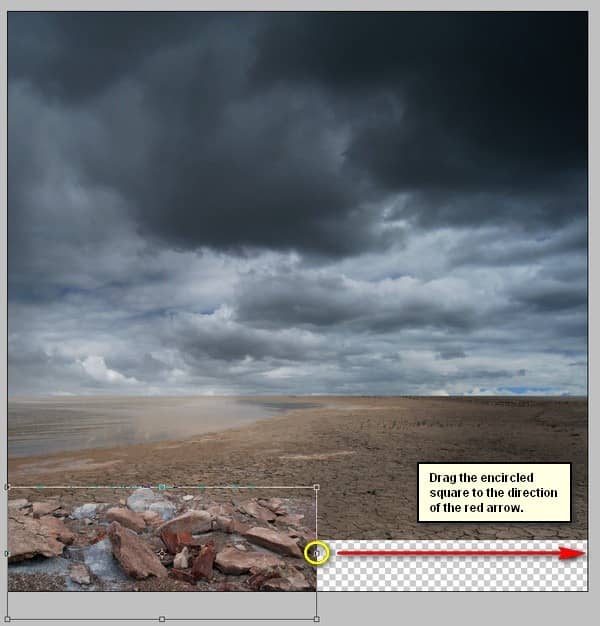
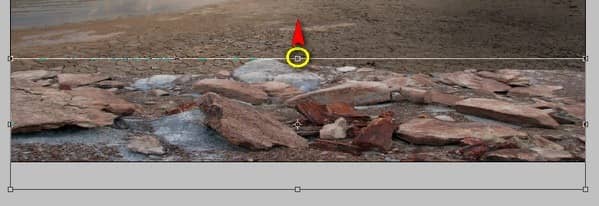
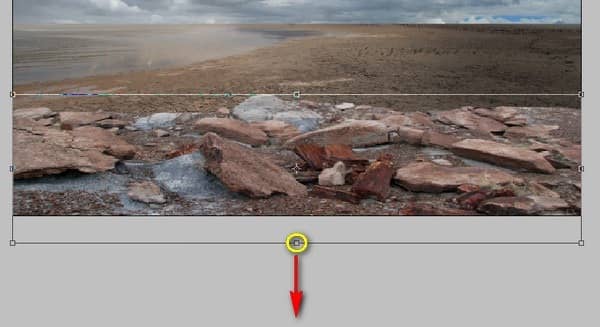
The result of that transformation should be similar to this:
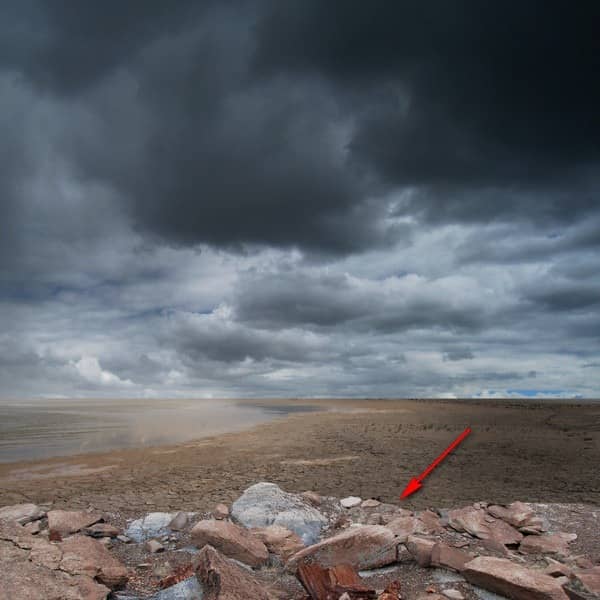
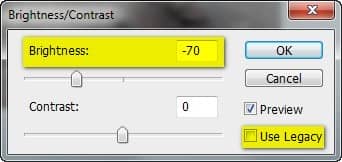
Now, let’s reduce the Brightness/Contrast of these rocks to make it blend with “ground 1”. Go to Image > Adjustments > Brightness/Contrast and input the following:
- Brightness: -70
- Contrast: 0
- Use Legacy: Unchecked
The result of that should be similar to this:
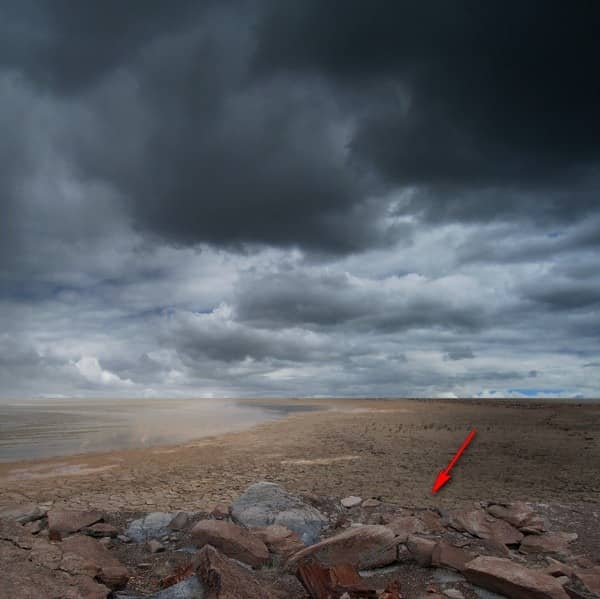
To make “ground 2” blend more seamlessly, we’ll need to erase some parts of it and to that, we’ll need an Eraser. Activate the Eraser tool (E) and input the following:
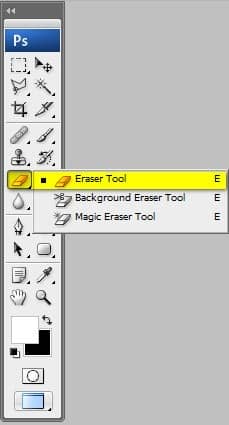
- Brush size: 150 px
- Hardness: 0%
- Opacity: 100%
- Flow: 100%
Once you’re ready, erase the region highlighted on the images below:
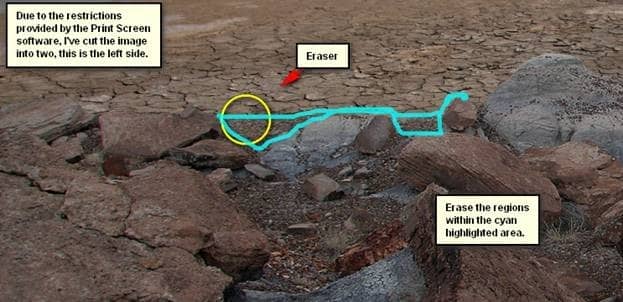
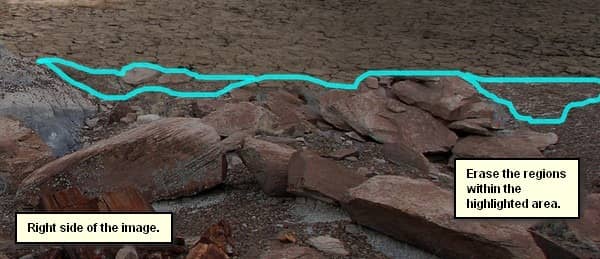
The result of that should be similar to this:

Again, the un-erased part looks like this:
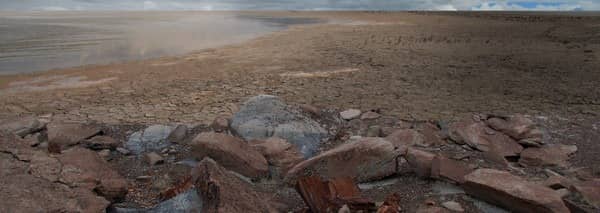
Now, let’s darken the general ground to make both “ground 1” and “ground 2” blend more seamlessly with the rest of the images; so, create a new layer (Ctrl/Cmd + Shift + N) and name it “darken ground”. Make sure that this layer is above all the previous layers we’ve created.
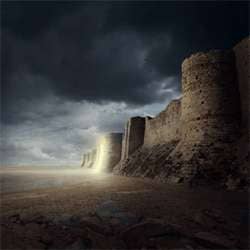

One comment on “Create a Gigantic Fortress with a Mysterious Glow in Photoshop”
very nice tutorial, explained very well! thanks a alot :)