
Make skin look perfect in one-click with these AI-powered Photoshop actions.
Step 4
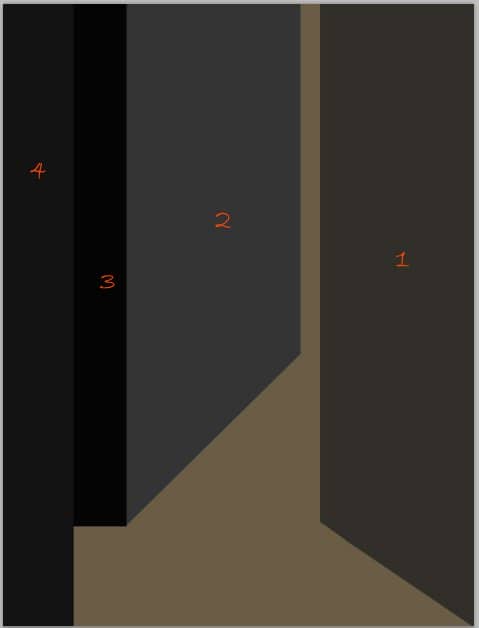
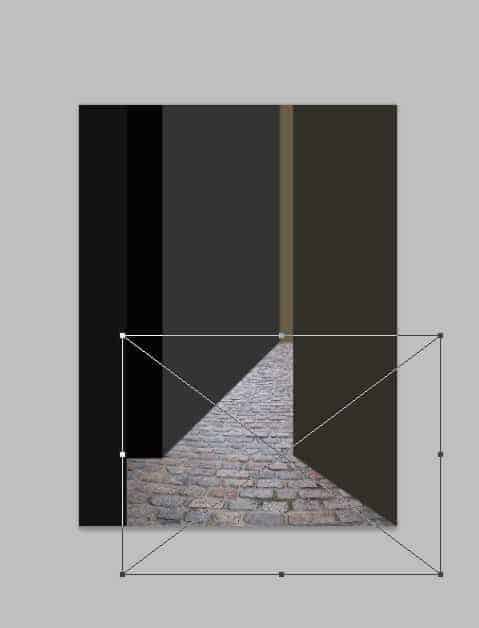
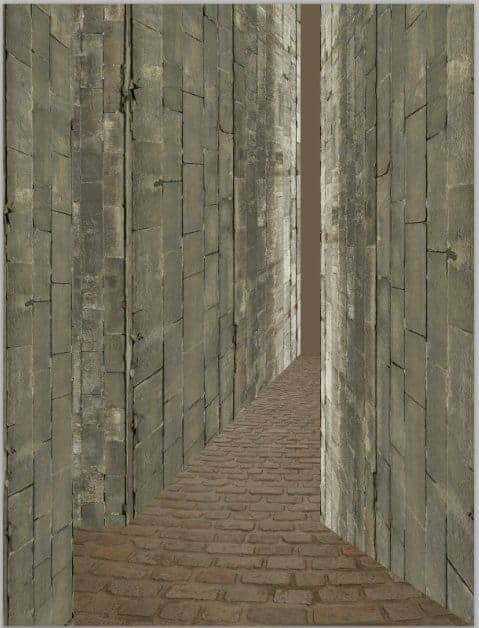
Now we will add a floor for the chamber. Open the brick floor image in the document. Make sure to place this floor layer between the four wall layers and the solid color layer in the layer panel. Take the move tool (V). Move the floor image to the position where needed.
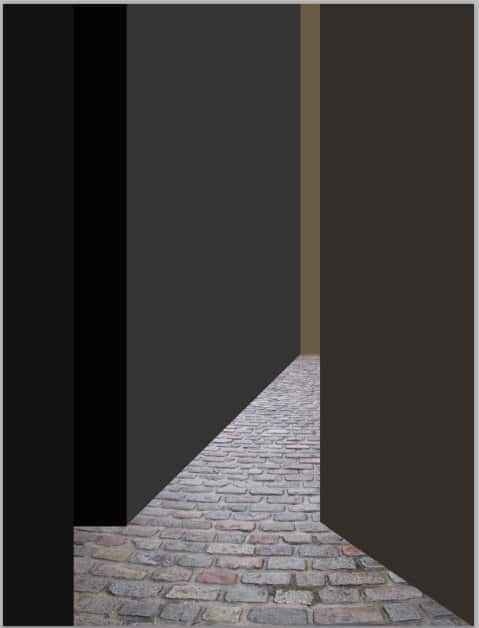
Finally, change this floor layer to soft light blending at 100% opacity.
Step 5
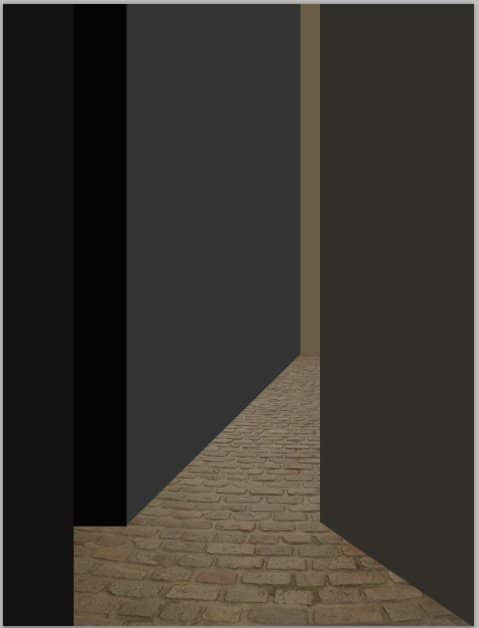
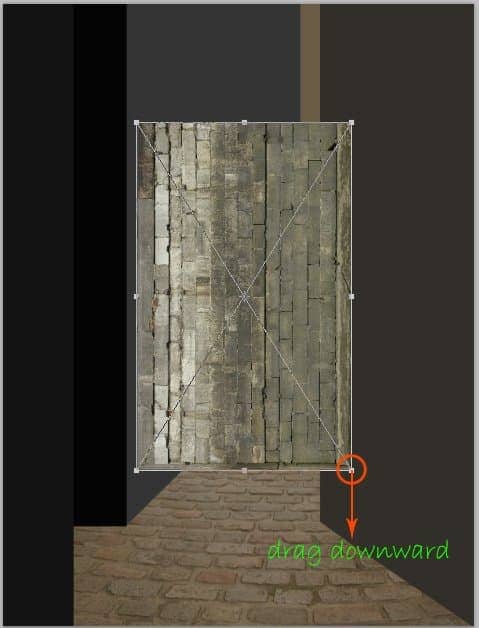
Next, we will give a brick texture to the four walls. We do this for the right wall first. Open the brick texture. Position this texture layer above the right layer in the layer panel. Activate the free transform tool (Ctrl+T). We will alter the position and perspective of this texture to fit the right wall. Right-click on the document to show transform option. Firstly, rotate the image 90 CCW, then flip it vertically.
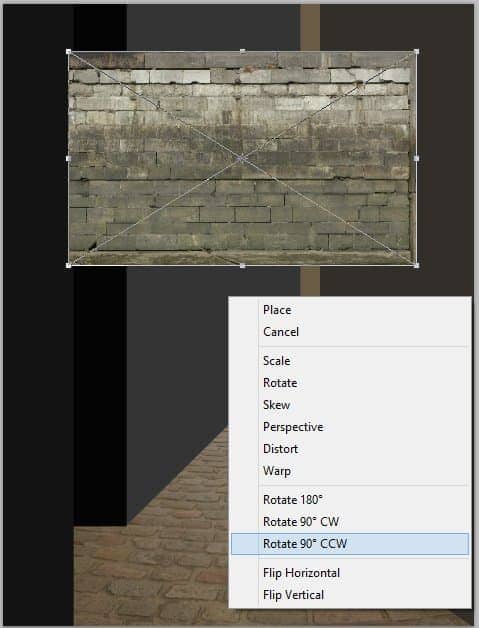
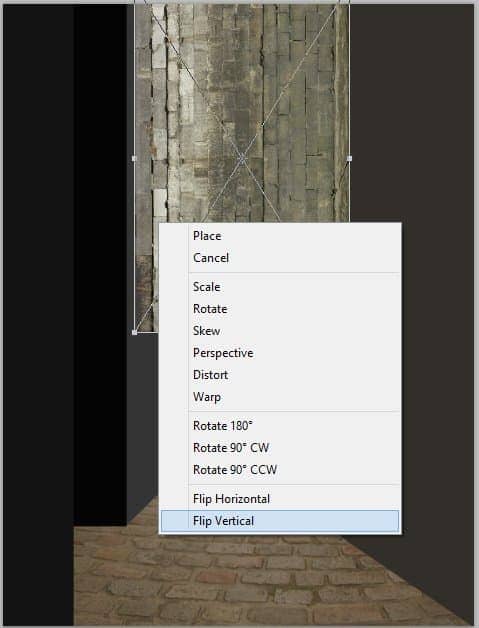
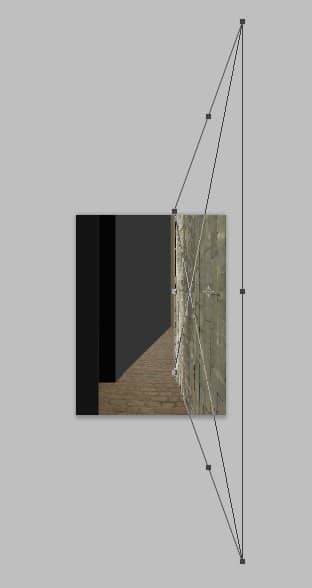
Finally, change the perspective of this image by hold-click and drag down the right corner transforming point.
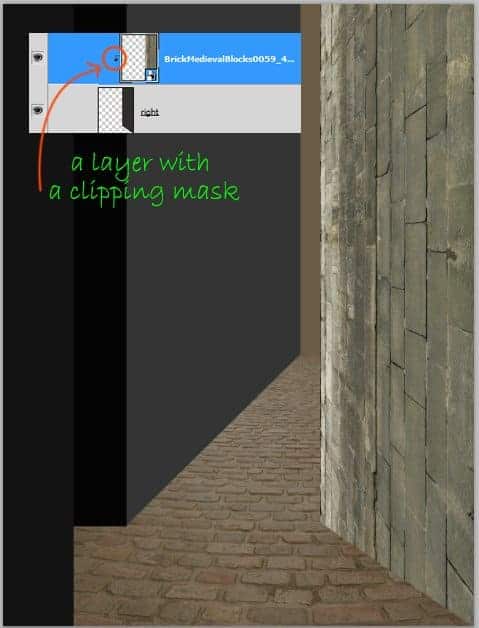
After getting the desired position, give this texture layer a clipping mask (Alt+Ctrl+G)
Step 6
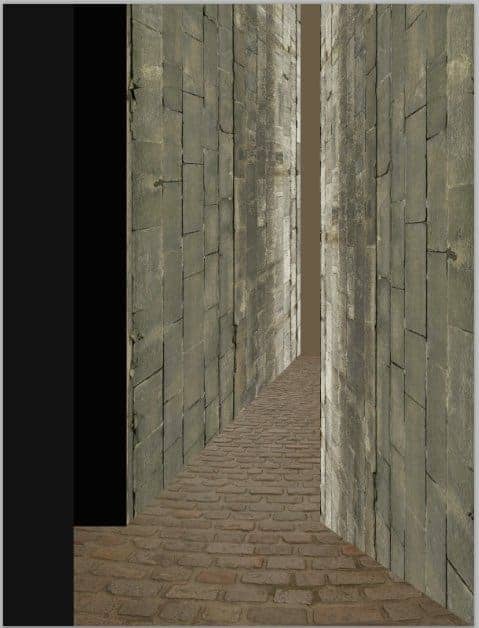
Do the same ways to add textures to the other walls.
Step 7
Now we will clean up the solid color behind the edges of the right and left walls To do this purpose, we will give the mentioned part some masking. Go select the solid color layer created in previous step 1 to be active on it. Go to layer > layer mask > reveal all. Take the brush tool (B), choose a soft round brush. With black color, stroke the brush on the mentioned part as indicated in red highlight:
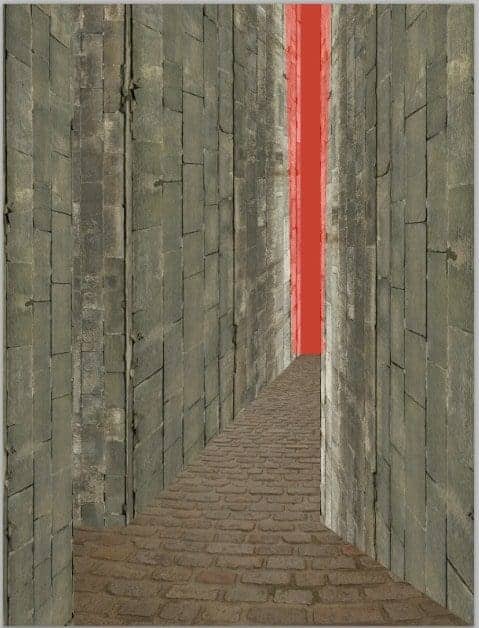
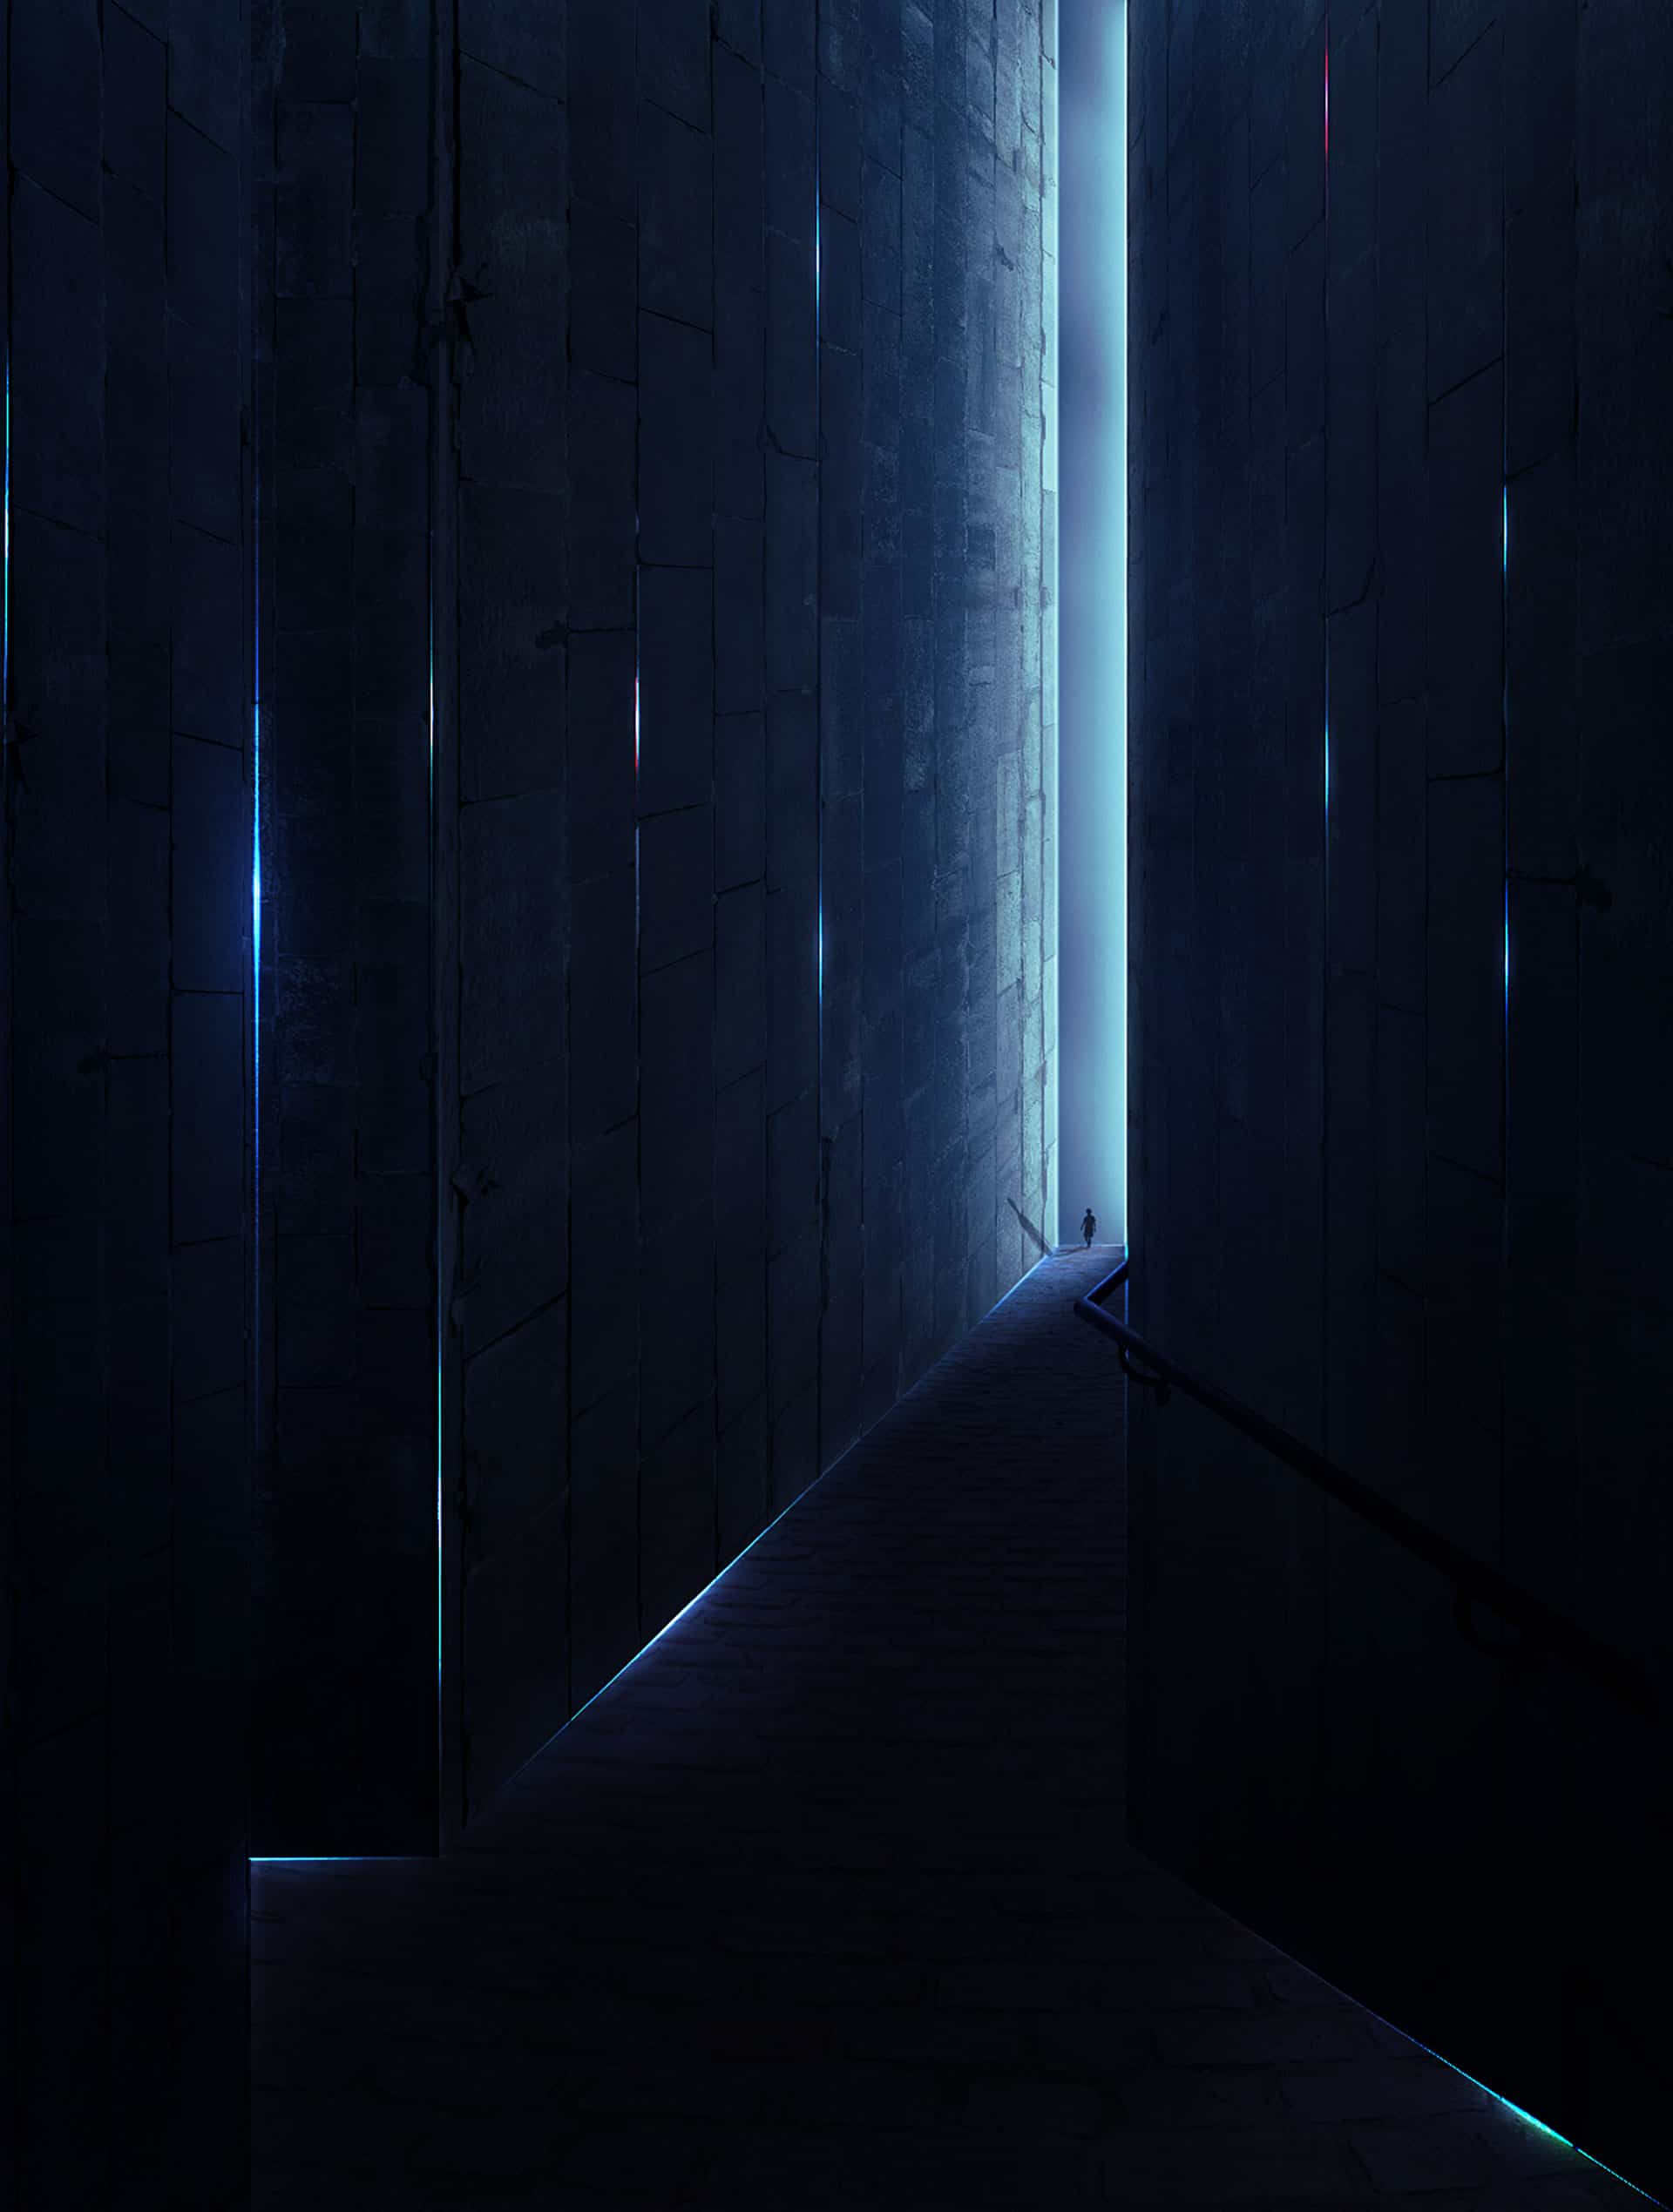
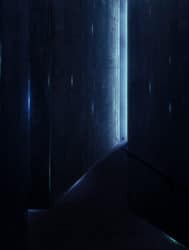
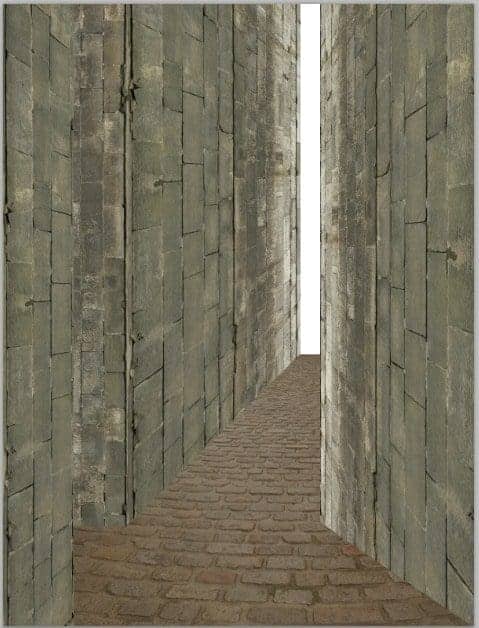
Here is the result after masking. The masked part is supposed to be the entrance of the chamber.
Step 8
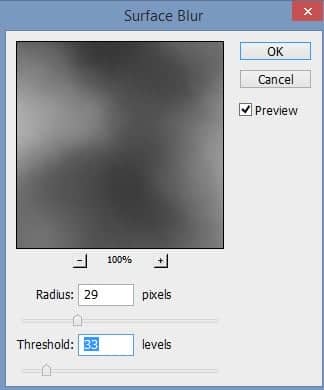
Now we will add some cloud texture behind the entrance. Create a new layer again (Shift+Ctrl+N) below the solid color layer. Go to filter > render > cloud to create cloud texture.

Then give this cloud another filter, surface blur to smooth the texture. Go again to filter > blur > surface blur.
Duplicate (Ctrl+J) this cloud layer on time. Set this duplicate to exclusion blending at 100% opacity.
This cloud texture will be not entirely seen because its position is below the solid color layer. It is just visible in the masked part of the solid color.
15 comments on “Create a Sci-Fi Chamber Photo Manipulation in Photoshop”
where did you get the photo of the railing?
Excelente tutorial ....gracias
Little lost on step 18 - what layer is the masking suppose to be done on?
I believe on the brightness/contrast layer. You can double-check this in the PSD file at the end of the tutorial
Thanks for providing the new link. I don't see any information on how to create the shadow for the person and I know this is something that I need to learn. Do you have any info on that?
Try using the Brush tool and manually painting the shadow on a new layer.
The link for the 'texture' doesn't appear to be valid anymore.
Thanks for letting us know! The link has been fixed. Here's the new link: https://www.textures.com/download/brickmedievalblocks0059/7301
Very good tuto even for a beginner like me, many thanks.
Thanks so much for this - great tutorial - shame about not explaining the girls shadow BUT I managed to do it. It looks like you just drew one in, but what I did was copy the girl to a new layer and manipulate it and set it to overlay and got a good shadow from this.
I always love anything like this
Absolutely love everything like this
This is cool!
Nice one
Very nice composite but forgot to show how to make a shadow for the little girl. Just a thought.