Luminar AI lets you turn your ideas into reality with powerful, intelligent AI. Download the photo editor and see how you can completely transform your photos in a few clicks.
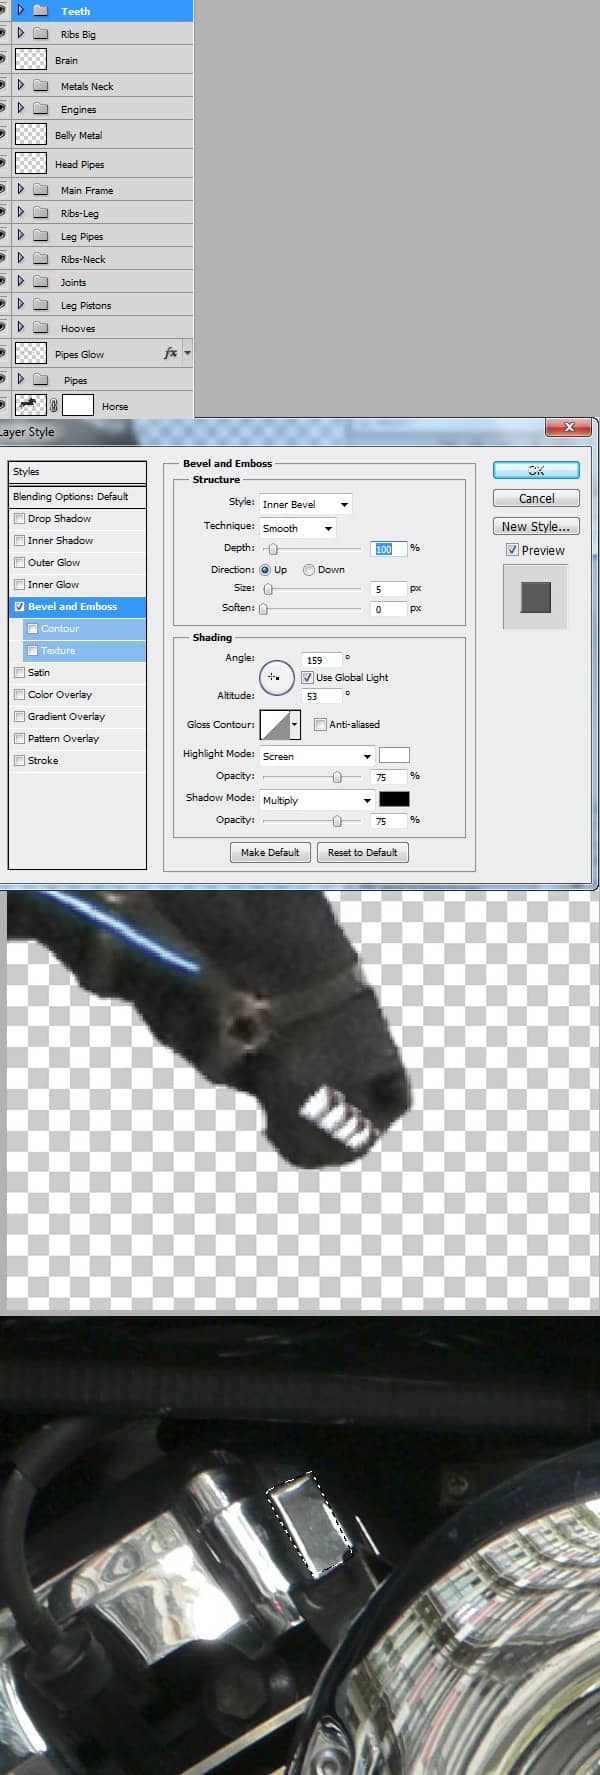
Step 22
Open file “ Doing the laundry 1” and make a selection like shown below. Press Ctrl+J to make a new layer from selection. Copy and paste this layer into our horse document. Using Free Transform and warp position this layer like shown below. Use the Eraser Tool (E) to erase the area where the eyes are. You can also use a layer mask.
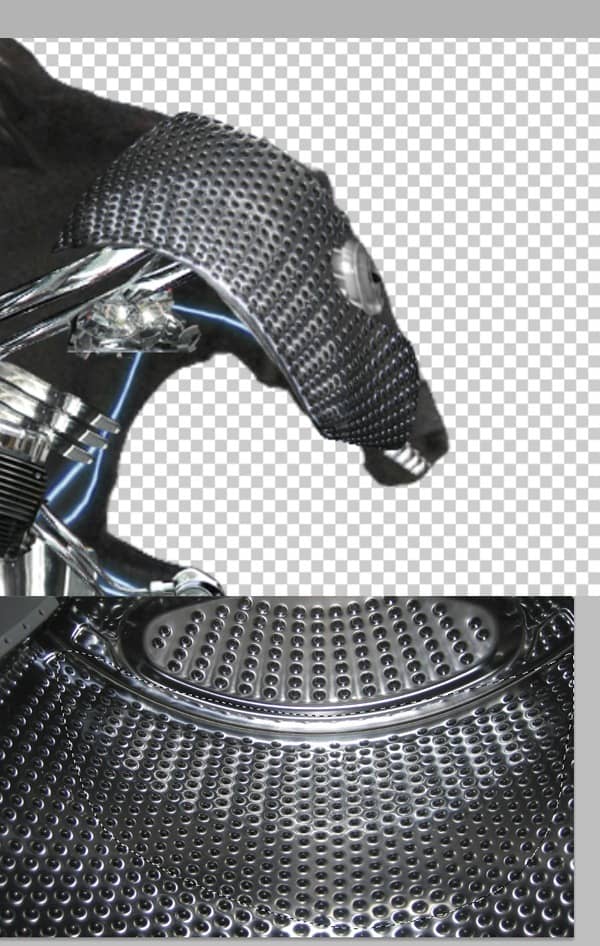
Step 23
Open file “ Doing the laundry 1” and make a selection like shown below. Press Ctrl+J to make a new layer from selection. Copy and paste this layer into our horse document. Using Free Transform and warp position this layer like shown below. Add a layer mask or erase the shiny metal border like in the image below. Add a clipped curves adjustment layer and use the settings shown below. Add a layer mask, press Ctrl+I to invert then paint with a brush set to 50% opacity with white to match the lighting.
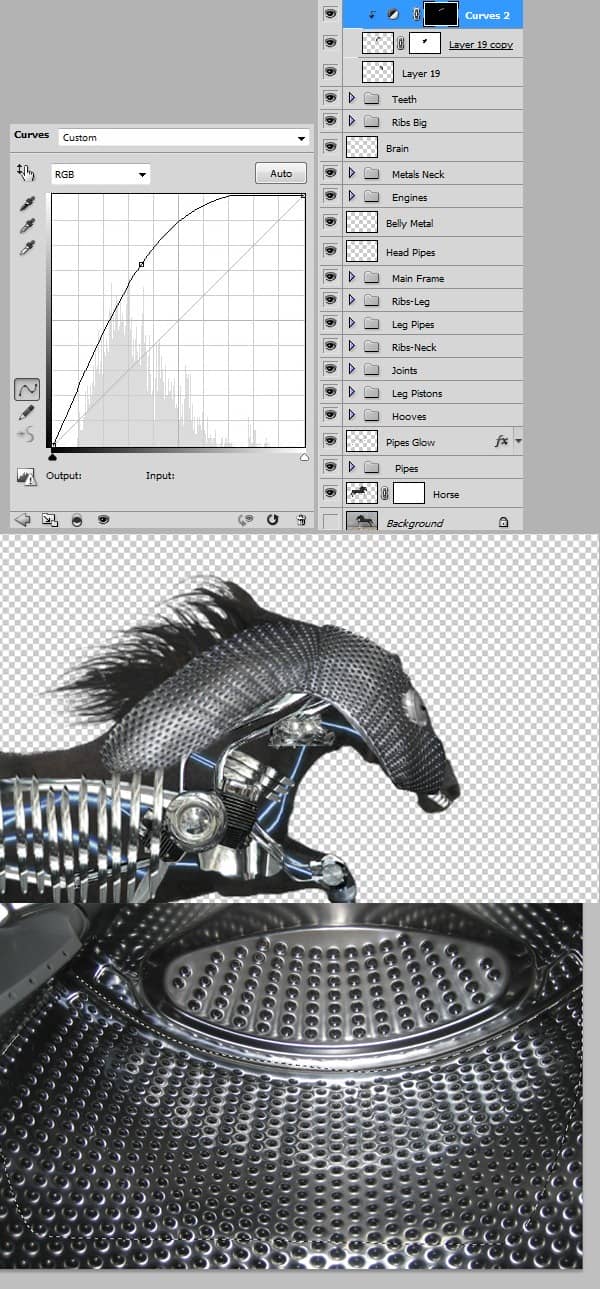
Step 24
Open file “ Doing the laundry 1” and make a selection like shown below. Press Ctrl+J to make a new layer from selection. Copy and paste this layer into our horse document. Using Free Transform and warp position this layer like shown below.
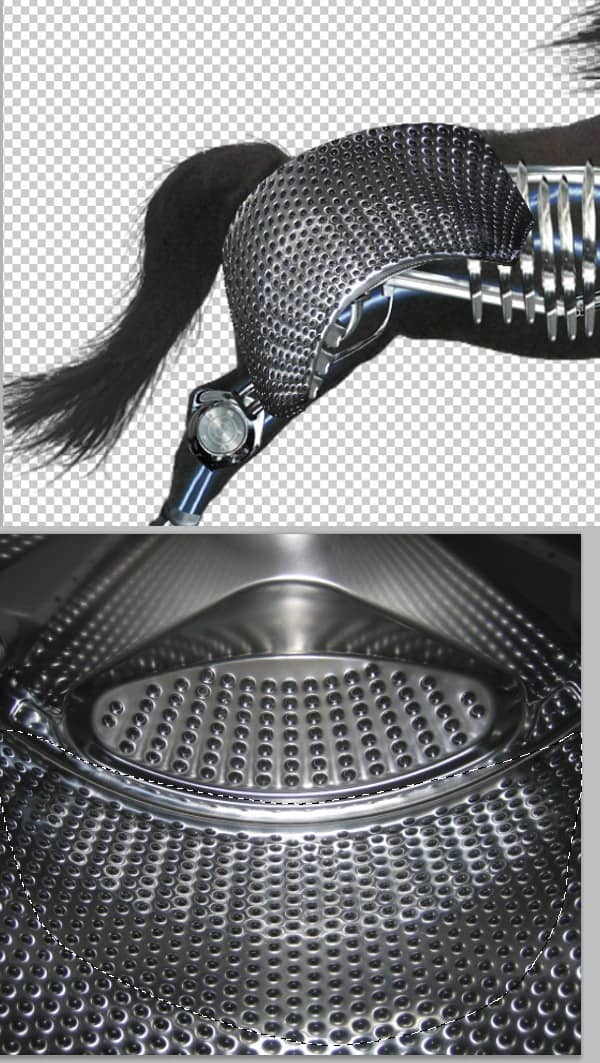
Step 25
Open file “ Doing the laundry 1” and make a selection like shown below. Press Ctrl+J to make a new layer from selection. Copy and paste this layer into our horse document. Using Free Transform and warp position this layer like shown below. Add a layer mask and hide all the unwanted parts .
Step 26
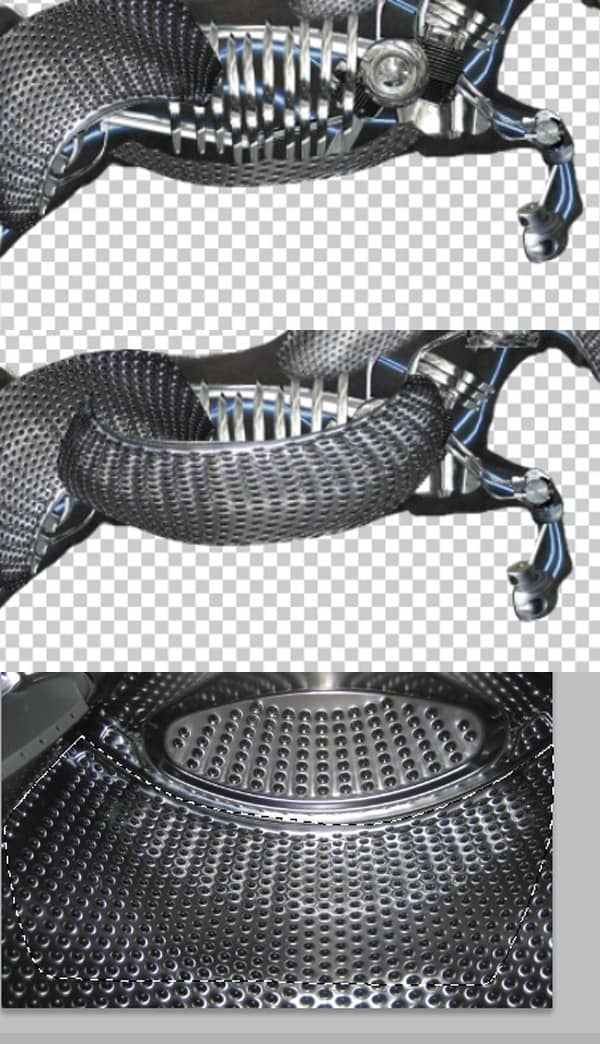
Open file “ Doing the laundry 1” and make a selection like shown below. Press Ctrl+J to make a new layer from selection. Copy and paste this layer into our horse document. Using Free Transform and warp position this layer like shown below. Add a layer mask and hide all the unwanted parts . You can use on layer mask a brush with 20% opacity to partially hide this layer in the areas where it meets other metallic plates so they blend together seamlessly.
Step 27
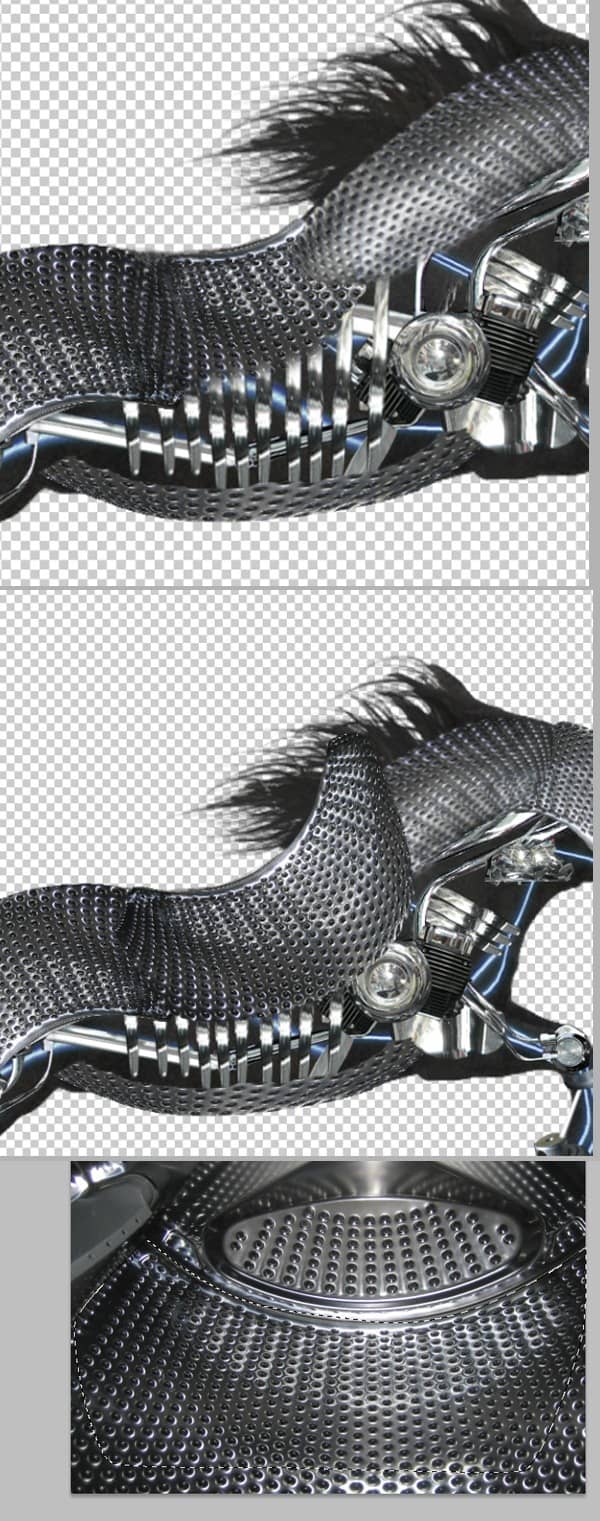
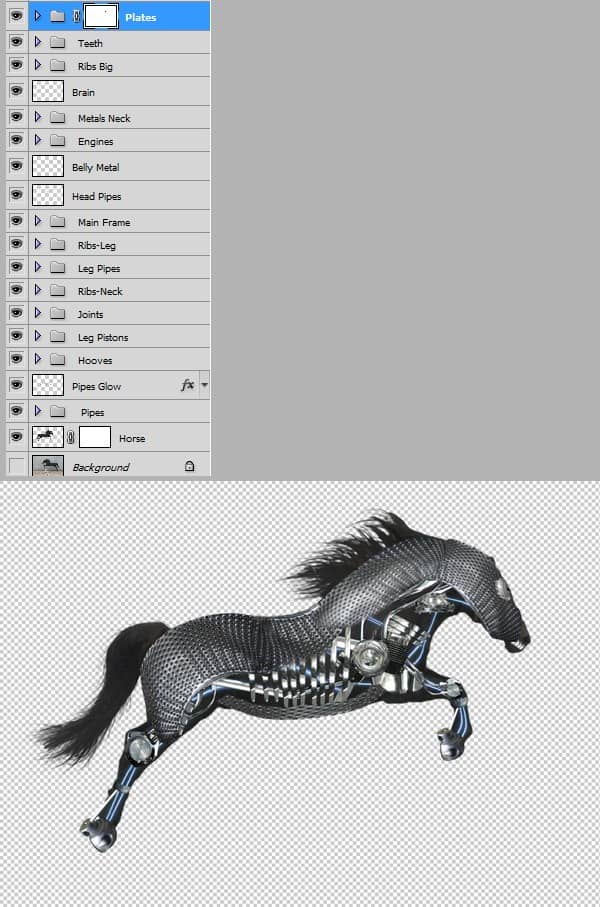
Make a group from all the layers from file “Doing the laundry 1” and name the group “Plates”. You can add a layer mask this group and hide the unwanted parts.
Step 28
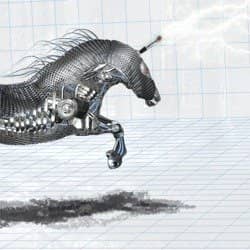
Make a selection like shown below and fill with black. Double click to enter advanced blending mode and use the settings shown below. Name this layer “Eyes glow”.

3 comments on “Create an Amazing Mechanical Horse in Photoshop”
Why don't you click on next page.....?
why you dnt copmlete it.....?
it`s on the next page, just click on them shazia.x