Make skin look perfect in one-click with these AI-powered Photoshop actions.
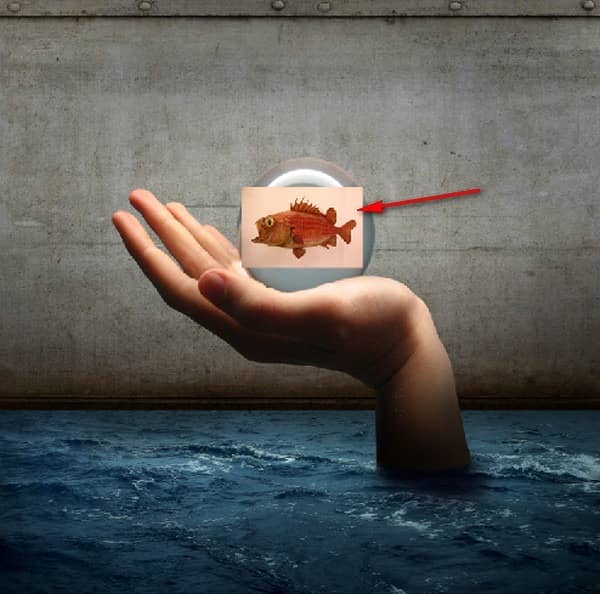

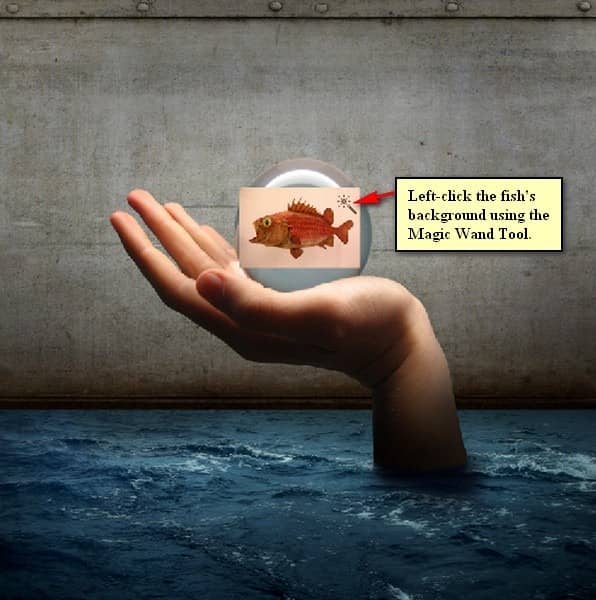
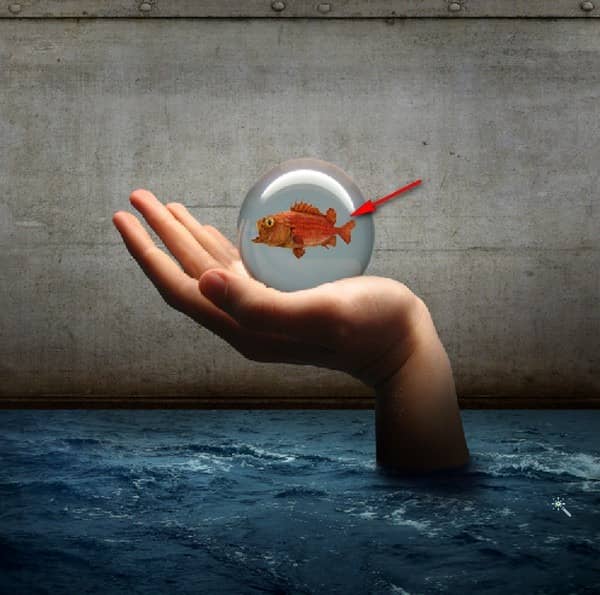
Step 6: Create the Water in the Glass
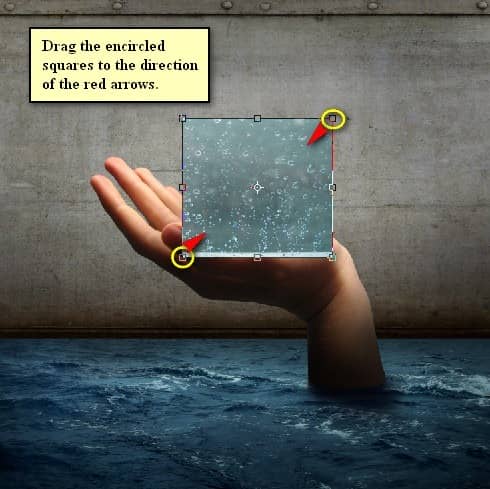
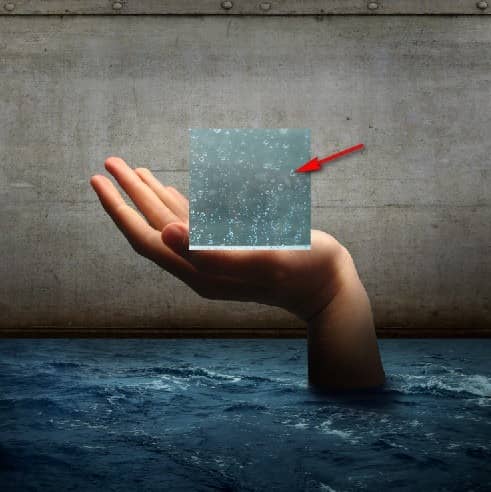
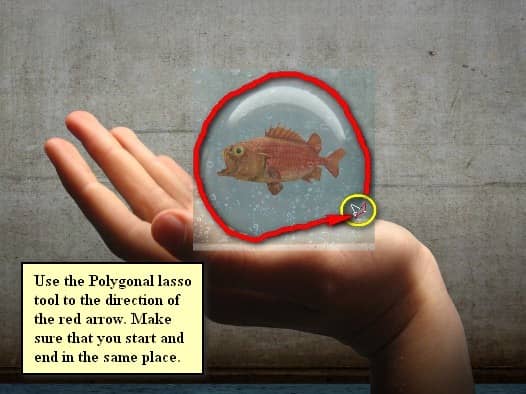
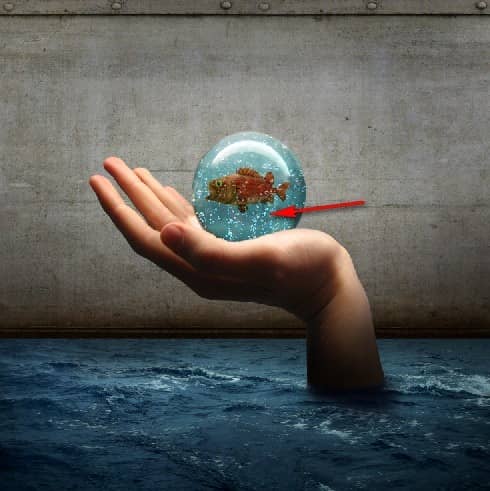
Now we will be adding water in the glass; to do that, open the stock image: “Water on glass I” by deadenddoll stock. Once open, activate the Move tool (V) and drag the whole image to our canvas. Put it on top of the “Fish” group and then rename this layer now to: “Water in Glass” Position this layer as shown below: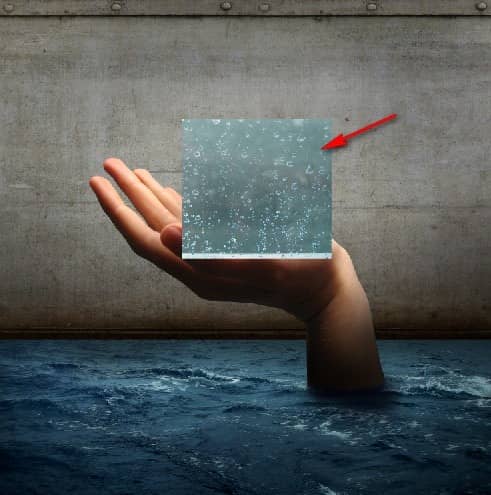
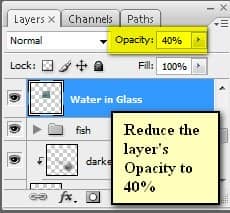

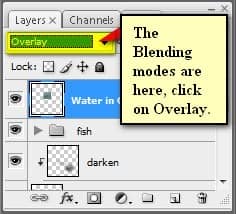

- Blending mode: Hard Light
- Opacity: 100%
Step 7: Add the Textures
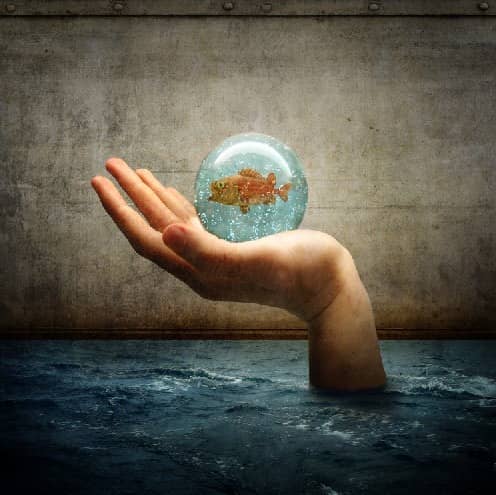
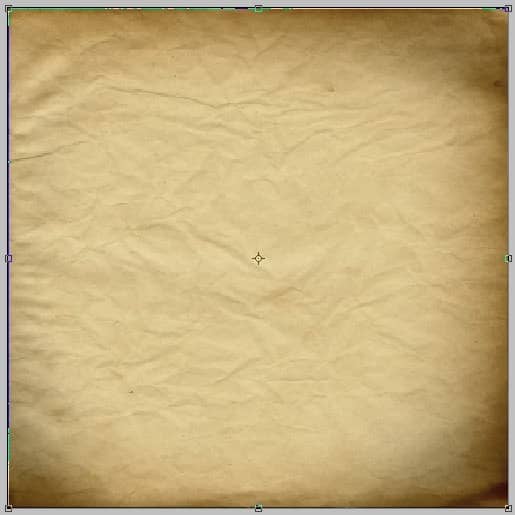
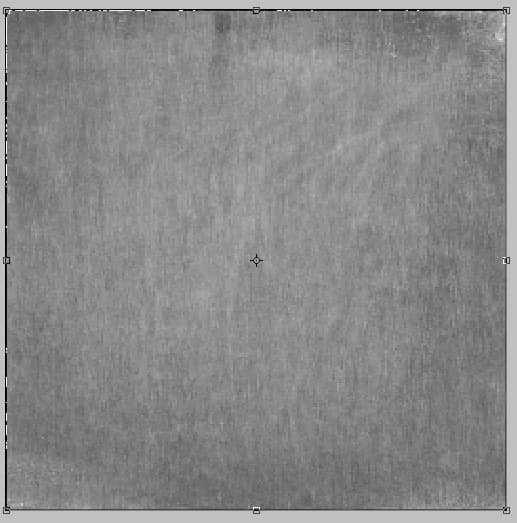
Now, let’s give the image a grungy and dark feel by adding textures. To start, let’s open “grunge” by e dina. Once open, activate the Move tool (V) and drag it to our canvas. Put it on top of all the layers. Position it as shown below:
- Soft Light
- 40%
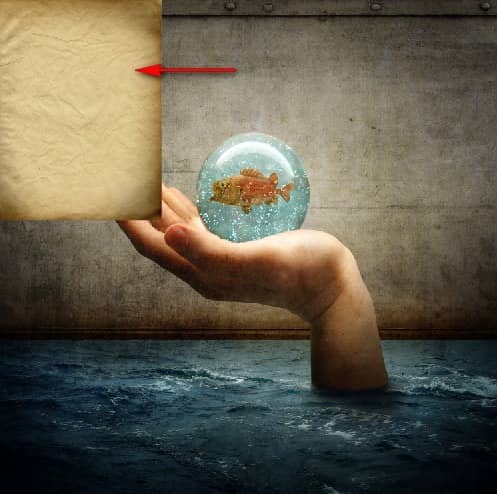
- Blending mode: Soft Light
- Opacity: 40%
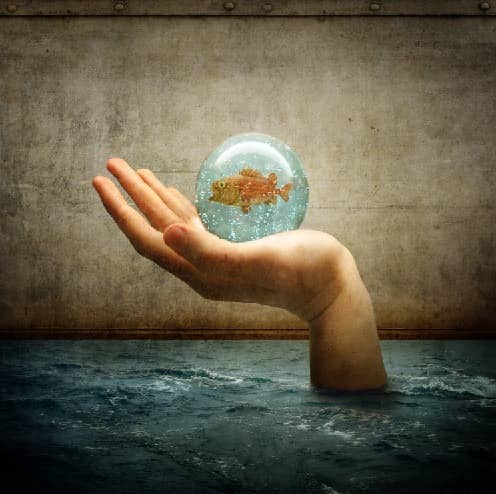
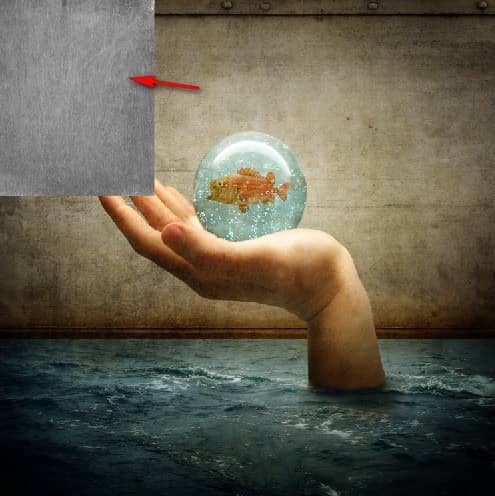
- Blending mode: Multiply
- Opacity: 40%
- Fill: 60%
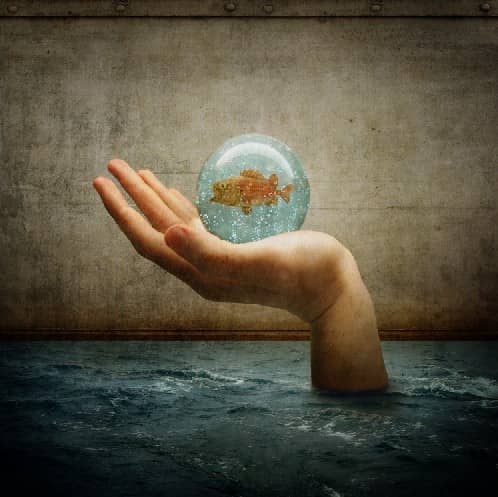



11 comments on “How to Create a Disturbing Scene of a Flooded Room with a Giant Hand Carrying a Fish”
this tutorial was so easy to follow! thank youuuu
I clicked on the link for the 'water in the ball' and it doesn't appear to be there?
All the stock resource links seem to be working on my end. Where are you seeing the link for the water in the ball?
Water on glass 1? https://www.deviantart.com/deadenddoll-stock/gallery/5088128#/dd4c0w .....doesn't show me an image? unless it is a very dark image that has a diagonal line through the middle - doesn't seem to have anything and I'm not sure if I am missing something - wanted to start working on your tutorial today.
Try this link: https://www.deviantart.com/deadenddoll-stock/art/Water-on-glass-I-22037216
I love this tutorial!! Very clear and precise steps, and Great results! Thank you!
I'm not sure if you're still posting since this is kind of an old tutor, but you are an awesome artist! Great walkthrough
a great tutorial and your work flow is fantastic and professional
well done! Thank you.
Great tutorial! The steps are very thorough and easy to follow. Thanks!
thank you very much, I liked very much your work ;)