

Download Lightroom presets and LUTs, absolutely free. Use the presets to add creativity and style to your photos.

Click to create a selection like shown in the image below.
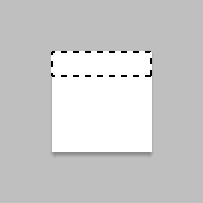
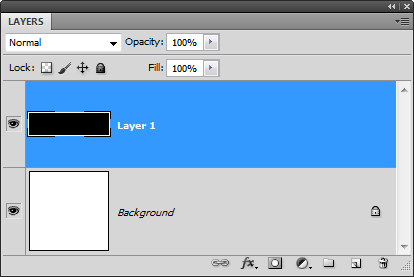
Create a new layer (Layer > New > Layer or Ctrl/Cmd+Shift+N). Fill the selected area with black. You can do this by going to Edit > Fill, setting the contents to black, then clicking OK.
Step 21
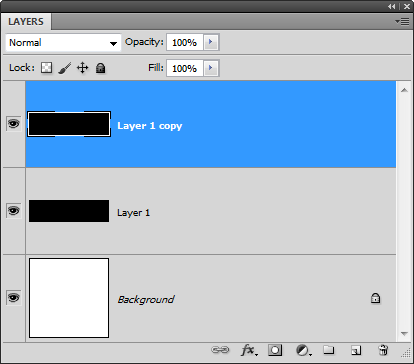
Duplicate the layer (Layer > Duplicate Layer or Ctrl/Cmd+J).
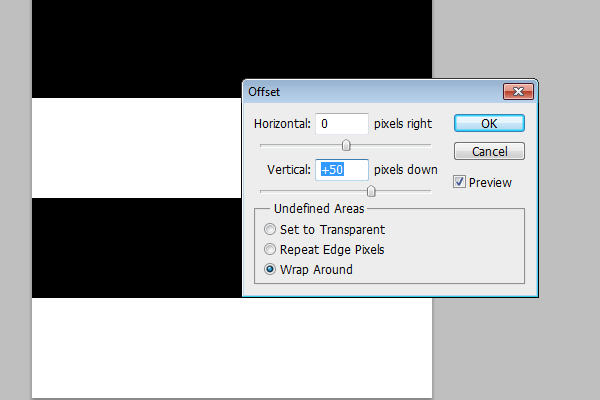
Go to Filter > Other > Offset. This filter is a great tool whenever you want to move an object precisely. We’re going to move it by 50 pixels down so set the Vertical setting to +50 then click OK.
Step 22
We’re going to rotate the image 45 using the crop tool. Before we do this, go to the View menu and make sure that you have the “Snap” and “Snap To > Document Bounds” option selected.
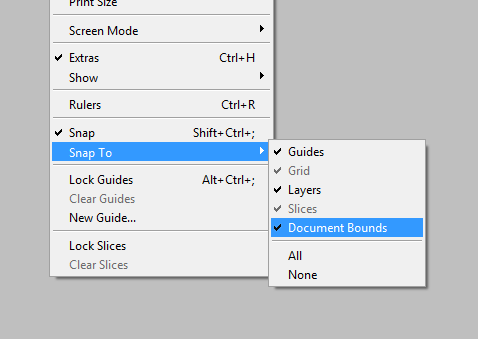
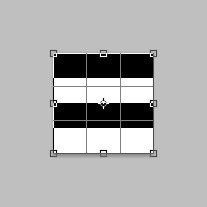
Select the Crop tool then create a crop are of the entire image. To do this, just drag from the top left corner to the bottom right corner.
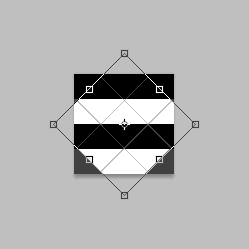
Rotate it by 45°. To do this, position your cursor outside the bounding box then drag. As you drag, hold down the Shift key so that Photoshop rotates it in 15° increments.
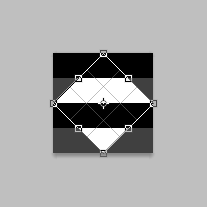
Drag the outer four handles towards the center. It should snap to the document edge.
Step 23
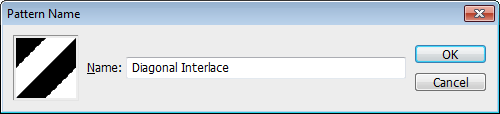
Go to Edit > Define Pattern. Set the name to “Diagonal Interlace” then click OK.
Now that we’re done creating this pattern, close this file (File > Close) without saving and switch back to the original project.
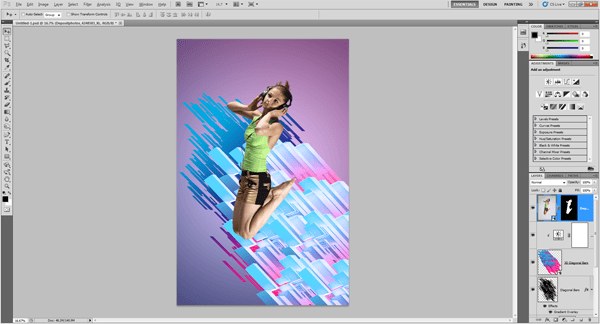
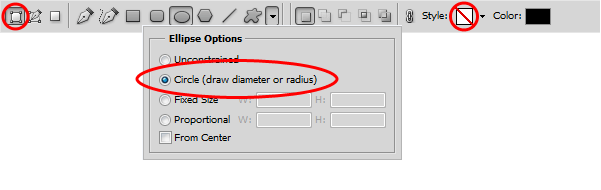
Step 24
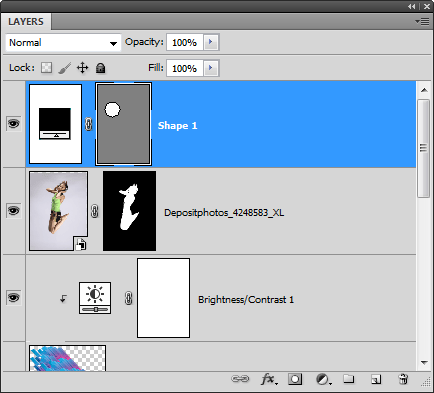
First, make sure you have the top layer selected. Now select the Ellipse tool and, in the Options bar, click on the Shape layers button and set the style to “Default Style (None)”. Click on the drop down arrow to bring up then Ellipse Options then select Circle.
Start by drawing a circle somewhere where you want to add an interlaced circle to.
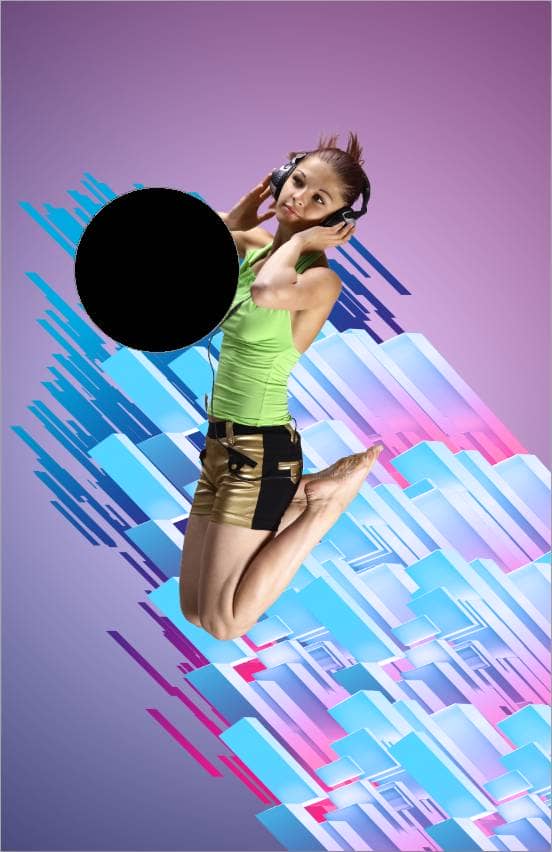
You’ll get a new Solid Color layer as the top layer.
Go to Layer > Layer Style > Blending Options. Set the Fill Opacity to 0%. Don’t click OK yet.
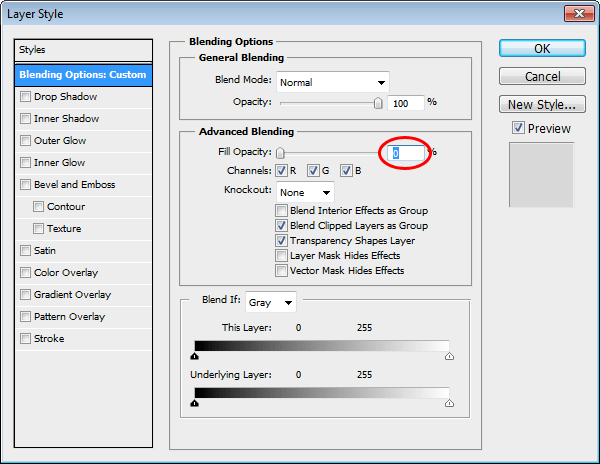
Select the Pattern Overlay layer style. Set the blend mode to Screen and pattern to the “Diagonal Interlace” pattern we just created. Adjust the Scale option to get the results that you like. Click OK to apply the changes.