Make skin look perfect in one-click with these AI-powered Photoshop actions.
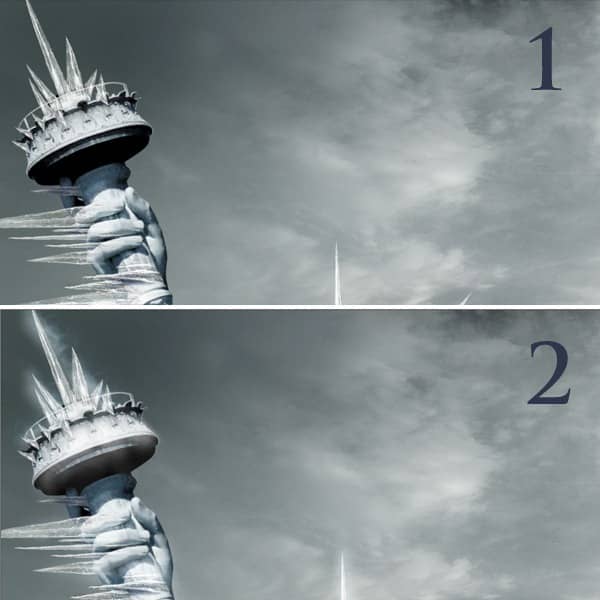
Step 30
1) Get the Icicles stock photo and cut the top part out. 2) Rotate it to have the same angle orientation like the hand of the statue.
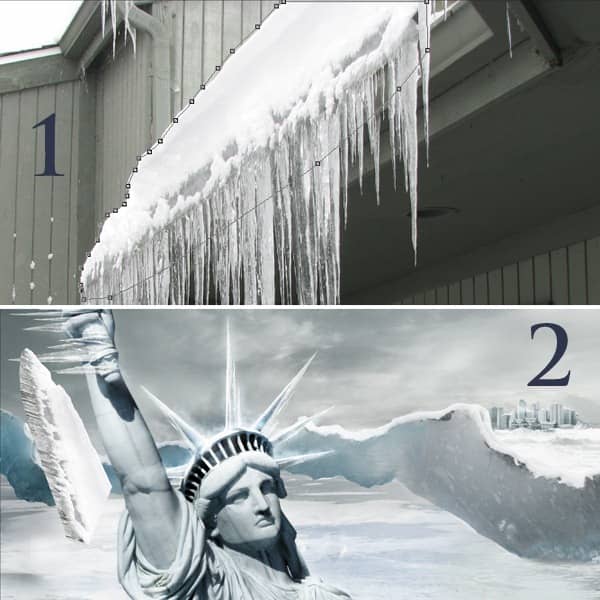
1) Position the ice on the hand. 2) Duplicate the ice layer and use it to mask the entire hand.
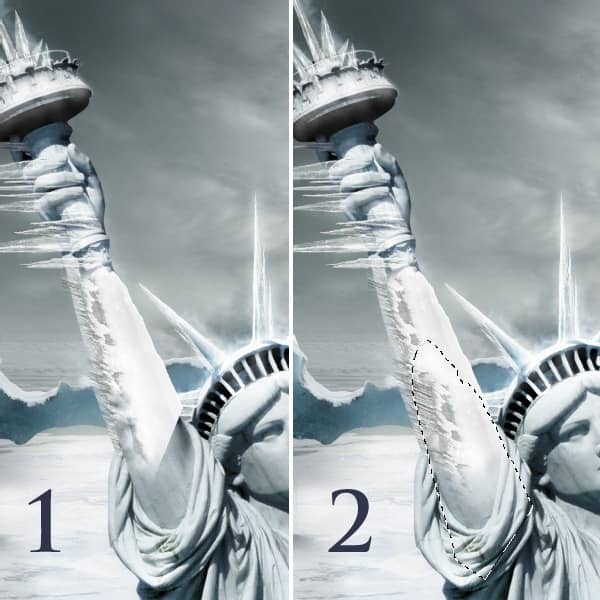
Step 31
1) This is how the hand should look so far. 2) Add more icicles on the arm (you create them just like the ones you did for the hand).
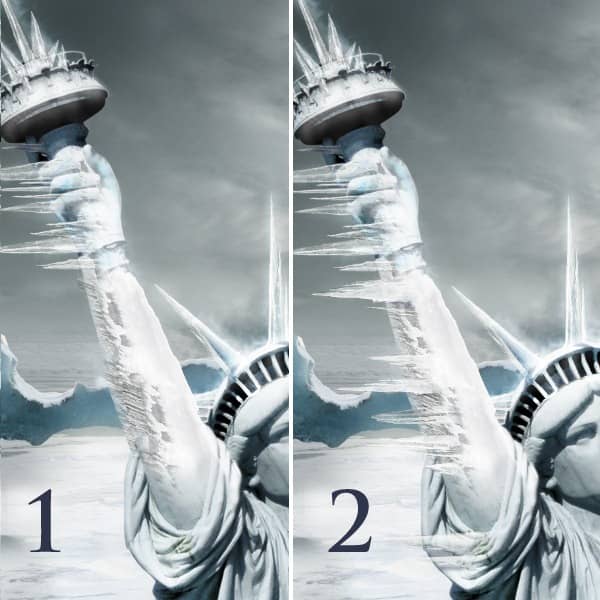
Step 32
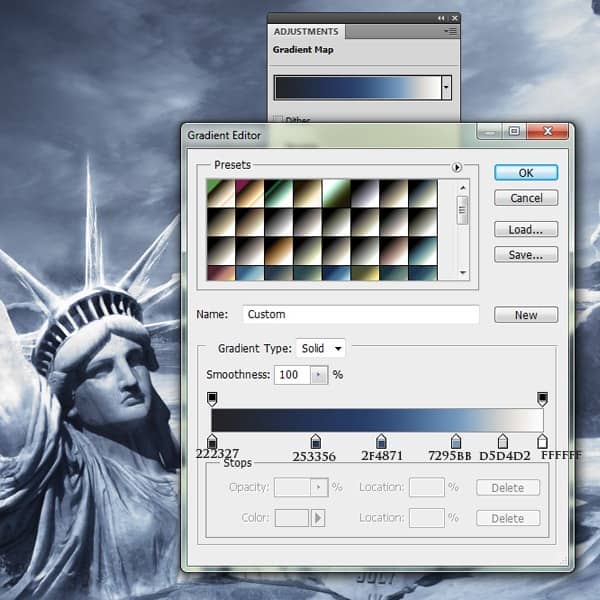
Add a gradient map using to colors shown below:

Step 33
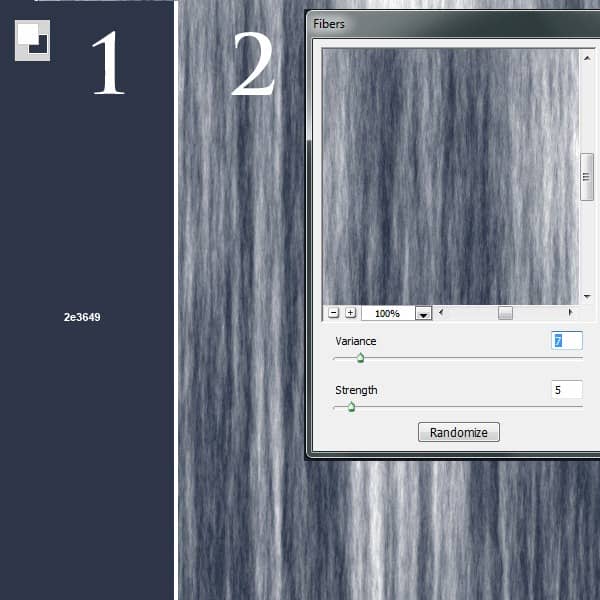
We will create a texture that will give our work some dynamics to make it look like the freezing wind is blowing and leaving its mark on the environment. 1) Make a new Layer and fill it with this color - 2e3649. Make sure your foreground color is white and the background color is 2e3649. 2. Go to Filter/Render/Fiber… and in the Fiber panel enter the values below. You can use the Randomize function until you get something similar.
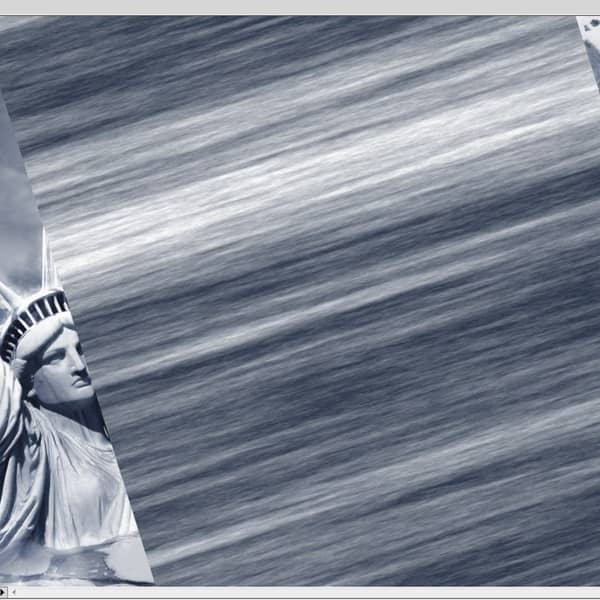
Rotate this texture in an angle similar to the one shown in the image below.
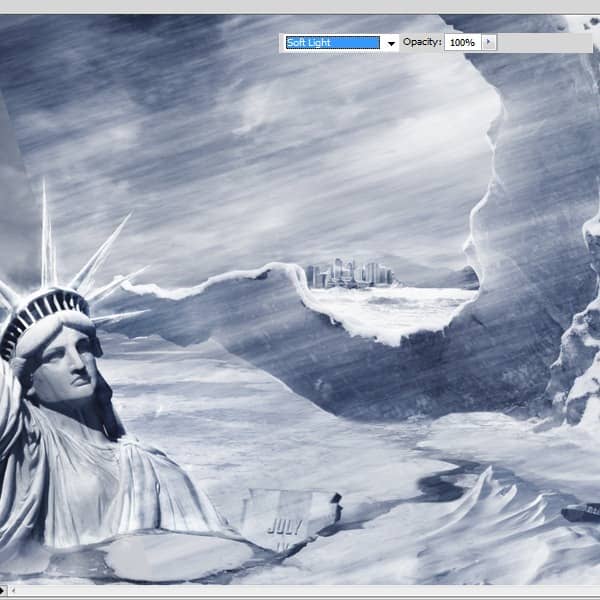
Set the Blending Mode to Soft Light.
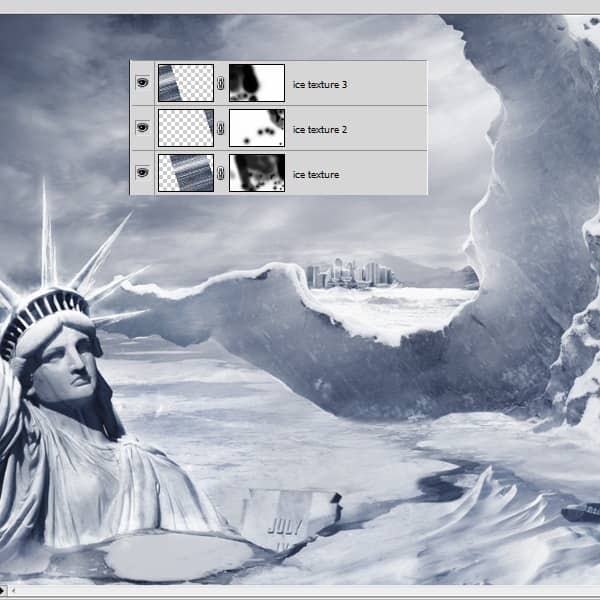
Duplicate the layer created above to make sure it covers the whole image. On the masks of this files use a lower opacity normal brush (50%) and just mask away the places you think the texture shows too much.
Step 34
Go to the Adjustment Layers-Curves. Apply this adjustment to the entire layer.
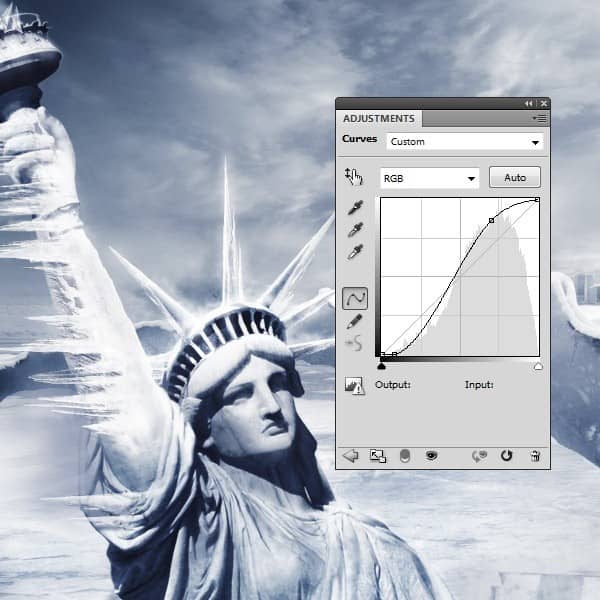
Step 35
Go to the Adjustment Layers-Curves again but apply this only on a few parts that need to be darken. Use the image below as reference.
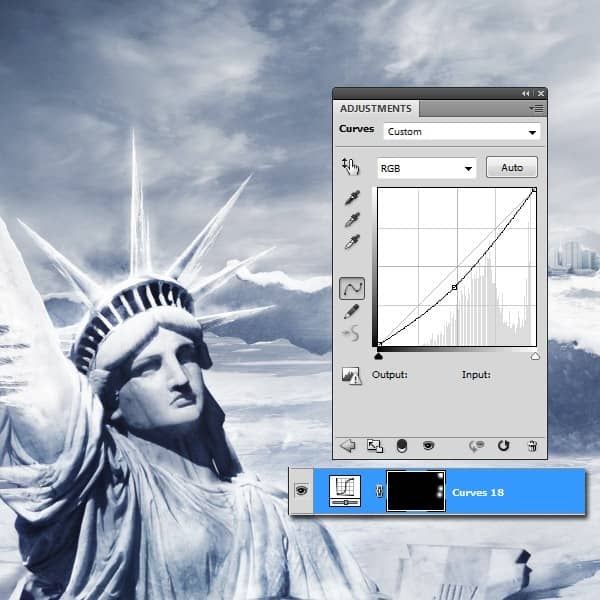
Step 36
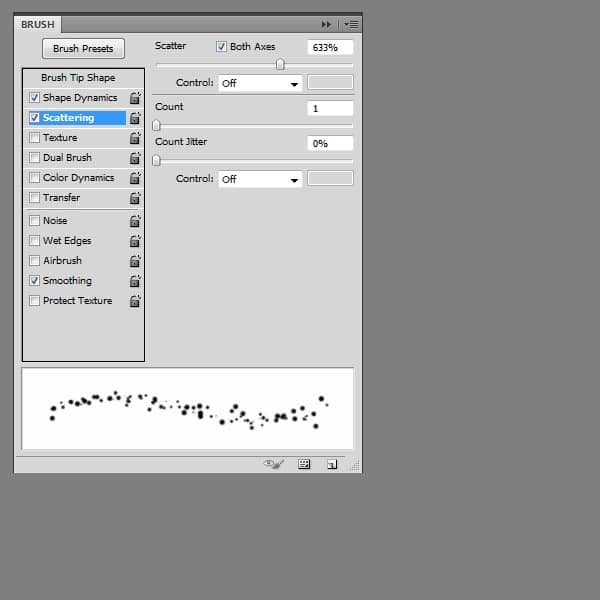
We will create a brush to add snow particles. Go to Window and select Brush. In the Brush Panel use the settings below:
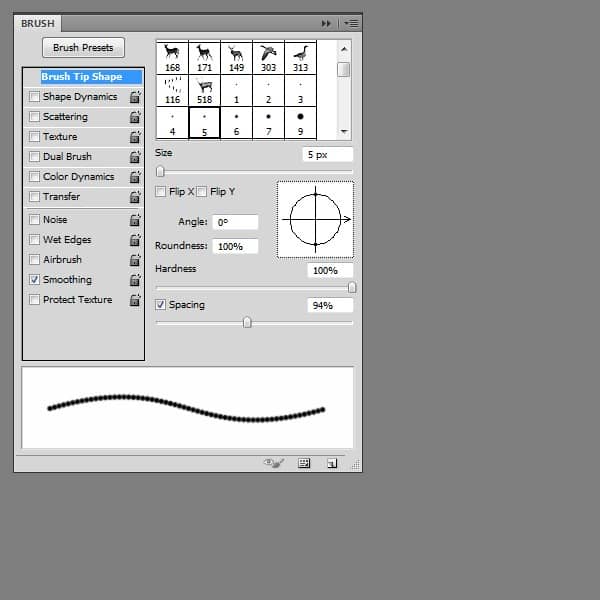
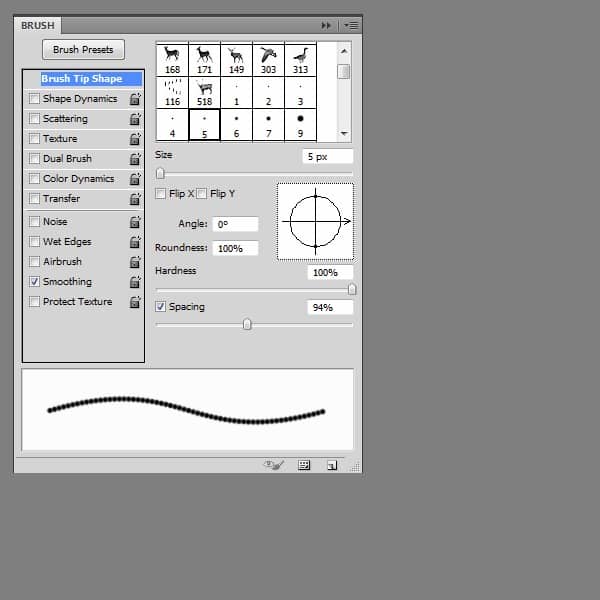
Step 37
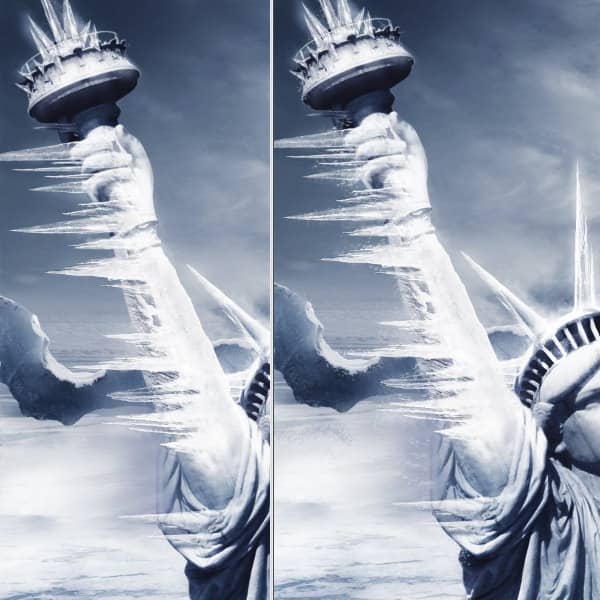
Use the brush created in the previous step and add some particles with lowered opacity to the icicles like in the image below.
Step 38
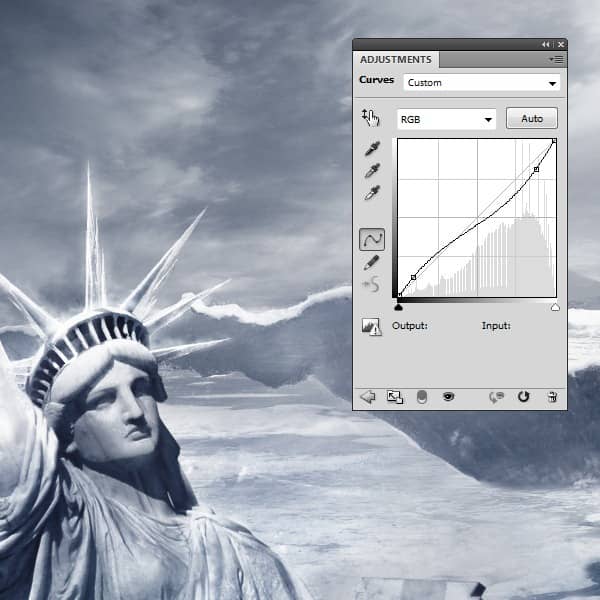
Go to the Adjustment Layers-Curves. Use the settings below.
Step 39
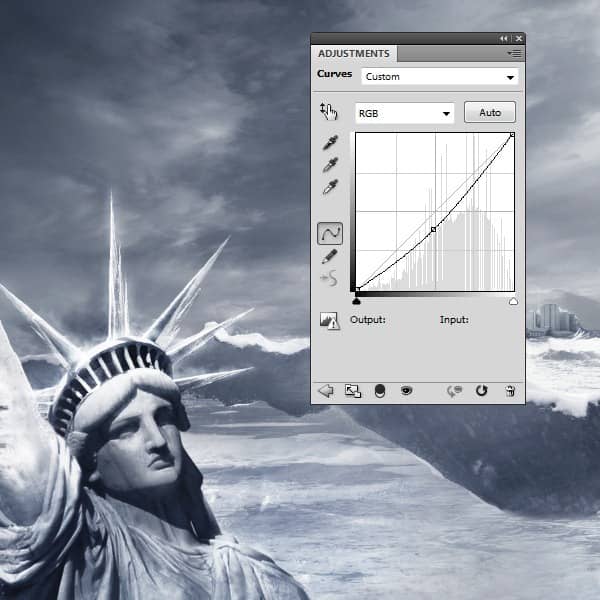
Go to the Adjustment Layers-Curves. Use the settings below.
Step 40
Go to the Adjustment Layers-Gradient map. We need this to change, just a bit the colors, to make them colder. Set the opacity to 33%.
Step 41
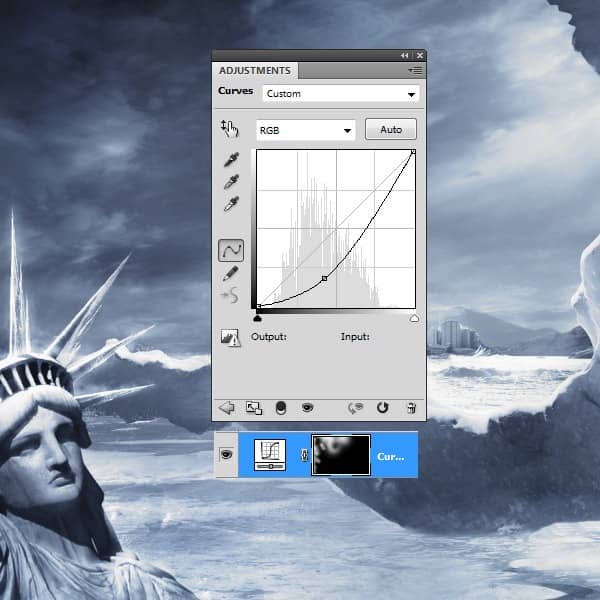
Go to the Adjustment Layers-Curves again, but this time apply it on the upper left corner, just to make it a bit darker.
Step 42
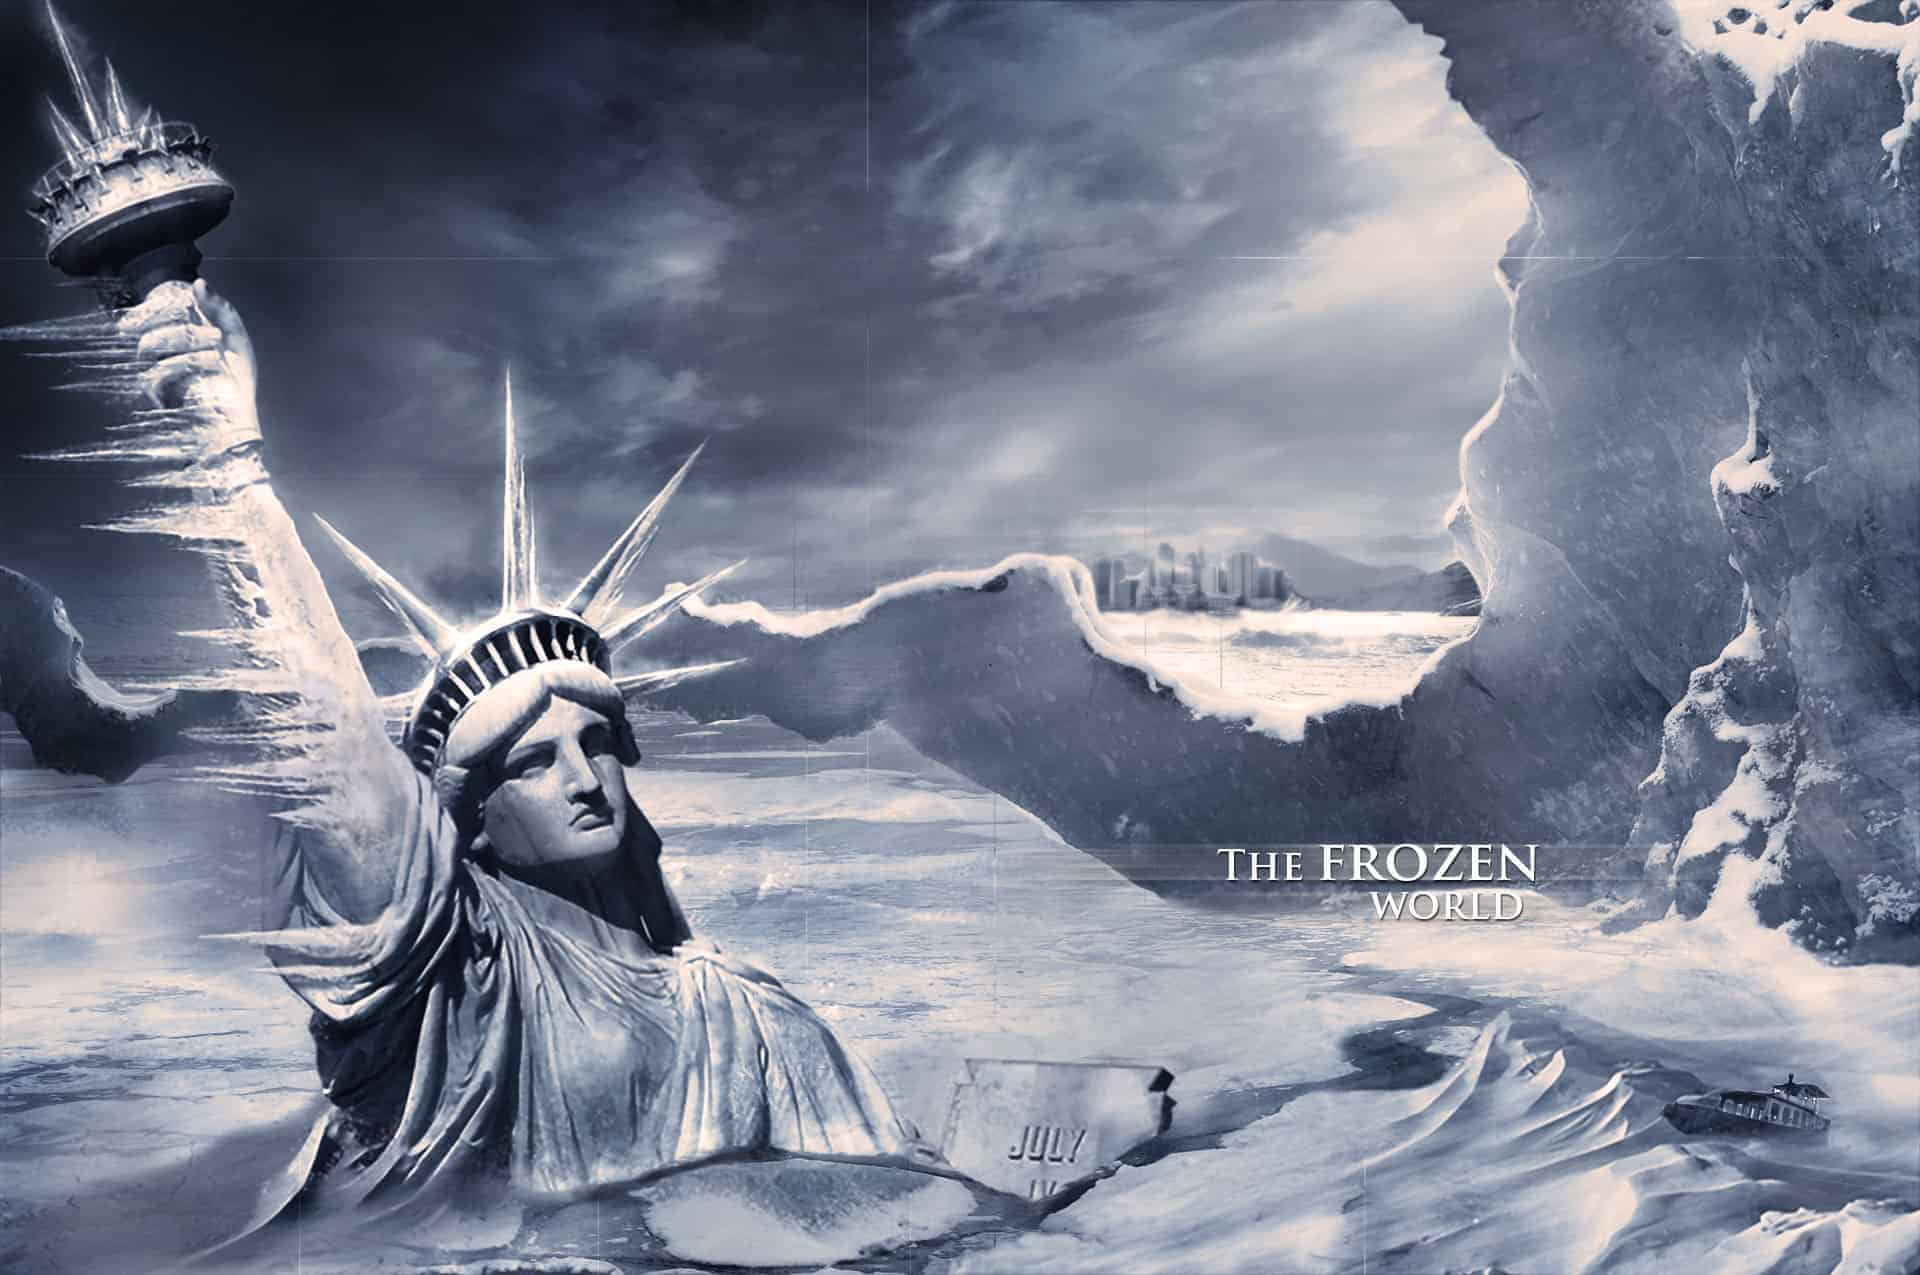
In this step we will make the city in the back look out of focus, to give the whole picture more depth, so go to Filters-Blur-Gaussian Blur (4-5%). Use this filter only on the city.

4 comments on “Create a Frozen Scene Inspired by "The Day After Tomorrow"”
Beautiful, creative and acutely enjoy able!
was keen to do this tutorial but some of the stock files are missing :(
FANTASTIC!!! :)
Wheres the Sky stock image??