Make skin look perfect in one-click with these AI-powered Photoshop actions.
![step-067[6] step-067[6]](https://cdn.photoshoptutorials.ws/wp-content/uploads/2014/02/step-0676-1.jpg?strip=all&lossy=1&quality=70&webp=70&avif=70&w=1920&ssl=1)
Step 68
Add adjustment layer with brightness/contrast. (clipping mask) Set it:
![step-068[6] step-068[6]](https://cdn.photoshoptutorials.ws/wp-content/uploads/2014/02/step-0686-1.jpg?strip=all&lossy=1&quality=70&webp=70&avif=70&w=1920&ssl=1)
Step 69
With soft brush, #4081b7 color, on new layer draw shadows on tree. Set blending mode to Multiply. (clipping mask)
![step-069[6] step-069[6]](https://cdn.photoshoptutorials.ws/wp-content/uploads/2014/02/step-0696-1.jpg?strip=all&lossy=1&quality=70&webp=70&avif=70&w=1920&ssl=1)
Step 70
With the same brush on new layer draw lights on the tree. Change opacity to 26%.(clipping mask)
![step-070[6] step-070[6]](https://cdn.photoshoptutorials.ws/wp-content/uploads/2014/02/step-0706-1.jpg?strip=all&lossy=1&quality=70&webp=70&avif=70&w=1920&ssl=1)
Step 71
Create new layer. Choose spatter 59 px brush #baf3f0 color. Draw on the edges of trees. (clipping mask) Then change blending mode to Soft Light.
![step-071[6] step-071[6]](https://cdn.photoshoptutorials.ws/wp-content/uploads/2014/02/step-0716-1.jpg?strip=all&lossy=1&quality=70&webp=70&avif=70&w=1920&ssl=1)
Step 72
Then with 1px soft brush, the same color, draw light contours. I also prepared some contours of hanging plants :).
![step-072[6] step-072[6]](https://cdn.photoshoptutorials.ws/wp-content/uploads/2014/02/step-0726-1.jpg?strip=all&lossy=1&quality=70&webp=70&avif=70&w=1920&ssl=1)
Step 73 - Making Plants
Create new folder. With soft 1px brush #4c7373 color draw long stroke, under the light countour.
![step-073[6] step-073[6]](https://cdn.photoshoptutorials.ws/wp-content/uploads/2014/02/step-0736-1.jpg?strip=all&lossy=1&quality=70&webp=70&avif=70&w=1920&ssl=1)
Step 74
Now with the same brush draw lianas. Arrows will guide you :)
![step-074[6] step-074[6]](https://cdn.photoshoptutorials.ws/wp-content/uploads/2014/02/step-0746-1.jpg?strip=all&lossy=1&quality=70&webp=70&avif=70&w=1920&ssl=1)
Step 75
Make the same with lower plants.
![step-075[6] step-075[6]](https://cdn.photoshoptutorials.ws/wp-content/uploads/2014/02/step-0756-1.jpg?strip=all&lossy=1&quality=70&webp=70&avif=70&w=1920&ssl=1)
Step 76
On the lowest parts of plants use the same technique.
![step-076[6] step-076[6]](https://cdn.photoshoptutorials.ws/wp-content/uploads/2014/02/step-0766-1.jpg?strip=all&lossy=1&quality=70&webp=70&avif=70&w=1920&ssl=1)
Step 77 - ship
Paste ship png.
![step-077[6] step-077[6]](https://cdn.photoshoptutorials.ws/wp-content/uploads/2014/02/step-0776-1.jpg?strip=all&lossy=1&quality=70&webp=70&avif=70&w=1920&ssl=1)
Step 78
Reduce saturation with Hue/Saturation adjustment layer. Then create clipping mask! :)
![step-078[6] step-078[6]](https://cdn.photoshoptutorials.ws/wp-content/uploads/2014/02/step-0786-1.jpg?strip=all&lossy=1&quality=70&webp=70&avif=70&w=1920&ssl=1)
Step 79
Add color/balance layer (clipping mask). Set it as shown below. Then set blending mode to Screen - it will look like lights from the moon!.
![step-079[6] step-079[6]](https://cdn.photoshoptutorials.ws/wp-content/uploads/2014/02/step-0796-1.jpg?strip=all&lossy=1&quality=70&webp=70&avif=70&w=1920&ssl=1)
Step 80
Mask this layer.
![step-080[6] step-080[6]](https://cdn.photoshoptutorials.ws/wp-content/uploads/2014/02/step-0806-1.jpg?strip=all&lossy=1&quality=70&webp=70&avif=70&w=1920&ssl=1)
Step 81
Then add Brightness/Contrast layer (create clipping mask).
![step-081[6] step-081[6]](https://cdn.photoshoptutorials.ws/wp-content/uploads/2014/02/step-0816-1.jpg?strip=all&lossy=1&quality=70&webp=70&avif=70&w=1920&ssl=1)
Step 82
Mask layer. It will look like shadow :).
![step-082[6] step-082[6]](https://cdn.photoshoptutorials.ws/wp-content/uploads/2014/02/step-0826-1.jpg?strip=all&lossy=1&quality=70&webp=70&avif=70&w=1920&ssl=1)
Step 83
Again adjustment layer with Brightness/contrast. Also clipping.
![step-083[6] step-083[6]](https://cdn.photoshoptutorials.ws/wp-content/uploads/2014/02/step-0836-1.jpg?strip=all&lossy=1&quality=70&webp=70&avif=70&w=1920&ssl=1)
Step 84
Then set color/balance with clipping mask.
![step-084[6] step-084[6]](https://cdn.photoshoptutorials.ws/wp-content/uploads/2014/02/step-0846-1.jpg?strip=all&lossy=1&quality=70&webp=70&avif=70&w=1920&ssl=1)
Step 85
Add new layer. Here you should set 1px soft light-blue brush. Draw gently contours of the ship and fix ropes.
![step-085[6] step-085[6]](https://cdn.photoshoptutorials.ws/wp-content/uploads/2014/02/step-0856-1.jpg?strip=all&lossy=1&quality=70&webp=70&avif=70&w=1920&ssl=1)
Step 86 - corner leaves
In the left corner of picture, paste Corner leaves.
![step-086[6] step-086[6]](https://cdn.photoshoptutorials.ws/wp-content/uploads/2014/02/step-0866-1.jpg?strip=all&lossy=1&quality=70&webp=70&avif=70&w=1920&ssl=1)
Step 87
From menu Filter choose blur > Gaussian blur. Set it as shown below:
![step-087[6] step-087[6]](https://cdn.photoshoptutorials.ws/wp-content/uploads/2014/02/step-0876-1.jpg?strip=all&lossy=1&quality=70&webp=70&avif=70&w=1920&ssl=1)
Step 88
Add adjustment layer with hue/saturation. (Clipping mask).
![step-088[6] step-088[6]](https://cdn.photoshoptutorials.ws/wp-content/uploads/2014/02/step-0886-1.jpg?strip=all&lossy=1&quality=70&webp=70&avif=70&w=1920&ssl=1)
Step 89
Now, holding ctrl, choose Leaves and Hue/Saturation layers. Duplicate it.
![step-089[6] step-089[6]](https://cdn.photoshoptutorials.ws/wp-content/uploads/2014/02/step-0896-1.jpg?strip=all&lossy=1&quality=70&webp=70&avif=70&w=1920&ssl=1)
Step 90
Then transform it (ctrl +T, or Free transform from "Edit" menu). I flipped it horizontally and changed position.
![step-090[6] step-090[6]](https://cdn.photoshoptutorials.ws/wp-content/uploads/2014/02/step-0906-1.jpg?strip=all&lossy=1&quality=70&webp=70&avif=70&w=1920&ssl=1)
Step 91
Wow! You are on good way! Add layer. Now with 300 px soft #6dcff6 color brush, draw as shown. It will be glow.
![step-091[6] step-091[6]](https://cdn.photoshoptutorials.ws/wp-content/uploads/2014/02/step-0916-1.jpg?strip=all&lossy=1&quality=70&webp=70&avif=70&w=1920&ssl=1)
Step 92
Next, you should choose from menu Filter > Blur > Gaussian blur.
![step-092[6] step-092[6]](https://cdn.photoshoptutorials.ws/wp-content/uploads/2014/02/step-0926-1.jpg?strip=all&lossy=1&quality=70&webp=70&avif=70&w=1920&ssl=1)
Step 93
Change blending mode to Soft light and opacity to 41%.
![step-093[6] step-093[6]](https://cdn.photoshoptutorials.ws/wp-content/uploads/2014/02/step-0936-1.jpg?strip=all&lossy=1&quality=70&webp=70&avif=70&w=1920&ssl=1)
Step 94
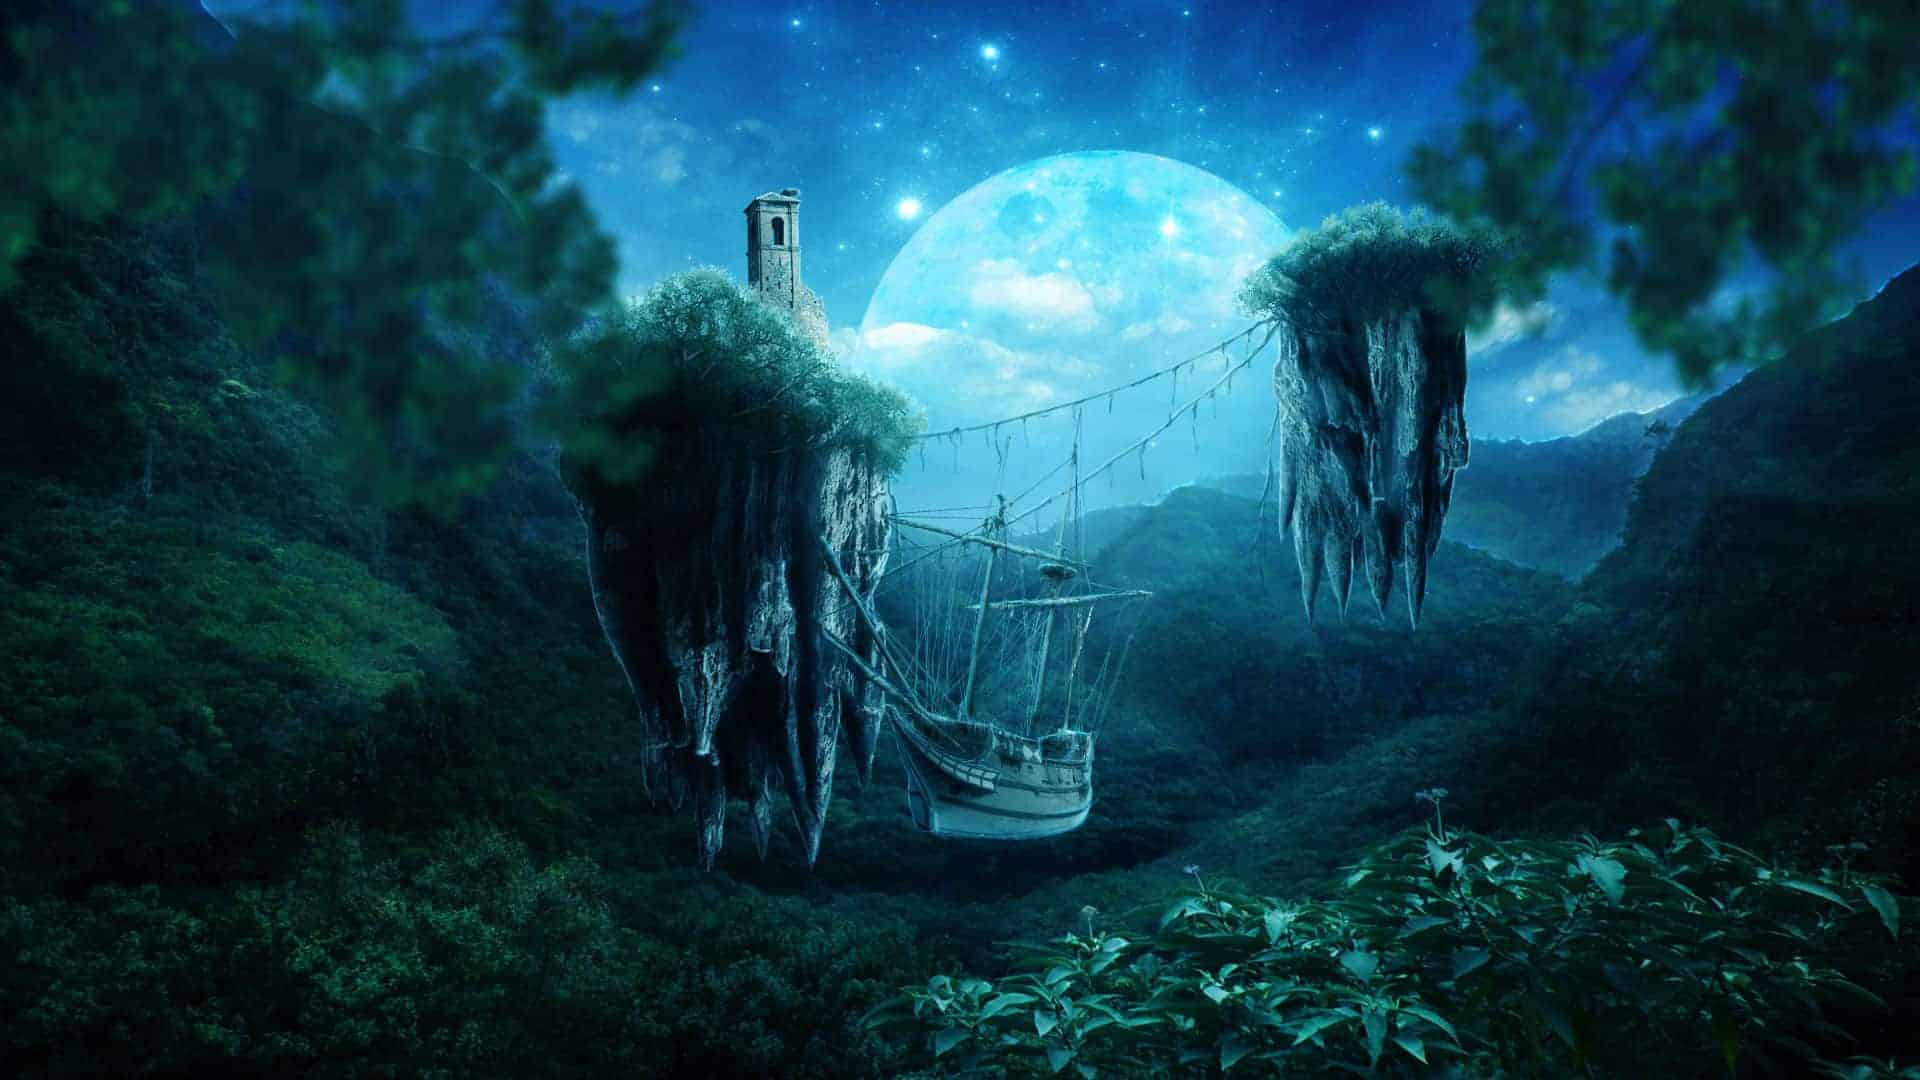
Now you should add new layer. Choose big (800px) soft, white brush. Draw large dot on the moon. Then change blending mode to Soft Light.


30 comments on “Create an Incredible Twilight Surreal Scene with Floating Islands”
Great tutorial! It looks fantastic.
Thank you very much is a great job and I was surprised by the castle, since it belongs to my city Almadén (Ciudad Real) has been an incredible detail.
regards
Super cool ❤
Thanks, love this tutorial, and thanks for posting. Explains a lot of techniques. One thing I would add is to delete (or mask or cover) the stars that are showing thru from behind the moon. Unless they are meteors, they would not be visible behind the opaque moon.
My 2 bits
what's a spatter brush?
(:: - Step 55
Create new layer. (Hey! Without making clipping mask :]) Choose spatter 59 px brush #baf3f0 color. Draw on the edges of trees.)
can u sent me this tutorial
amazing show
This is completely insane! I am glad you offer the resources to get started as well.
A lot of material can't download, site won't open
amazing!! great to see the amazing work of great experienced art directors!!
my final is not really the same (lol)...
thanks for the tutorial, i had fun trying it :)
In Step 4, you say "At adjustment layer make mask". What does this mean? I'm pretty new to this, so any help would be great!
Hi, can someone please explain to me in details how step 4 and 5 was done? After I made a new mask layer and colored in red the sky area, I then proceed to paste the sky stock. That sky stock image appeared as a new layer and not on the mask layer called "Sky - mmtEvr6." How do you merge the sky layer with the landscape to appear as one image?
Thank you.
For merging two layers, select both layers and press Ctrl + E.. Hope this helps..
Hi Monika,
Fantastic Tutorial..! Thanks for posting..! I too have a blog with Photoshop Tutorials aimed for beginners..
Keep on posting nice tutorials like this.. Happy to revisit..!
Its great, Thankyou.
Bonjour;Je vous remercie beaucoup pour votre tutoriel et l'utilisation des calques et des masques.
Je vous souhaite à tous une bonne journée à tous
This is really nice. I loved the your photoshop. it ok
its so cool.., absolutely great tutorial, thank you so much for make this tutorial.. ^ ^
great tutorial thank you so much i like it
Would be really nice if you would inform me when you use my stock in a tutorial - we could do some social sharing and promotion
Kind Regards
Eve
The photos are really amazing
This is really nice. I loved it!!!
thank's so match I like that
I think this could have all been a lot shorter now that i've read through the whole thing.
For one, hyper links, use them and just say repeat this process such as the saturation, hue, contrast and brightness factors, as well, it's really hard to learn this tutorial if you were a beginner, saying to just "mask" something is far easier said than done if you have no idea more effective ways of doing the like with the quick mask or the layer mask.
I hate the ship, it's like heres rocks and trees and everything natural not a single bit of water showing, oh and here's a ship. I took it out of mine on personal choice but it's up to you.
Last thing I'd say is the rocks you created, they look far more detailed then just using a brush to create them I'd say you took multiple layers using different sections of the rock each time and layered them on top of each other to give more depth to the photo, if you want nice crisp clean jagged rocks try using the lasso tool and deleting the brush layer piece by piece.
hater
Wow, love this tutorial! Amazing job, I should try it out myself. ;)
i like your work style
Fantastic graphics work..Have to ask all of our designers to follow your articles..Thank you so much..
What a great tuto! Trying to be better in photo manipulation this was really helpfull.
Just having a weird result on step 30 when trying to add lights to the stone, it needed to be set at 5% opacity not to have those white mass...
And also step 56 I'm not able to have something like yours, I just have this white edge as if it wasn't well cut out, took me time to fix it but nevermind, I learnt a lot thank you! (and sorry for my bad english ahah)