Download Lightroom presets and LUTs, absolutely free. Use the presets to add creativity and style to your photos.
Step 7
Open another rock image. Cut out the selected part of the rock.
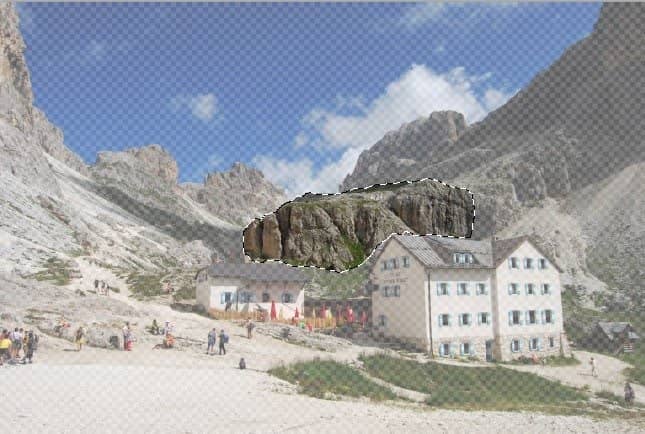
Step 8
Do almost similar way to this cut out as the previous ones. Copy-paste to the main document, duplicate, place where needed, and mask them.
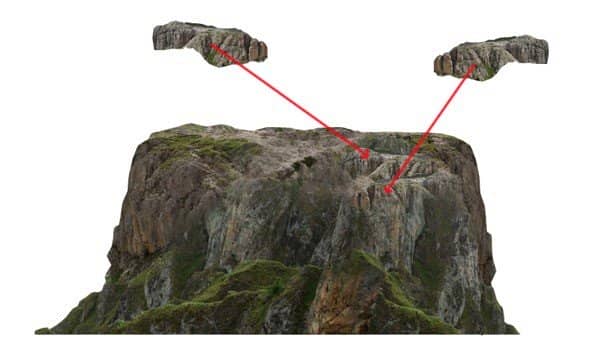
Step 9
In this step we will add more rock to de added to the custom rock. So we will repeat the similar steps as we did in the previous steps for the other cut out rocks. Open the rock image and cut out the selected part.
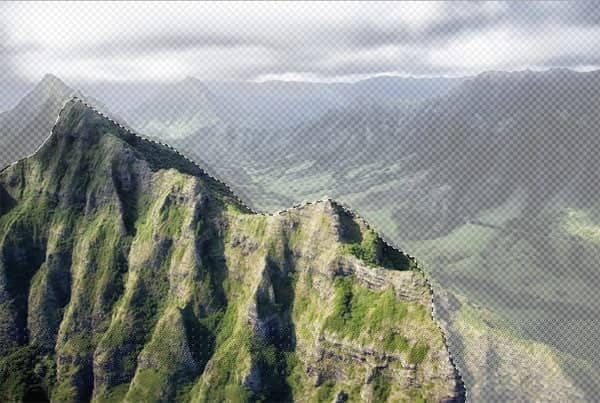
Step 10
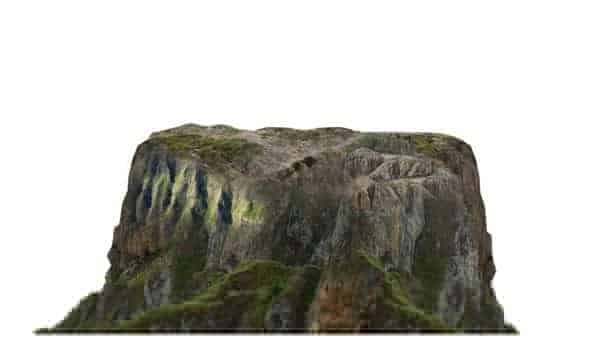
Add the cut out to the main document. Scale its size and position it where needed. I named this layer more rock 3
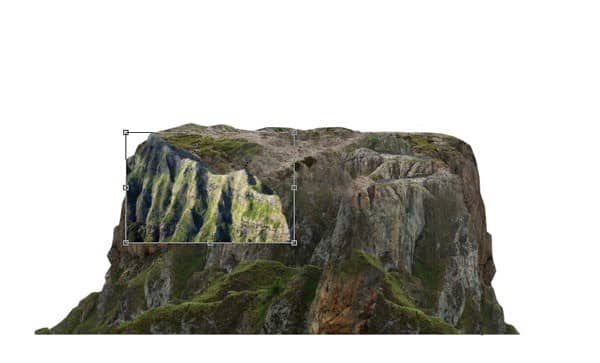
Finally, mask the cutout.
Step 11
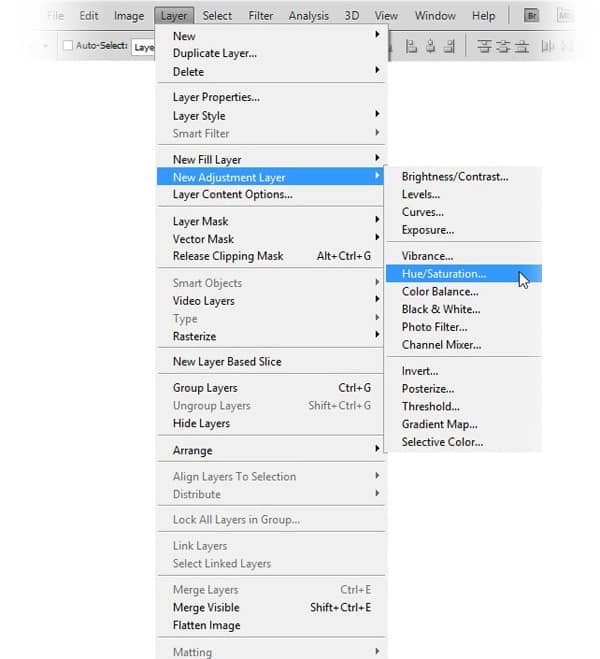
Next, we will alter the color of the more rock 3 image by giving it a new adjustment layer is that hue/saturation. To achieve this, go to layer > new adjustment layers > hue/saturation.
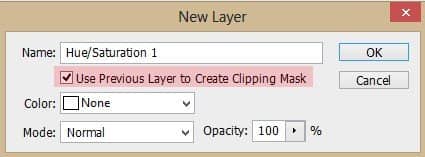
When the new layer option box shows up, check the Use Previous Layer To Create Clipping Mask. This will give this new layer a clipping mask.
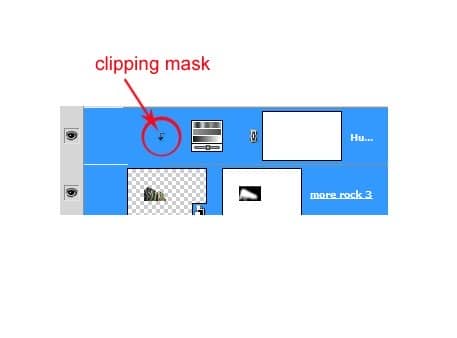
A layer with a clipping mask is indicated by a small downward- pointed arrow next to the layer.
Set the value of the hue/saturation as shown below.
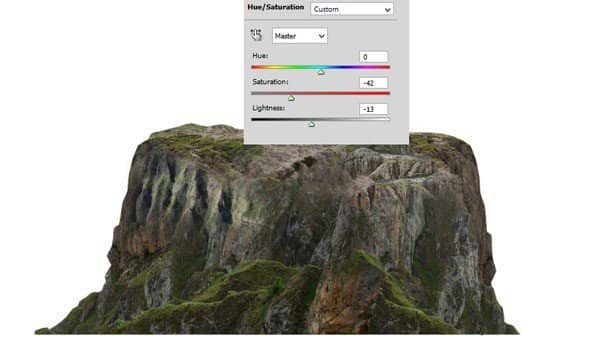
Step 12
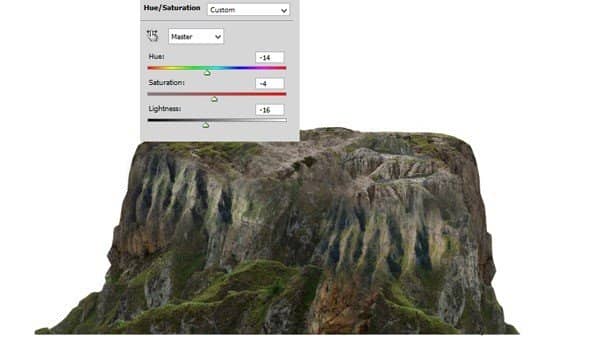
Duplicate the more rock 3 layer. Place the duplicate where needed. Mask it and finally give it a hue/saturation with a clipping mask the same way as in the previous step 11. Set the value as shown below:
Select all the custom rock layers in the layer panel.
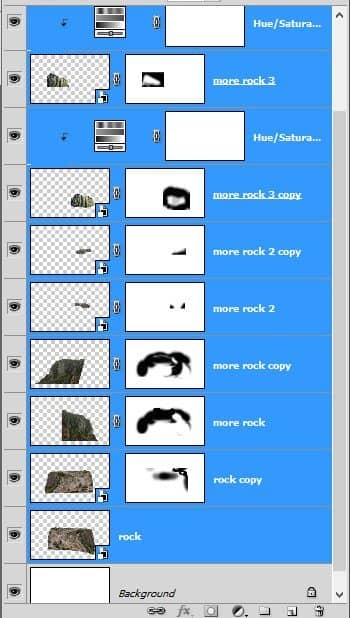
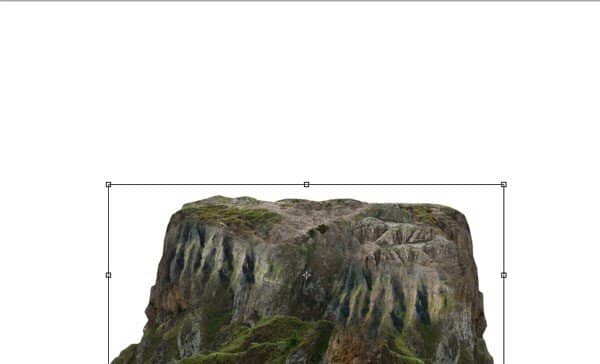
Finally hit Ctrl+E to merge them into a new single layer. I named this layer middle rock. That’s it…we are done with the custom rock. I named this layer middle rock
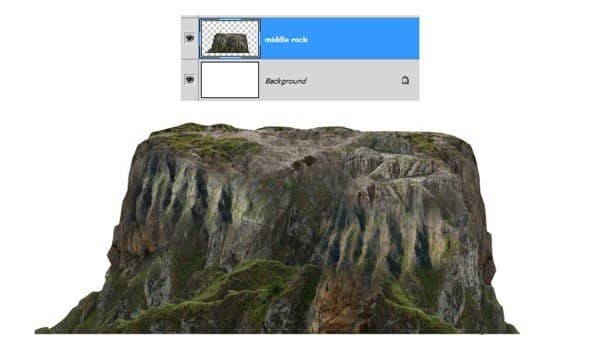
I placed the middle rock right in lower center position.
Step 13
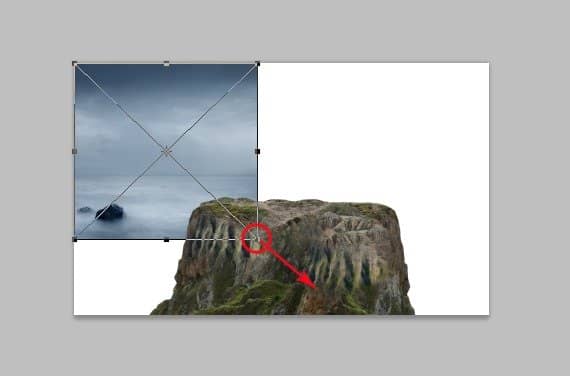
Now we will add background for the scene. Open the stock image in the main document. Make sure the image layer is beneath the middle rock layer. When it is already in the document, activate the free transform tool. We will scale the image up. While pressing the Shift key on the keyboard, click, hold and drag the lower right transforming tool to scale the size up.
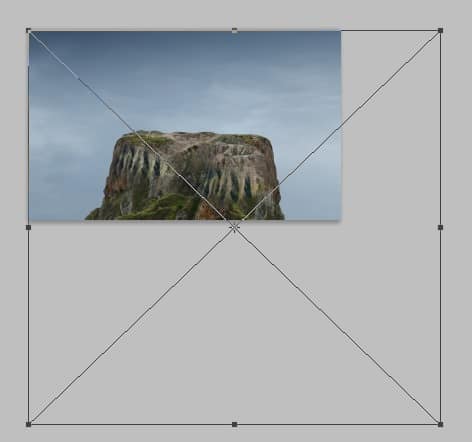
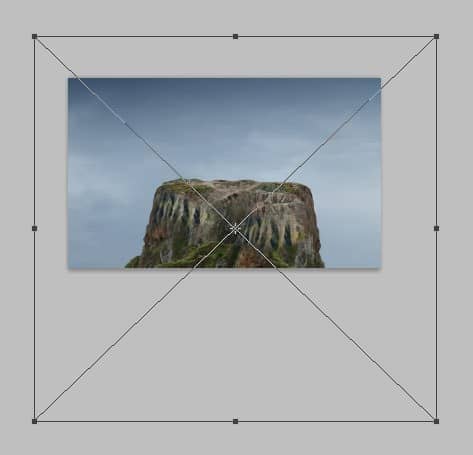
We just need the cloud of the image, so after scaling the size, move the image where needed to get the best part of the cloud to be used as the background of the scene. I had the one as shown in the screenshot for my own background.

Step 14
Next, we will give the background some blur filter. I gave it surface blur. To achieve this filter, go to filter > blur > surface blur.
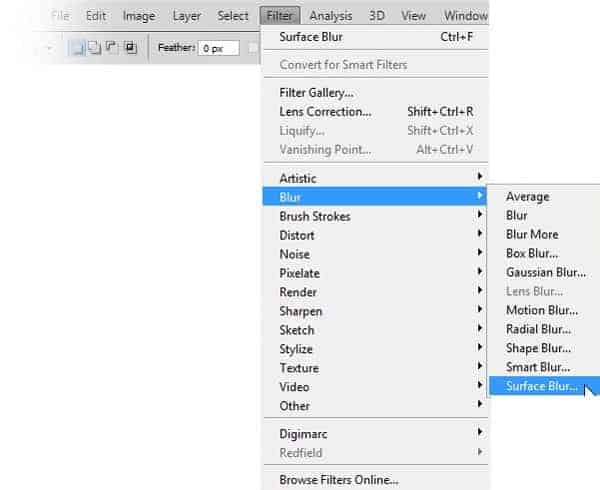
Here is the value of the blur given:
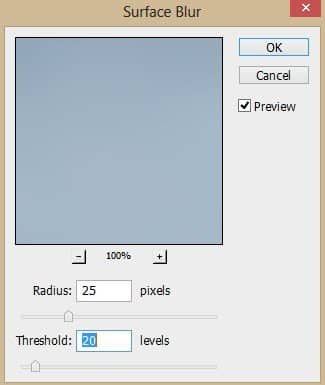
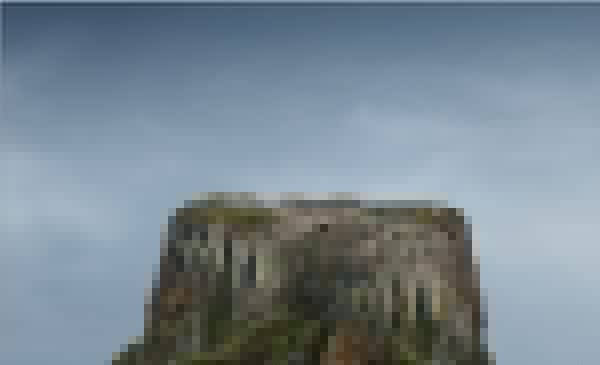
And here is the result. This blur give a smooth effect on the cloud which is supposed to be misty coverage for the scene.
Step 15
Duplicate the background layer. Set the duplicate to multiply blending mode. We can change the blending mode by clicking the blending mode option located in the layer panel.
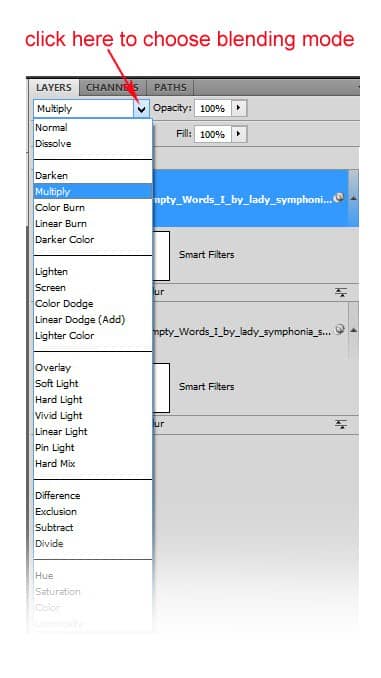
Set the opacity of the duplicate to 100%.

Step 57
This is the result should be:
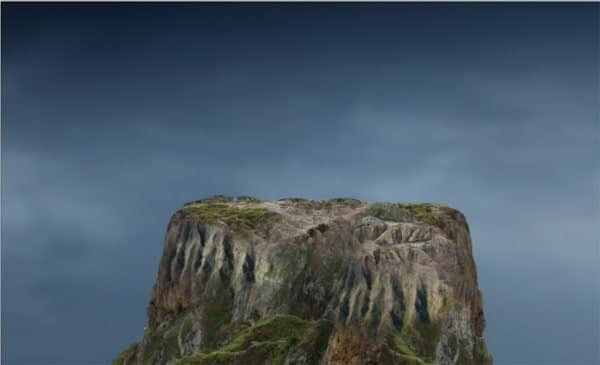
Step 16
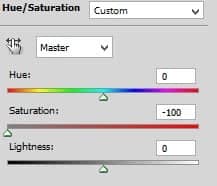
Make sure we are still active on the duplicate layer, now go to layer > new adjustment layers > hue/saturation. This will create a hue/saturation layer above the duplicate layer. Make sure not to give this hue/saturation a clipping mask. Here is the value of the hue/saturation
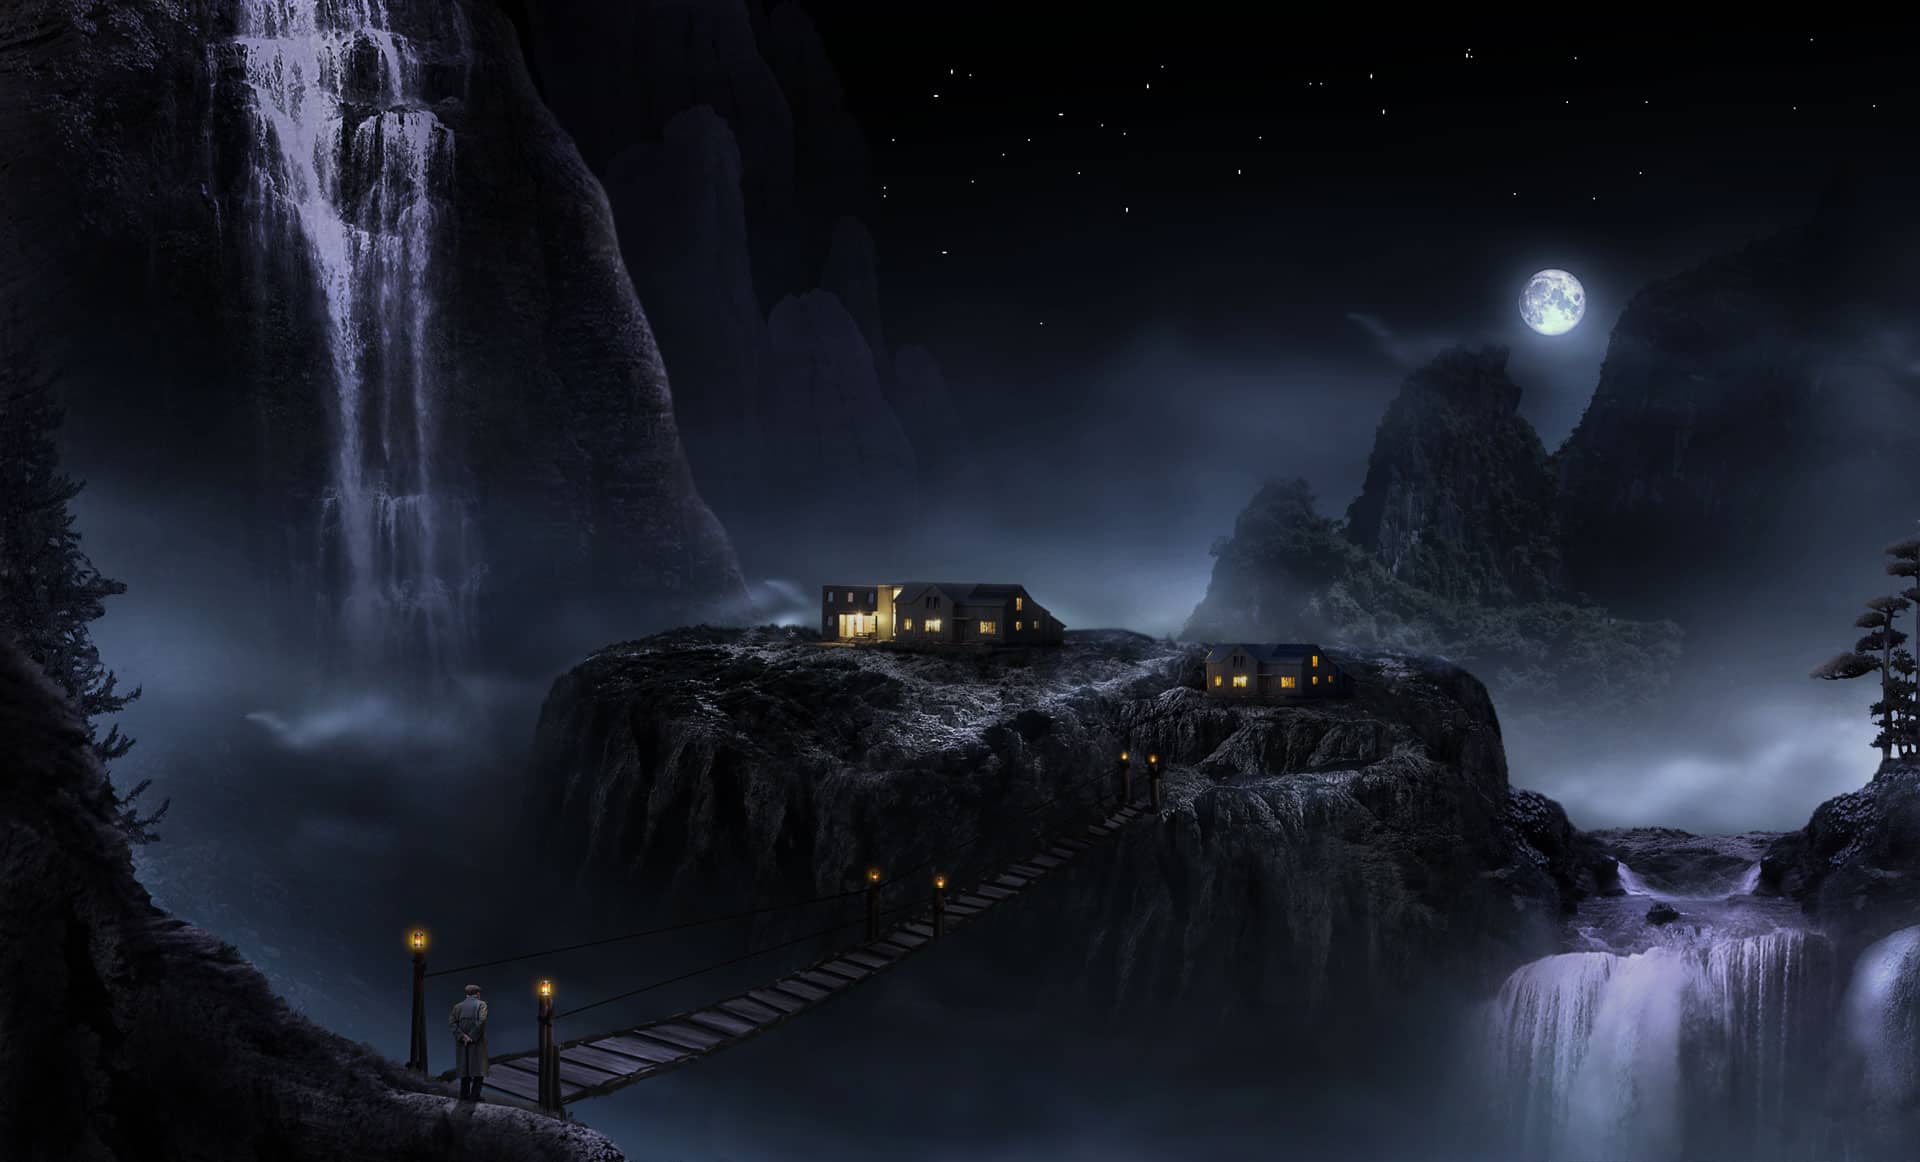


27 comments on “How to Create a Marvellous Night Landscape with Waterfalls”
the download link won't work
Thanks Zach! It's fixed now
Very awesome tut here. Sometimes I wanna make my images a little more "fantasy", but I always feel like I lack the creativity.
stunning
i am triying to remove background
Great article! Thank you!
thank you
I was unable to get the 2 waterfalls as my security wont let me and the Rock6 was not sure which one you wanted...really want to learn this but am having issues ~ thank you
wooooooooooooowwwww awesome
awesome and unique collection of sequence photography i love it.
Thank for sharing.
sorry, i didnt get step 16...i hit -100 on HS but the color changed to totally black n white! whats wrong?
this is what we call it "creative mind"
This is amazing! I'm going to try it out soon! Thanks Dek.
AWESOME.PERIOD
You did an excellent job of step by step tutorial with pics which helped me understand why and the reason for each.
Thanks ;)
I like your tutorial a lot!
But, sorry if it sounds dumb, how do i copy-paste the cut out into the main document (step 3)? It doesn´t work with ctrl+c/ctrl+v...
firstly select the cut out (hold-press Ctrl and click the thumbnail of the cut out layer. when it is selected, hit Ctrl+C and then be active on the main document, paste (ctrl+v) the layer on it.
very good tutorial I love your technique
thanks for share
Excelente tutorial, el modelo nolo encuentro, saludos desde España
Hola malissimo,
Aquí lo puedes encontrar: http://photoshopworld.ru/lessons/507/old_man.jpg
Un saludo desde Francia
___
Btw, thank you for this tutorial. This is impressive. And I learnt new useful techniques.
how do you get of masking??????????
If you see red than press Q to get out of quick mask. If you dont see red, just click on the left thumbnail of your layer... the left one not the right thumbnail.
pathi thane sollirukinga
This is a magnificent masterpiece. Excellent explanation. Thank you very much.
Duuuuuuuuuuhhhhhhhhhhhh!!!!!!!!!!!!!!!!!! Mwanangu jembe unatisha kinoma
I like yer tut... good