
Make your artwork look like they're from an alternate universe. These Cyberpunk presets work with Photoshop (via the Camera Raw filter) and Lightroom. Download all 788 presets for 90% off.
Step 31 - Screen
Reduce the saturation (Ctrl +U) in the option saturation -100. Change the layer mode to screen
Change the layer mode to screen ![image066[6]](https://cdn.photoshoptutorials.ws/wp-content/uploads/2013/10/image0666.jpg?strip=all&lossy=1&quality=70&webp=70&avif=70&resize=589%2C418&ssl=1 "image066[6]")

Step 32 – Rezise the ball
Press Ctrl+T to make the size of the ball fits the model’s hands.

Step 33 - Layer mask
Hide the parts that are over the model’s fingers.

Step 34 - Paint
Paint with a white soft round brush over the ball the opacity has to be low 25%

Step 35 - Shadow
To make some shadow in her hands you create a new layer and paint with a black brush also with 25%. The layer mode has to be overlay.

Step 36 - Snow
To add snow to the ball, use a snow brush.

Now you have to make it into the ball

Step 37- Snow in the background
You can use the same brush as before, but you have to change size and opacity. The first layer is going to be apply just in the background.
Modify the brush settings use more spacing and more scattering

Step 38 – Motion Blur
To make the snow look realistic add a motion blur to the flakes (Menu – Filter – Blur – Motion blur) Angle: 30 and Distance: 28

Step 39 – layer settings
Change the opacity to 50% and the Fill to 70%.

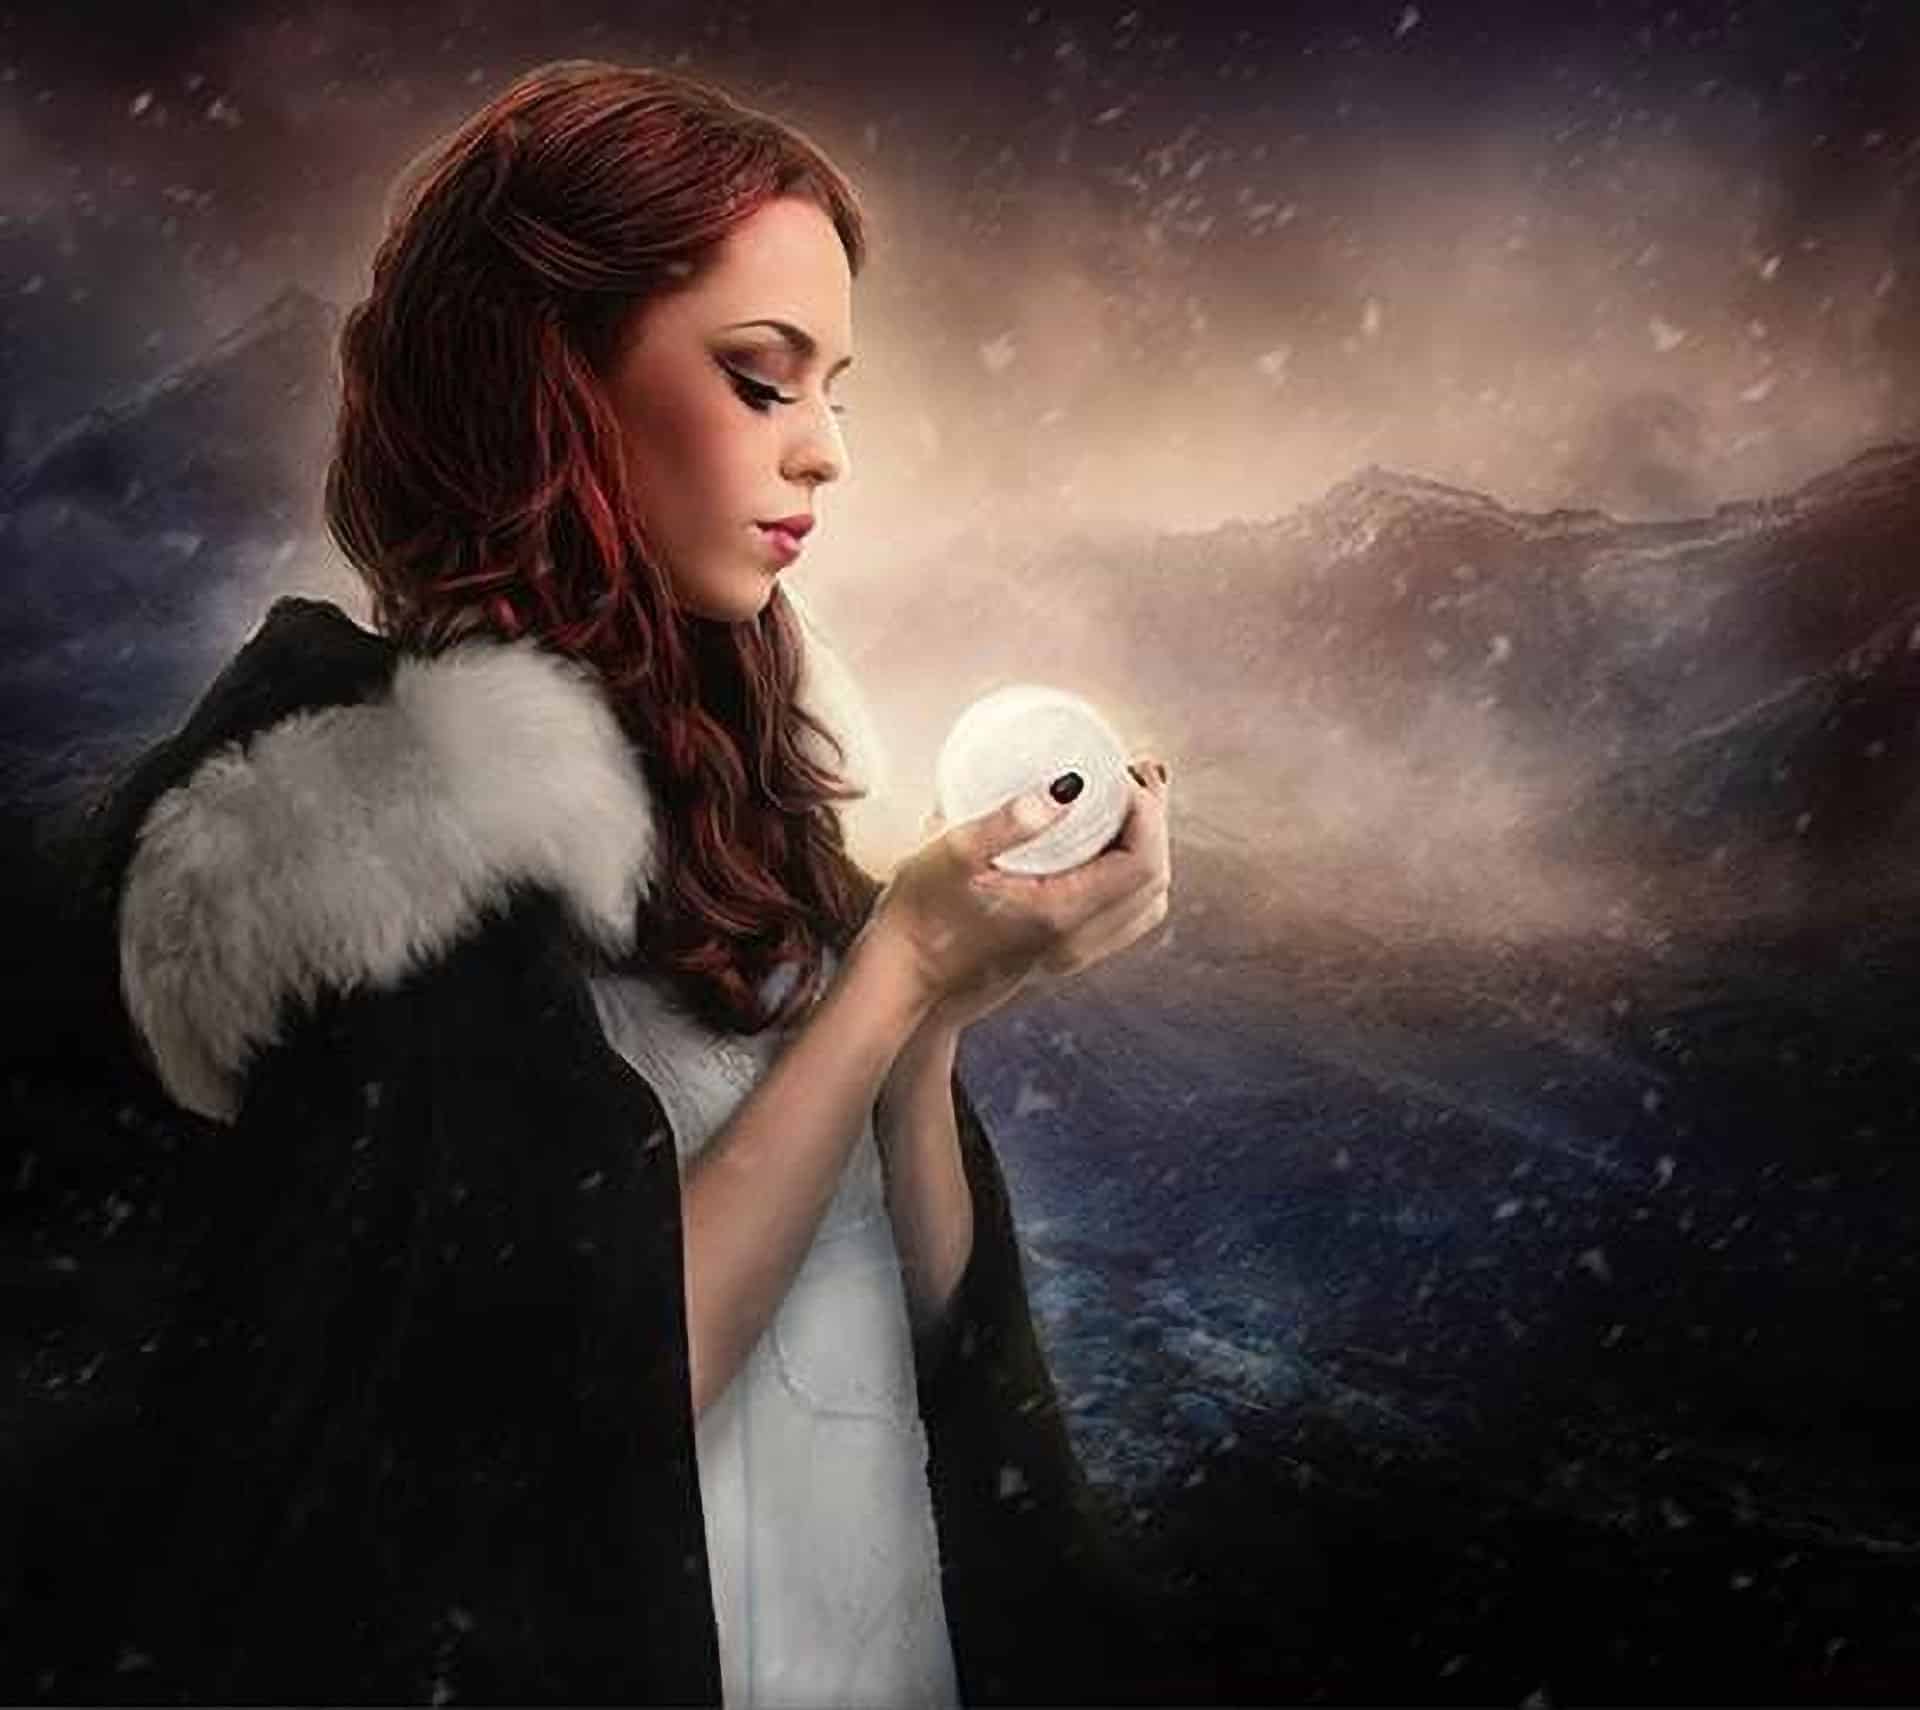
Step 40 - Emphasis
To give more emphasis to the model paint around her with a white soft round brush, to give the effect that light is coming from behind her.

Step 41 – More Snow
You still need to add snow in front of the model, so repeat the process before, but this time create two layers one with flakes almost the same size as before, and another one with bigger ones.

Step 42 - Snow
Paint over the model’s hair and coat to give a look like it’s having snow on it, also do this to the mountains in the background, pick a chalky brush, a white one and paint, reduce the opacity if you need to get a natural look (It’s optional, just if you think is to strong) . Change the settings of the brush mark brush dynamics and Scattering.


Step 43 - Light
In a new layer paint over the model with a orange soft round brush, the opacity is 30%

Step 44 - Light
Another layer of light, but in this one you have to use a white brush and the layer in normal mode with 65% of opacity.

Step 45 – White Details
Pick a white soft round brush with 2px (Pen Pressure set to the tablet) and paint in the siluette of the model like this:

Step 46 - Shadows
To make the shadows pick a black soft round brush, you can use a big one, and to make details use a smaller one. I set the pressure to the tablet, so if you want it darker just have to make more pressure and if you want it sutil apply just a lil bit of pressure.
If you don’t have a tablet you can use a 20% of opacity and then go and change it to 50% if you want darker spots.

Step 47 – More Shadows
Make more shadows in the model dress and arms, with the same technique.

22 comments on “Create a Surreal Game of Thrones Photo Manipulation”
How to download material (Pic etc) for making the photo
Thanks for the great tutorial! You're very good at this!
Can you do a tutorial for the winter is here poster?
Actually the link for the 'mountain' is at http://burtn.deviantart.com/art/Mountain-Trail-259366061
You have done a great work here....thats are amazing...........
These are beautiful designs! Typography can be so powerful.
Me hubiese gustado el tutorial en YouTube, es q soy principiante..
Awesome tutorial
Great. I was looking for tutorial like this :) Amazing. Thanks.
I tried placing the second background and it went through me.
Andrea como siempre espectacular con tu creatividad y su realización, me encantas....Tu amigo José
You are amazing, your work is truly a work of art!!!
Another amazing tutorial. Thank you so so much for sharing and spreading the power of knowledge.
nice.. very good
very nice, thank you...but can you fix the second image in step 36?
Very Useful.
thanks
wow this is epic ..
can you please tell me why i can not load your Tutorial Resources.I like this totorial so much
nice tut, thank you
I'm glad you like it!
You misspelled Burt N
Amezin...
Art....
Plez.... Keep touching with me
@lonelymax@