Turn any photo into a dot grid artwork with these Photoshop actions. You'll get great results with dots that change size. They get larger in brighter areas and smaller in darker areas. Free download available.
- Import the image of the Night Sky on to the canvas and place it behind the BG layer.
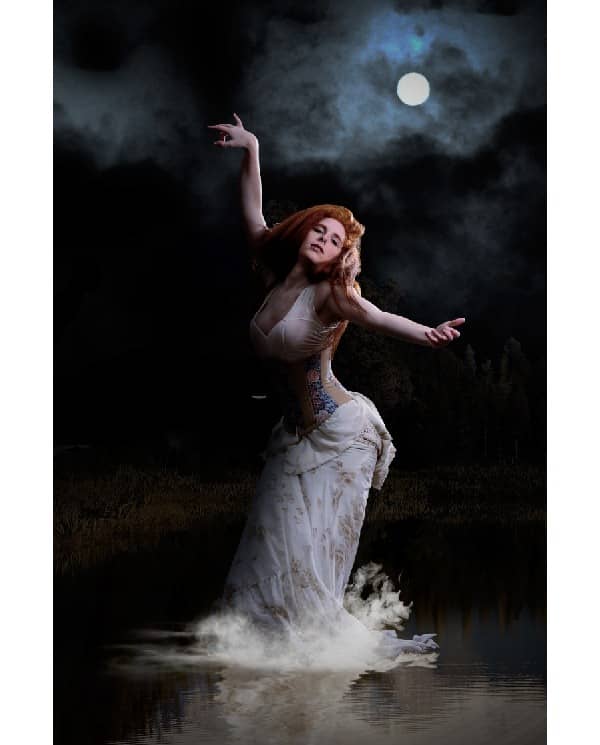
2) Now duplicate the sky layer and flip it vertically and move it downwards and place it as shown. Then name the layer as Sky Reflection.
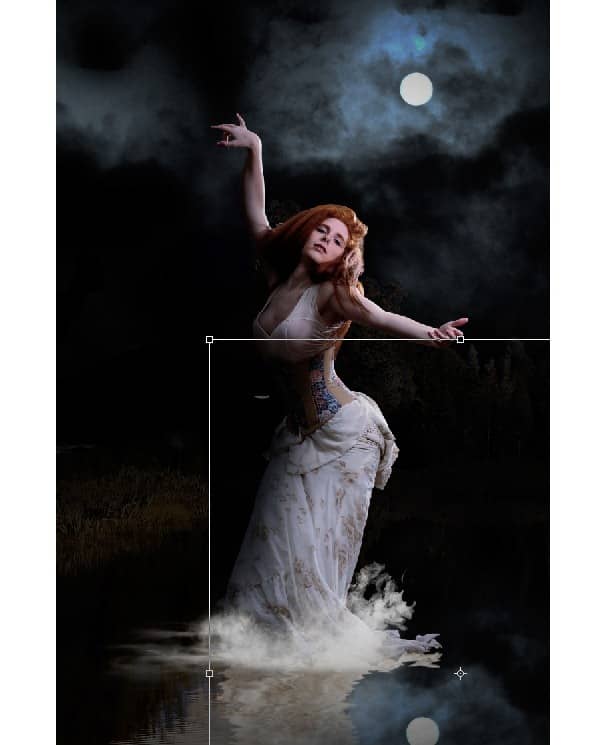
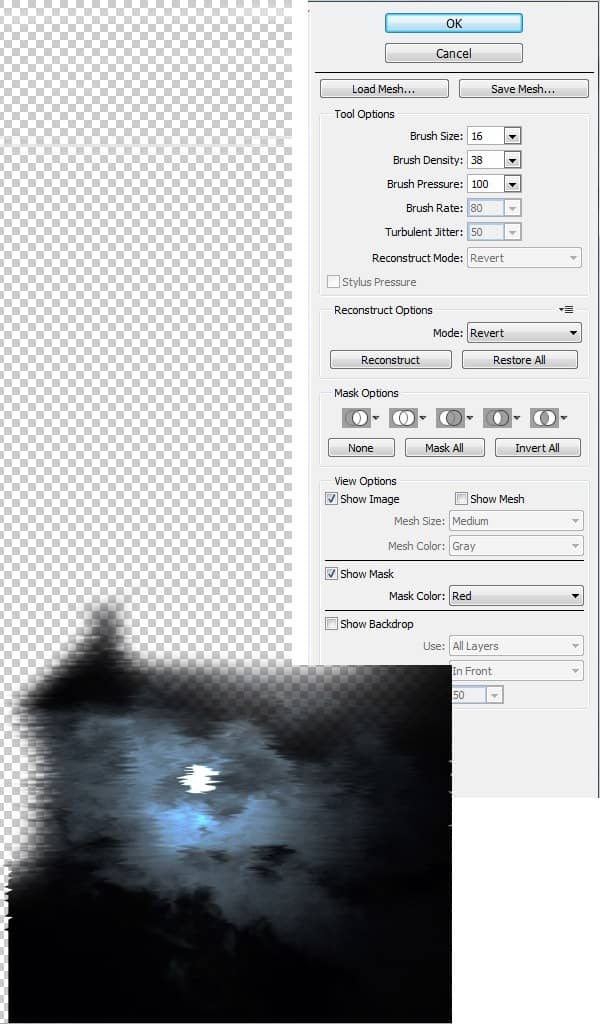
3) With the Sky Reflection layer selected open the Liquify Filter and set the Brush Size=16, Brush Density=38 and follow the same procedure as we did in the step4.
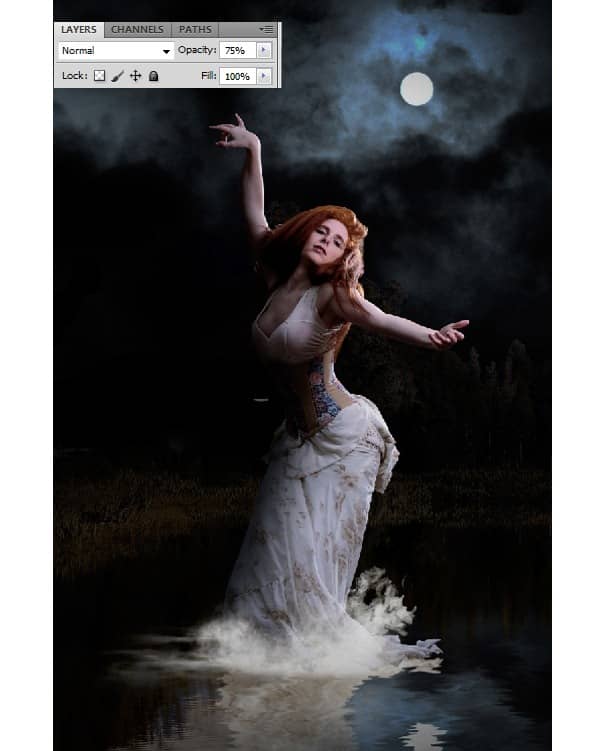
4) Now set the Opacity of the Sky Reflection layer to 75%.
Step 10
In this step we are going to create a wooden house in the background.
- Cut the image of the Wooden House into a new layer using the Pen Tool (P).
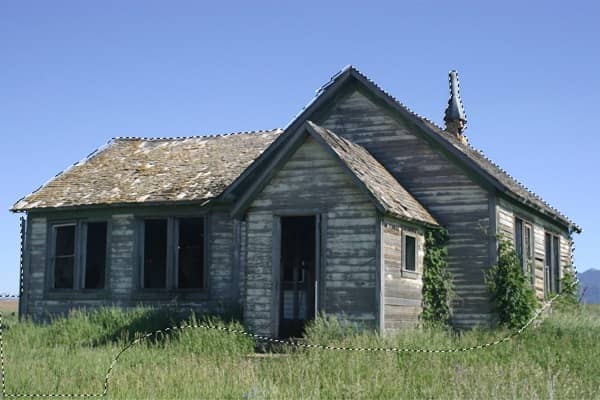
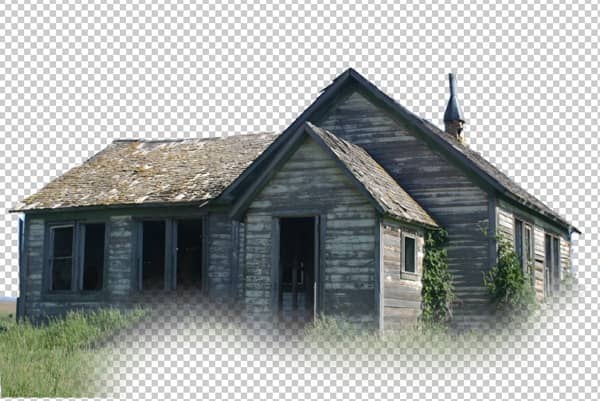
2) Now import the house image on to the working canvas and place it on the left side as shown.
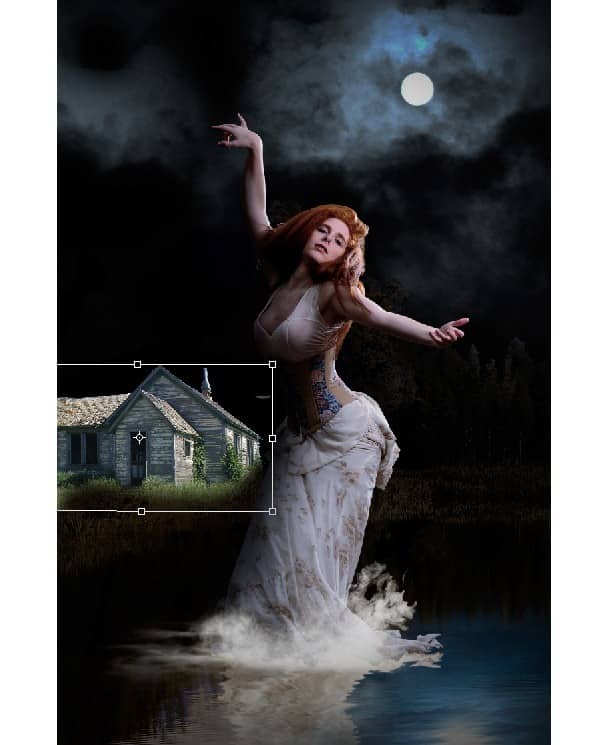
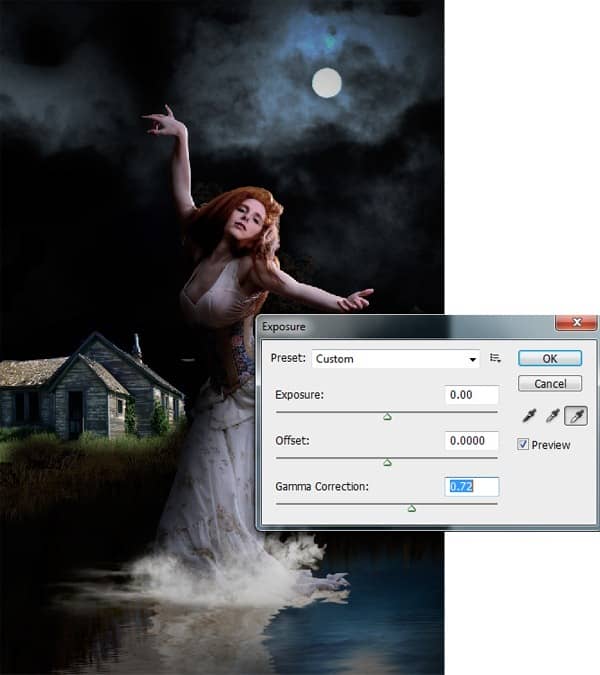
3) Since the house is bright we need to reduce the exposure of the house image using the Exposure.
-With the house layer selected go to Image>Adjustments>Exposure and set the Gamma Correction=0.72.
Step 11
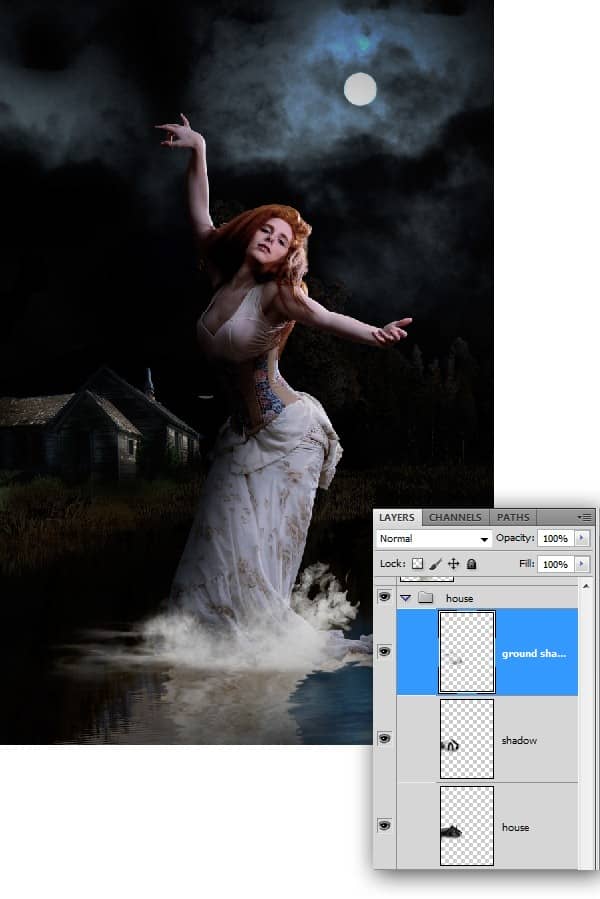
In this step we are going to paint some dark shadows on the wooden house. While painting the dark shade we must consider the light properties and the direction.
-Using the soft round brush with the black color selected paint the dark shade as shown in a separate layer. Make sure that the bottom part of the house is completely dark.
Step 12
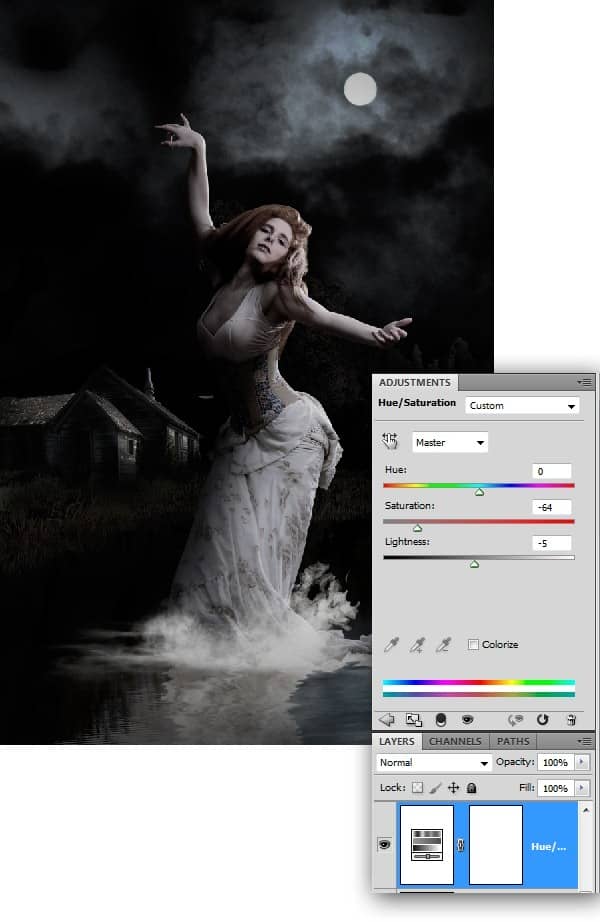
As we know that the colors appear de-saturated in the dark, we need to create the same effect here.
-Now create a Hue/Saturation Adjustment layer above all the layers and set the Saturation Level=-64 and Lightness=-5.
Step 13
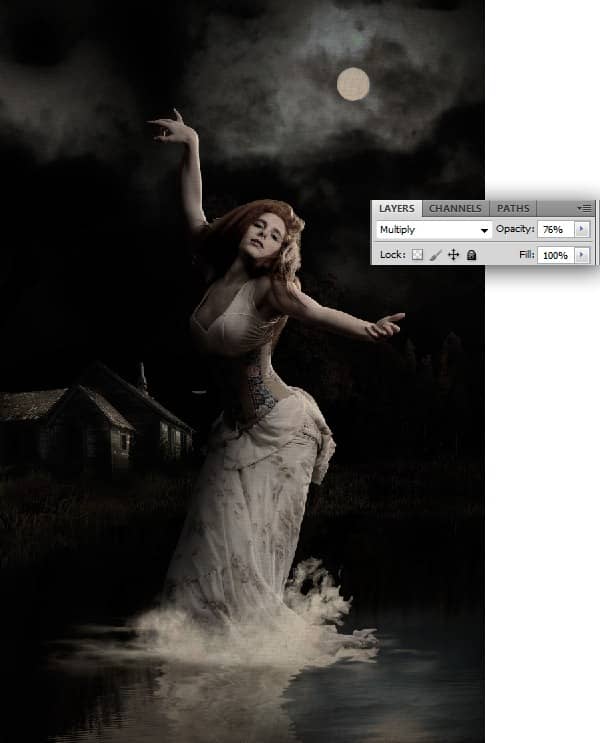
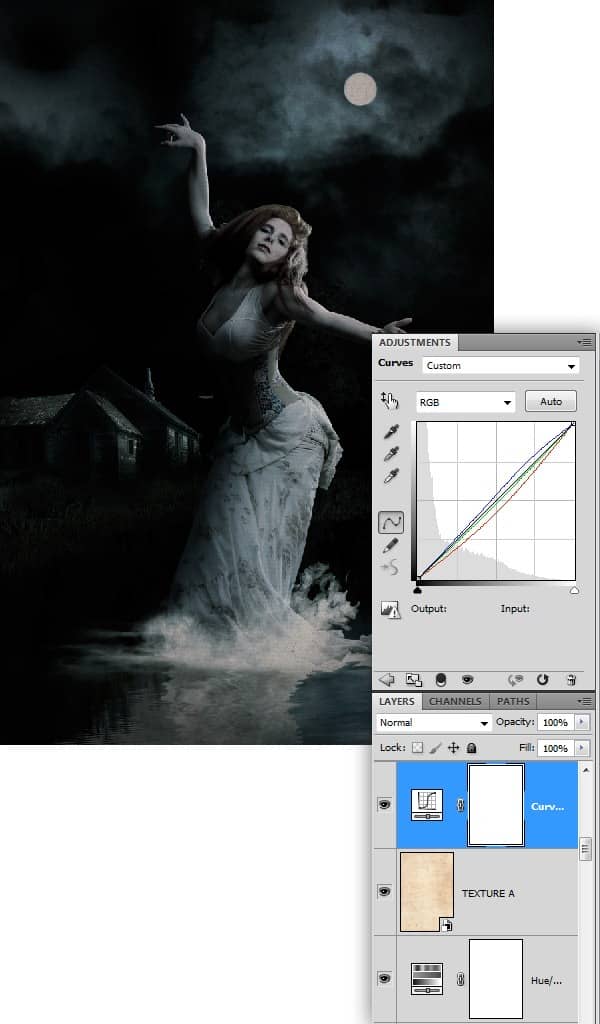
In this step we are going to add a texture to the scene and color correct the scene to get the perfect night effect.
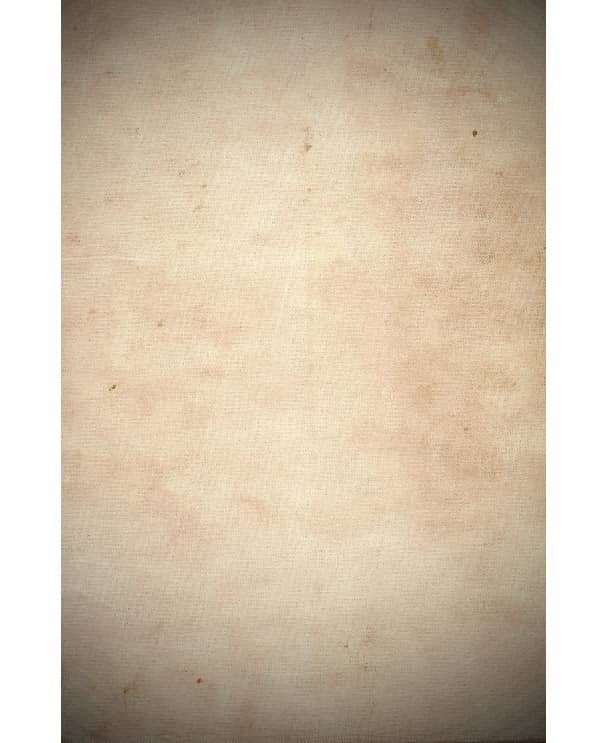
- Import the image of the Texture onto the canvas and set the Blending Mode of the layer to Multiply and reduce the Opacity to 76%.
2) Now create a Curves Adjustment layer above all the layers and set the RGB curves as shown.
Step 14
In this step we are going to create an Ice Cube floating in air. This ice cube represents the Heaven in this theme.
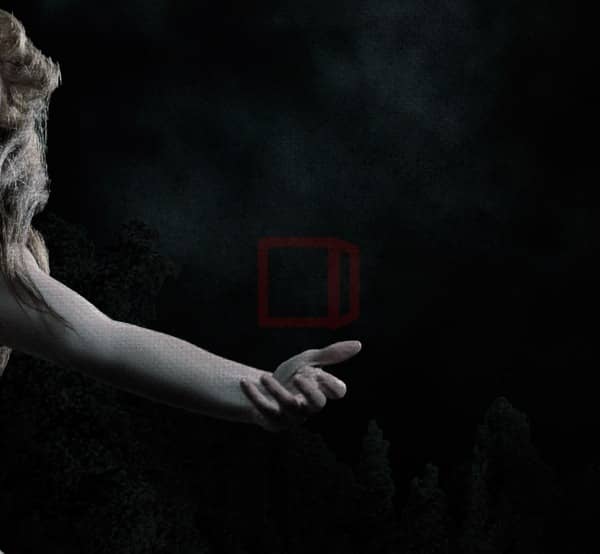
- Draw the outline of the ice cube as shown.
2) Now fill light blue color in the shape of the outline.
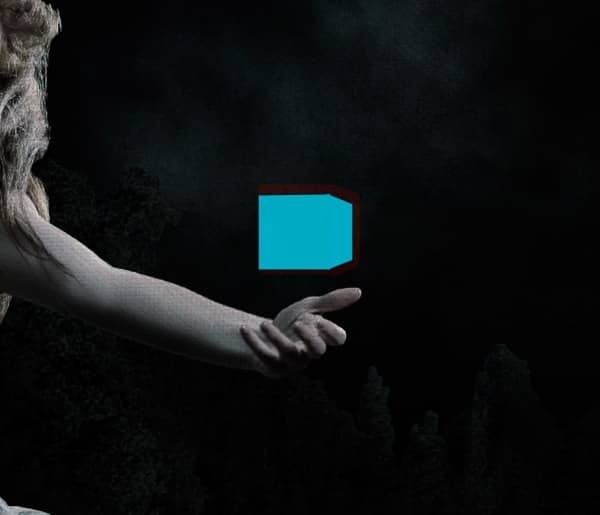
3) Using the Frost Brush with white color selected paint the frost on the front corners of the cube.
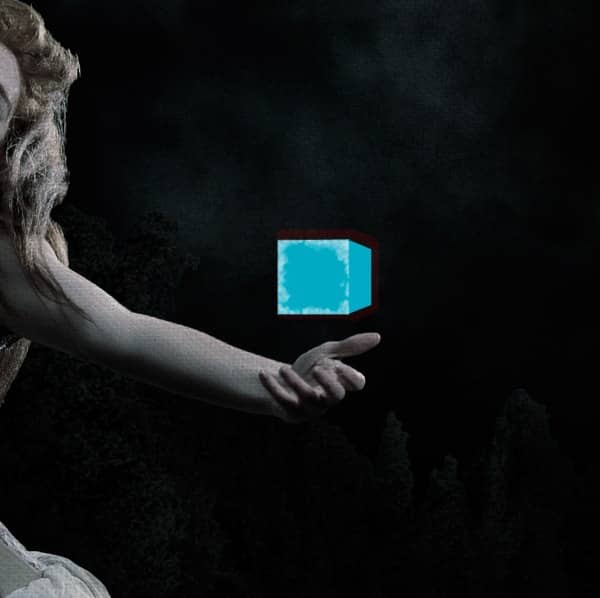
4) Duplicate the previously painted frost layer and transform it to fit the prospective of the cube using the Move Tool (V).
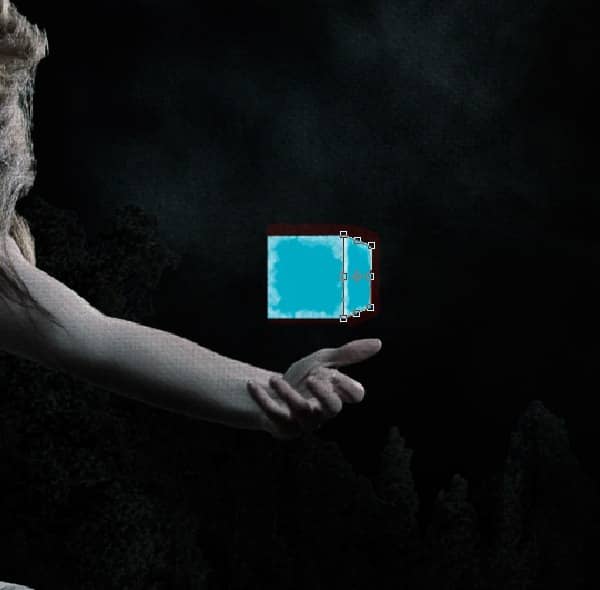
5) Similarly add more frost on both the sides using the frost brushes.
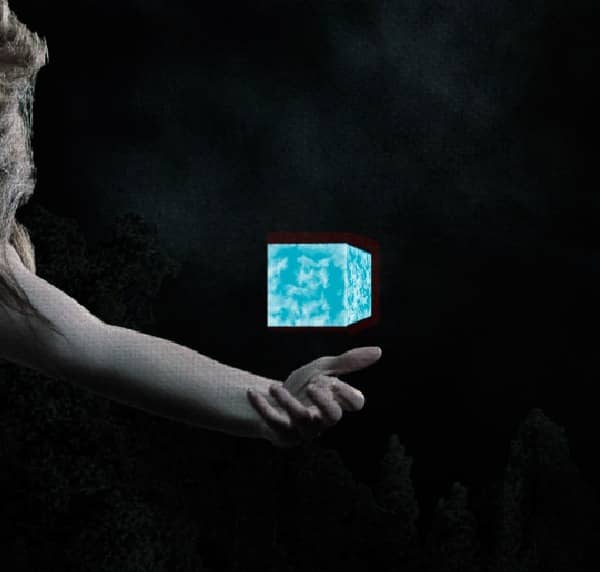
6) Since this is a magical ice cube we need to add a glow effect to it. Merge all the layers of the cube and the frost together and name it as “ice cube” . With the layer selected go to Filter>Distort>Diffuse Glow and add a Glow Amount=6 and Clear Amount=18.

2 comments on “Create this “Heaven & Hell” Photo Manipulation”
amazing!! great to see the amazing work of great experienced art directors!!
Great! excellent Job Men