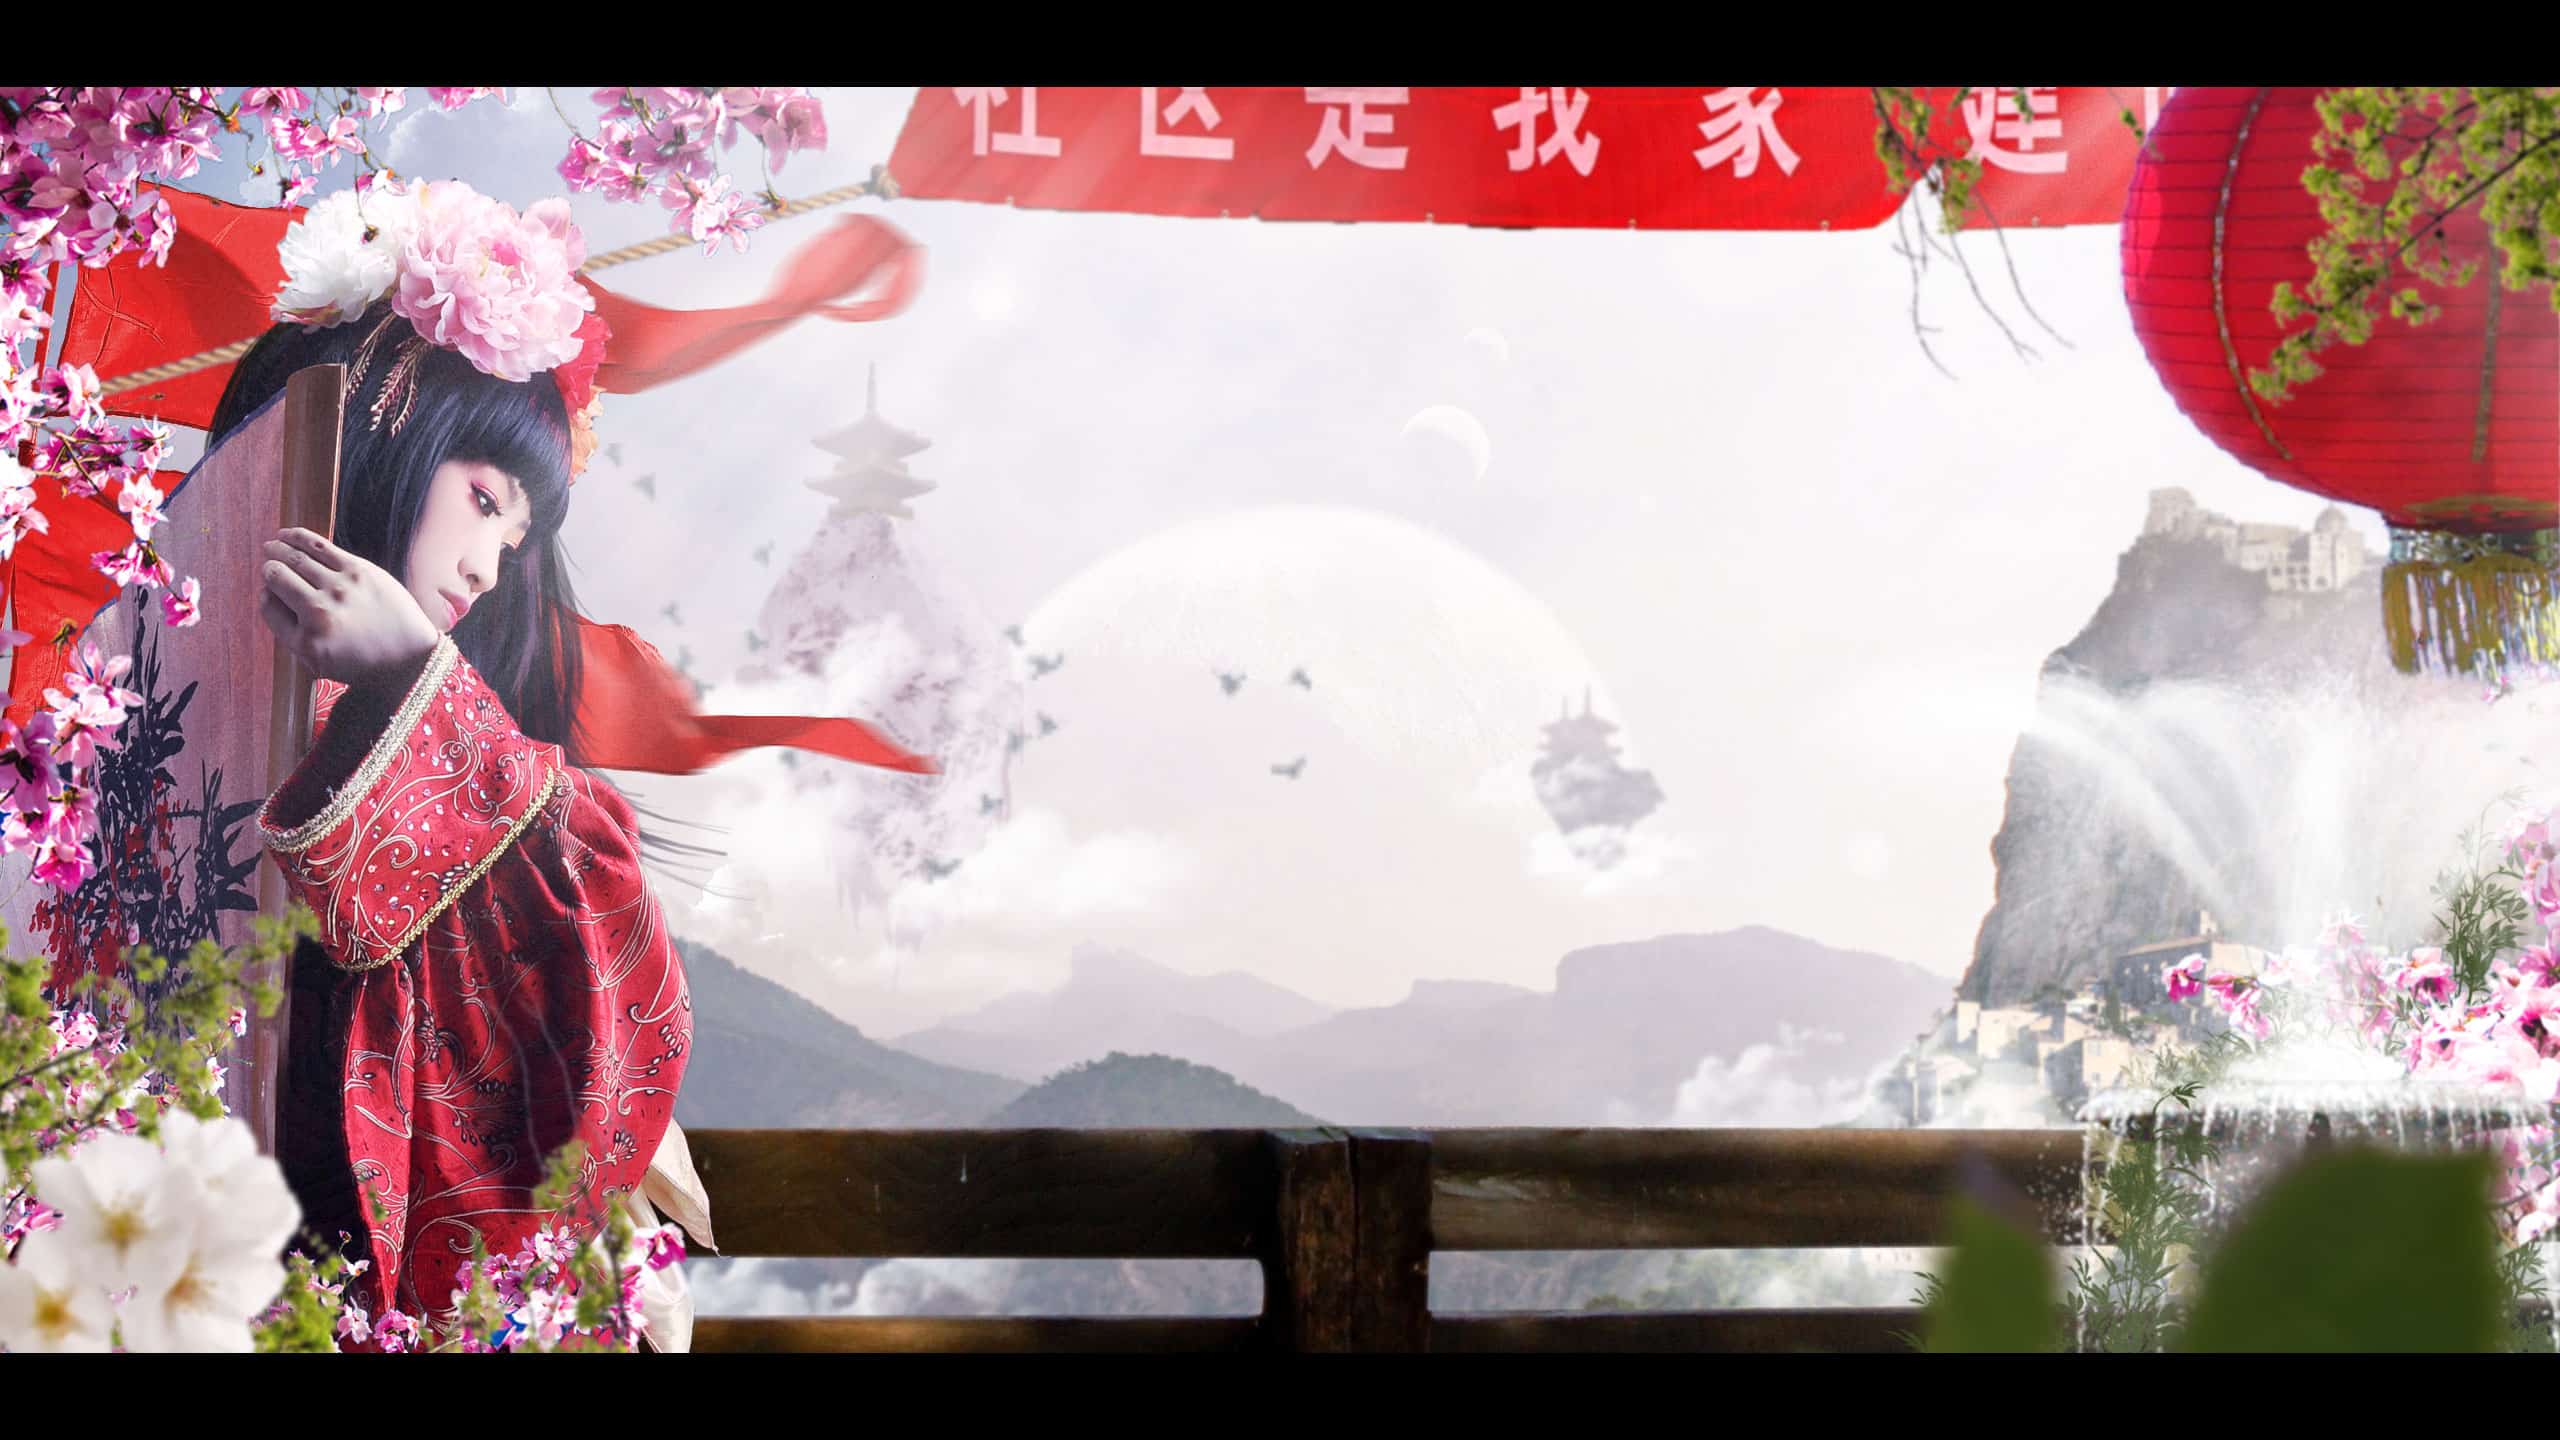
Luminar AI lets you turn your ideas into reality with powerful, intelligent AI. Download the photo editor and see how you can completely transform your photos in a few clicks.
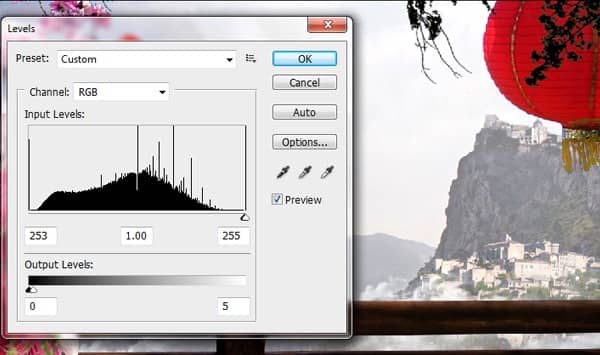
Now place the silhouette under the plant layer and move it slightly away from the plant as shown in order to match the angle of the sunlight. Then erase the silhouette that exceeds the lantern since we want the shadow only on the lantern.
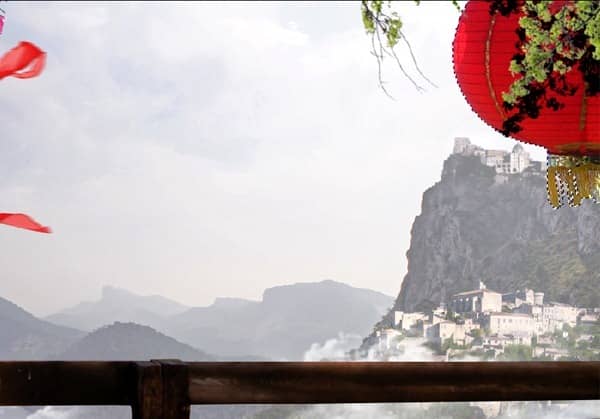
Usually, the shadows don't have sharp edges and seem to have very low opacity in the outdoors. Hence lower the Opacity of the shadow layer to 17% and add a Gaussian Blur=2.6px.
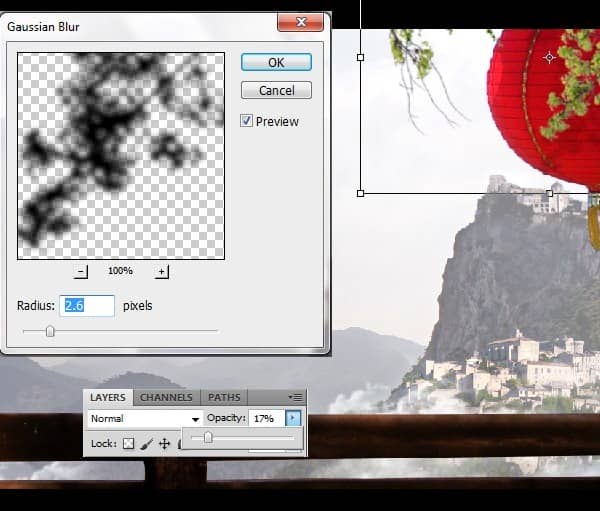
Step 20
Now to show that the princess is standing by a distance from the camera we will create White Blossoms and Green Leaf close to the scene to show that the scene is being shot by a distance from in-between the plants. Import the image of the White Blossoms and the leaf and place them as shown in the scene and add a Gaussian Blur of Radius 8.8px to the leaves and add Radius 4px to the flowers.
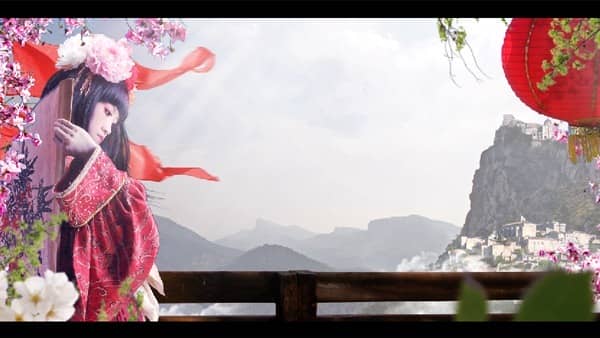
Step 21
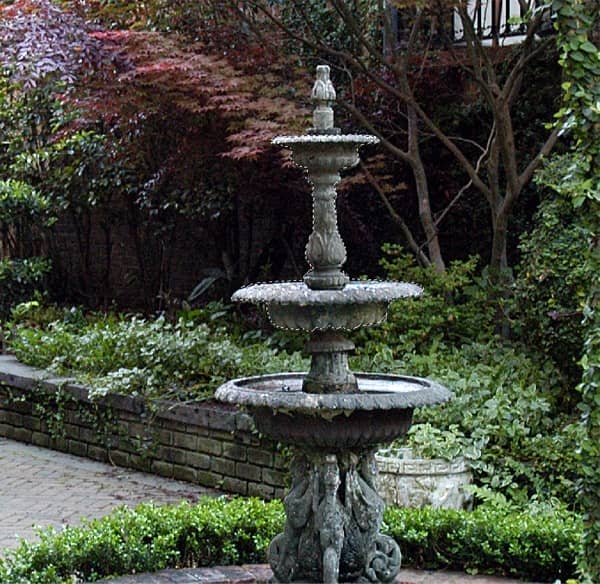
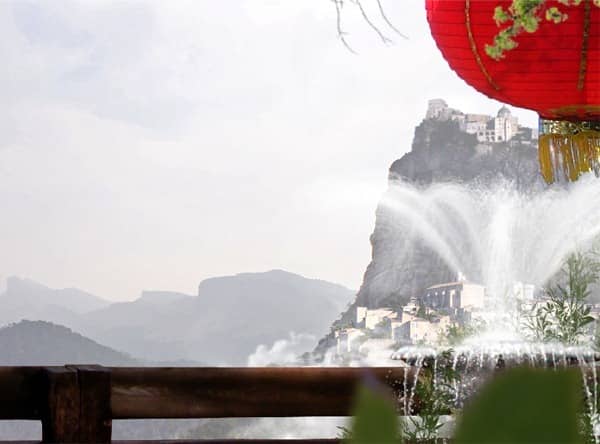
A royal garden never finishes without a fountain, hence we are going to create a fountain in this garden. Cut the image of the Fountain from its original image and place it in the scene as shown on the right side corner.
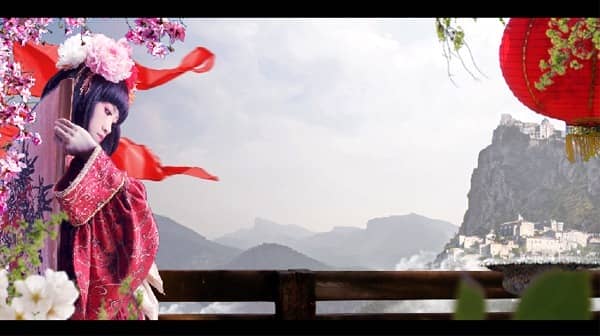
Now by using the Fountain Water Brush 1, Fountain Water Brush 2, Fountain Water Brush 3 paint the fountain with the white color as shown.
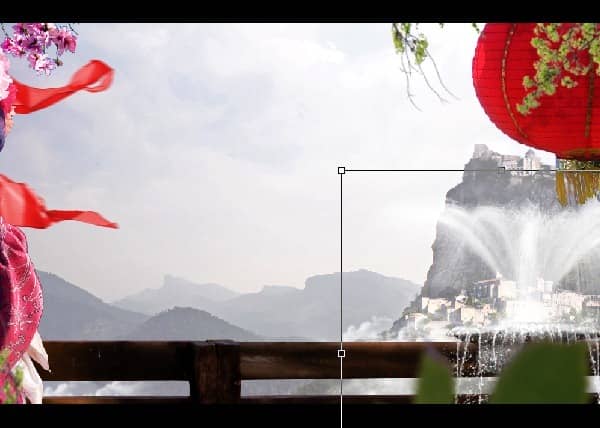
Using the Plants Brushes paints some green plants behind the fountain to add some more greenery to the garden.
Step 22
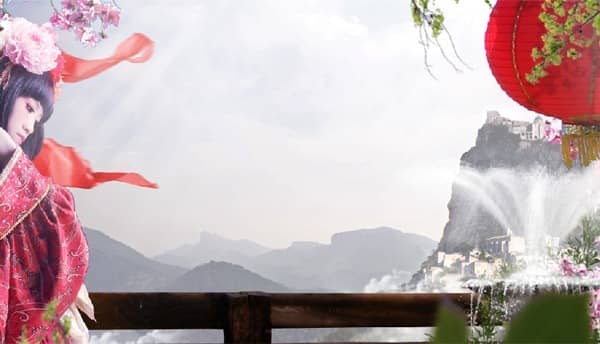
Now by using the Sunrays Brush paint the sun rays on the princess with the white color selected.
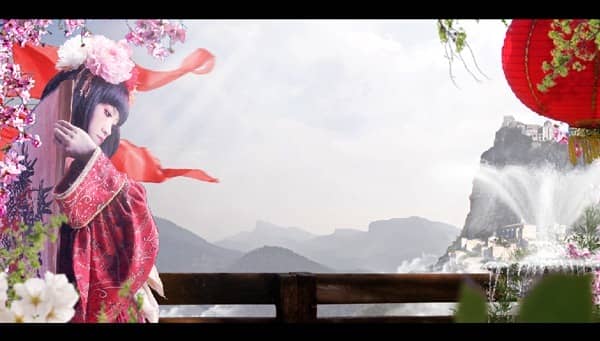
Now create a new layer in-between the lantern and the plant covering the lantern and paint the sunrays passing through them.
Step 23
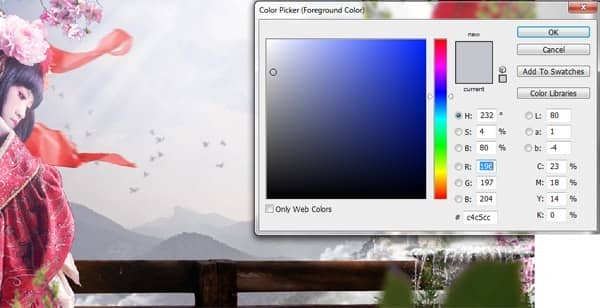
Now make a new layer above the scenery layer and paint some birds using the Birds Brush with the color #c4c5cc selected.
Step 24
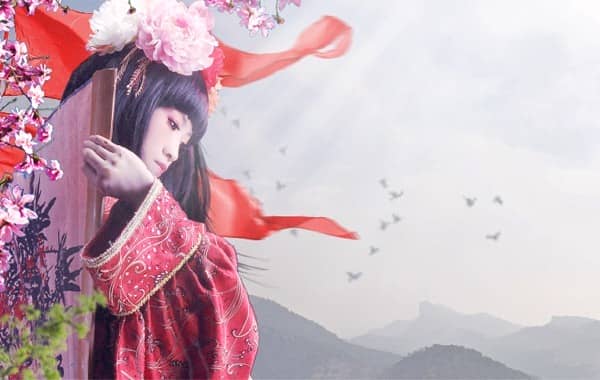
As we can see the hair of the princess seems to be a bit unrealistic at the edges. Hence by using the Hair Brushpaint the hair to the princess as shown to create more accurate details.
Step 25
In this step we are going to create the flying hill as we sketched in our concept. Using the Lasso Tool(L) mask the part of the Mountain 1 and Mountain 2 to create the flying hill.
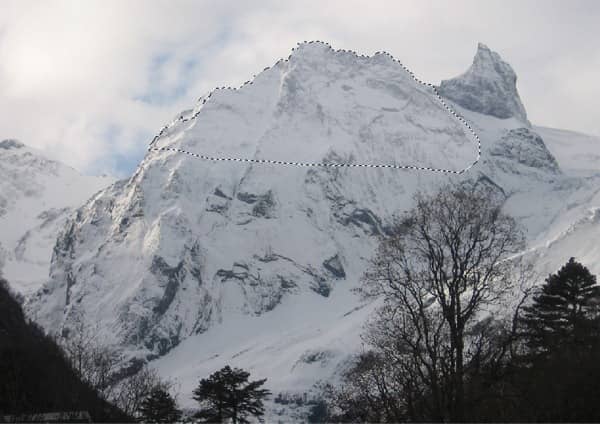
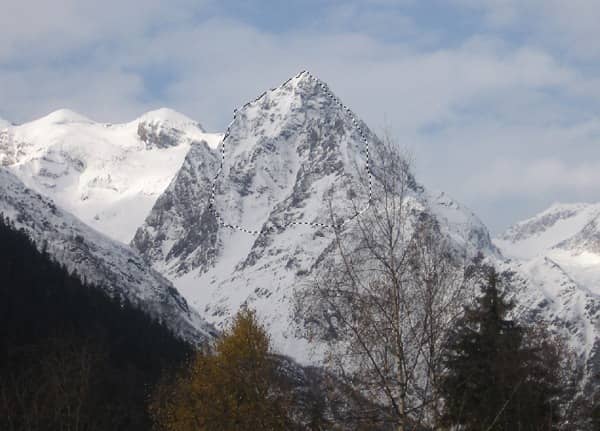
Now arrange the previously cut mountain images upside-down as shown to form the shape of the flying hill.
After creating the flying hill merge the flying hill layers.
