

Turn any photo into a dot grid artwork with these Photoshop actions. You'll get great results with dots that change size. They get larger in brighter areas and smaller in darker areas. Free download available.

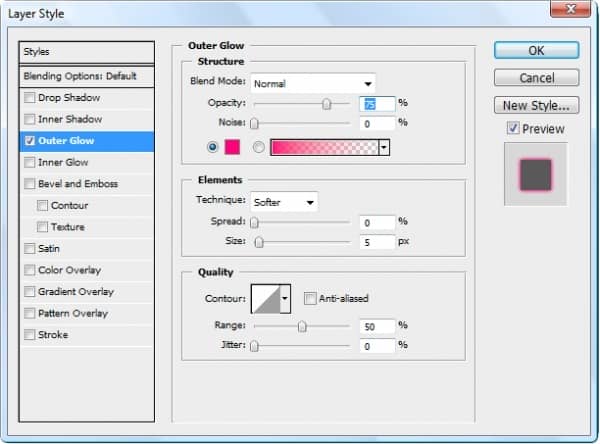
Step 9
Now right click on this layer and go to blending options then add an outer glow using the settings shown below. You can repeat repeat these steps to add a few more lines, I just left it at one.
Step 10
Now we're going to put in some abstract renders so open one of the renders in the pack that you downloaded then drag the render layer into your original document, you may have to minimize the windows within photoshop. Most of these renders come with the render layer and a background layer, just put the render layer in then close the document. After you've dragged it in then scale and move it until it is placed over the girl like so.
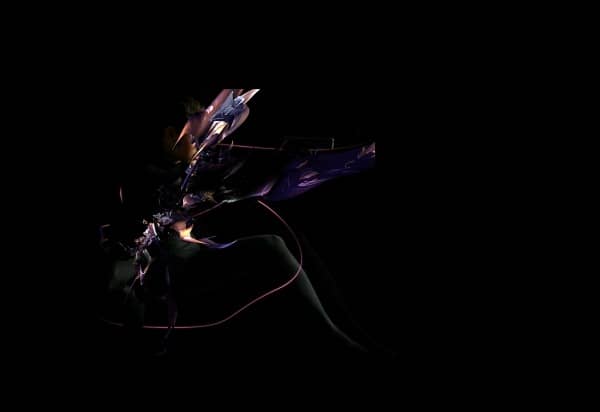
Step 11
Now we use exactly the same masking technique we used for the line, basically do steps 7 & 8 for the render instead of the line, notice how most of the render appears behind the model but some parts appear in front of her. Remember to fade out some parts of the render too, especially since there are some sharp edges in some of the renders.
Step 12
We want to go for a reddish pink color scheme so if the render you used isn't the right color then go Image>Adjustments>Hue/Saturation then change the hue slider until it looks right, I had to do it with the first render I used, so look at the difference. 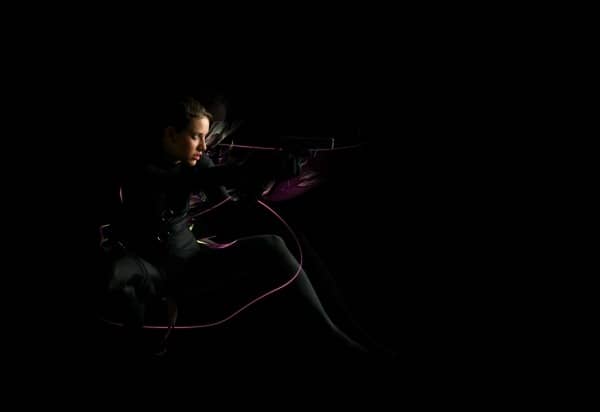
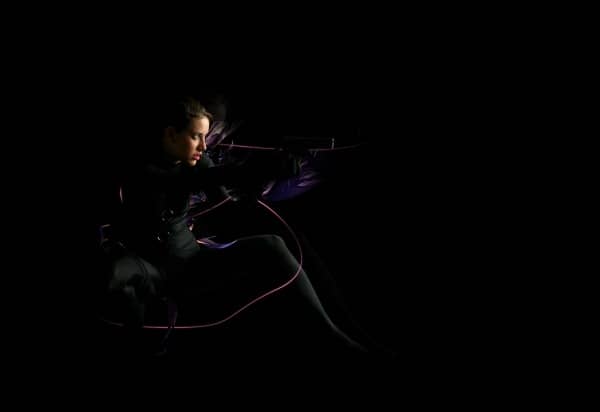
Step 13
Now we have to do exactly the same with a few more renders. I used three in total. It is important that the renders look like they go in front and behind the girl to add depth. This is what mine looked like after I added two more renders. 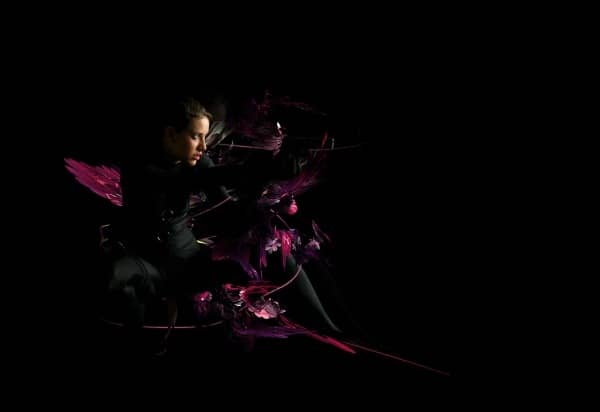
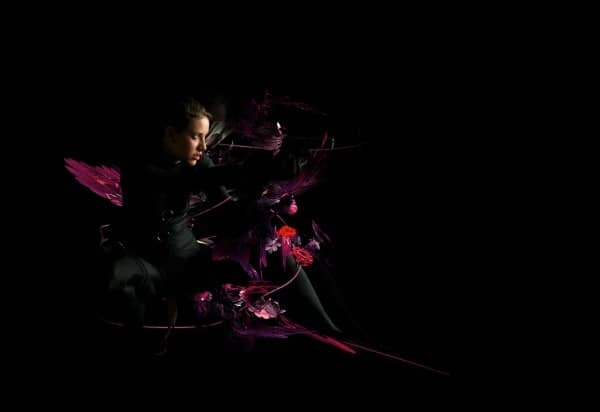
Step 14
This step I guess is optional, if you want to add some more stock images into your piece then now is the time to do it. The process consists of pasting in an image, masking it like we did with the girl then scaling and positioning it in the image. Some ideas are flowers and plants, small airplanes or balloons etc. I added a couple of flowers but you can put in more or none at all.
Step 15
Next we're going to put some clouds into our picture, start by selecting the eyedropper tool then pick a color from part of your render, you should now have a bright pinky color as your foreground color. Create a new layer, now select the brush tool then go into your clouds brush pack and choose a cloud brush. Now place your cloud somewhere over the girl then use the same masking technique we used for the line and for the renders but for this we want most of the cloud in front of her. Below I've shown what it should look like after you've added one cloud and masked it.
12 comments on “Futuristic Collage”
I am stuck at number 7. When I select original and path layer the option of creating a mask is blocked. What am I doing wrong ?..
Hello, first of all, thanks for the tutorial. I have few questions if someone can help, please.
After step 6, I select both main layer and empty later with the pen stroke (Btw, is it freestyle pen?) and when I select these two, the mask option greys out.
I can't download the render file. could you upload another reference?
WOW! It's really nice.....
where is the remaining steps...?
Click on Next Page or visit here: https://www.photoshoptutorials.ws/photoshop-tutorials/photo-manipulation/futuristic-collage/?singlepage=1 :)
Nice ... :D
Such a great Tutorials But i am confuse in 4th Step can you please explain 4th step :) thanks
Cool idea tutorial!!!! Nice Work for a new learner.You're so cool. Thank you so much.
i always stuck at step 7 . i don't understand . please help me .
I have the same problem....
Nice tutorial. Its is help every learner about Photoshop. Thanks for share this post.