How to Create a Dramatic Fisheye Spartan Scene with Photoshop

How to Create a Dramatic Fisheye Spartan Scene with Photoshop
step-006
Create a new layer on top of the warped desert layer and go back to the Cloning stamp tool. We are going to use the same settings but this time we need the brush to be at 100% opacity. Just like we did on step 4, sample parts of the desert to clone on the empty areas.
step-006a
step-006b
Don't use any feather on the selections whenever there is a sharp edge to fill like in the example below:
step-006c
Watch out for any borders and bad blending:
step-006d
The sky are can be a little bit tricky because of the contrasting shade of colors, Try to sample colors that are right next to the spot you need to fill and to this several times to get an even blending.
step-006e
step-006f
step-006g

Step 7

Now we are going to add some vignetting to enhance the focal point that will be the statue in the middle. Create a new layer on top of all the desert layers and Select black as your foreground color. Grab a large round brush with 0% hardness, set to 40% opacity and brush along the edges of the canvas like in the example:
step-007
Set this layer's blending mode to "Overlay".
step-007a
Create another layer and set your Brush now to something about 25% opacity brush again over the edges but now set this layer's blending mode to "Multiply".
step-007b

Step 8

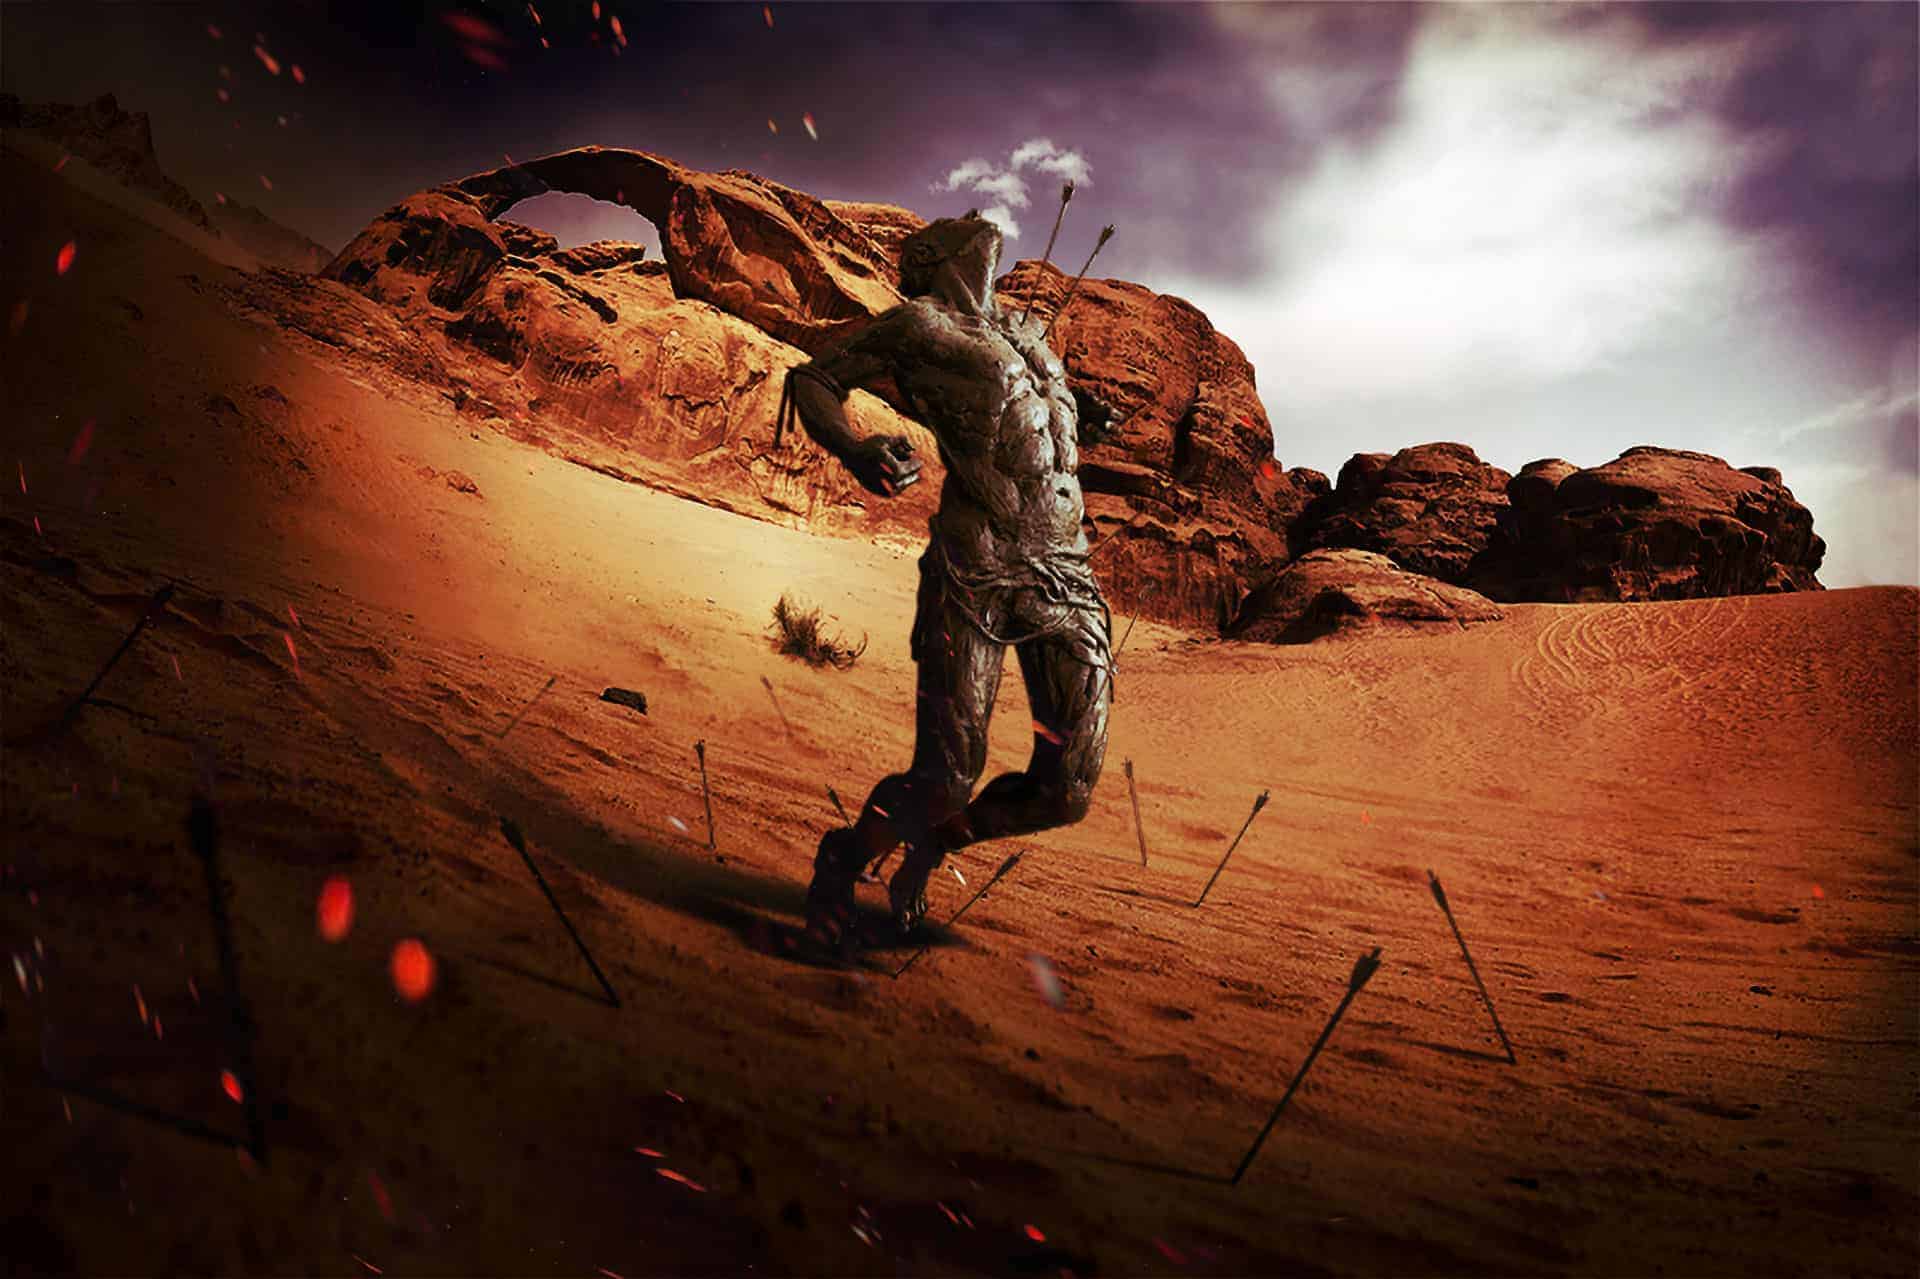
Take the Statue stock image and open it in Photoshop. Go to Image>Image Rotation>Flip Canvas Horizontal. Then using the pen tool, Extract the statue from the background maintaining as much detail as possible and then drag it to your document resize if necessary.
step-008
step-008a

Step 9

Once you have the statue image set on your document, we need to make a shadow for it to cast on the sand. Duplicate the statue layer and bring up the Hue and Saturation menu (Ctrl+U) bring the Lightness value to -100:
step-009
Move this layer below the statue layer. Now we need to transform it to match the perspective of the floor. While in the Move tool (V) Hold Ctrl and drag the anchor points of the shape down to create the effect of perspective. Use the image below as a reference.
step-009a
Go to Filter>Blur>Gaussian Blur and apply a blur with a radius of about 21 pixels:
step-009b
Now we need to warp a little bit the shape to match the curve of the floor:
step-009c
Take the Eraser tool (E) and select a soft round brush with 70% opacity and erase the upper part of the shadow.
step-009d

Step 10

In this step we are going to create all the adjustment layers that will give the image a very nice contrast and coloring. I suggest you group all these layers inside a new Group (Ctrl+G) and keep it on top of all the desert and statue layers, this way we can have things more organized. First we need to change the curves setting on the image. Go to Layer>New Adjustment Layer>Curves and use the settings below to get nice contrast on the image:
step-010
Now we are going to use several color fill layers in different layer blending modes and opacities to get the color. Below the Curves layer, Create a new Color Fill Layer, to do this, go to Layer>New Fill Layer>Solid Color. For the first Layer, use a Dark blue color #070d5f with the layer blending mode set to "Overlay" with 25% opacity. For the second one, use a Red color #d30c0c with the layer blending mode set to "Overlay" and 15% opacity. The third one should be a dark green #007711 set to "Color" with the layer opacity set at 20%. The last one should be an orange color #cb4105 set to "Color" with the layer opacity also at 20%.

Pages: 1 2 3

Create Dot Grid Art in 1 Click
Sponsored

Turn any photo into a dot grid artwork with these Photoshop actions. You'll get great results with dots that change size. They get larger in brighter areas and smaller in darker areas. Free download available.

13 comments on “How to Create a Dramatic Fisheye Spartan Scene with Photoshop”

  1. You can do so much with layer mask. This is a great tutorial that you can learn a lot from. By looking at the end result, I would not have made it there without the steps you provided.

Leave a Reply

Your email address will not be published. Required fields are marked *

cross