Turn any photo into a dot grid artwork with these Photoshop actions. You'll get great results with dots that change size. They get larger in brighter areas and smaller in darker areas. Free download available.
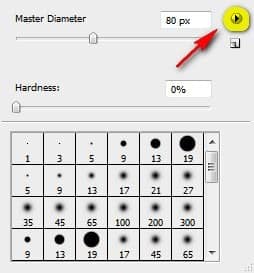
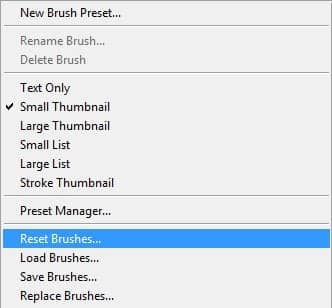
Then click on “Reset Brushes” from the contextual menu.
Now, that that is done input the following settings for our Brush tool (B):
- Brush size: 1100px
- Hardness: 0%
- Opacity: 50%
- Flow: 100%
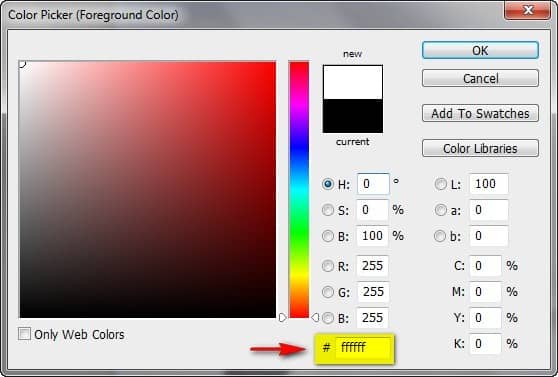
- #: ffffff
The #: ffffff is the color of our Brush tool (B), so this means it is color white. To set the brush color, follow the instructions below:
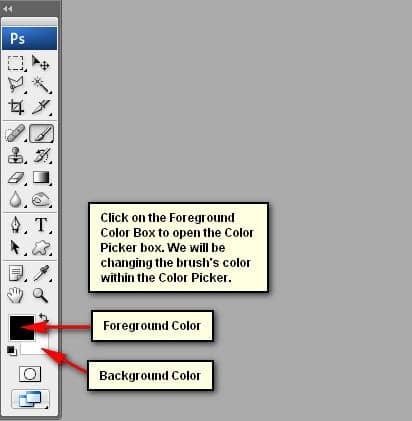
Once the Color Picker menu is open, input #: ffffff on the box shown below:
Now, we’re all set to paint!
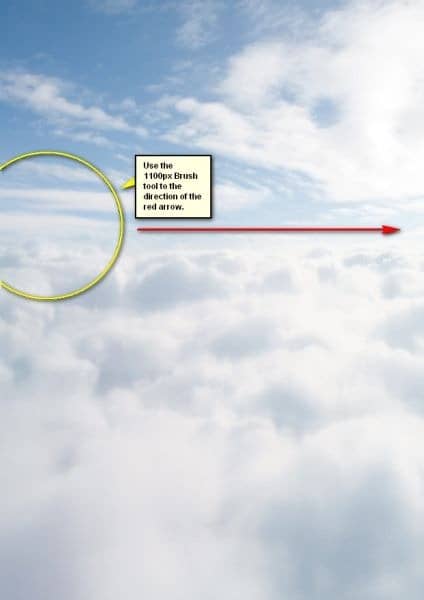
The result:

Now that we’re done, select all the layers and press Ctrl/Cmd + G to group them. We would need to group them to avoid confusion on later steps. Rename this group to “Sky”.
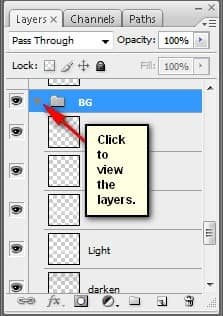
Note: Renaming a group is similar to renaming a layer. You would also notice that the layers have been hidden from view, to view them again just left click on the arrow beside the Group’s name. See below:
Step 3: Create the Books
We will now be adding the books which will serve as steps into this dream world we are going to create. To start, let’s open “books pack 3” by twilightamazonstock. When the image has been opened, activate the Magnetic Lasso Tool (L). See image below:

Now, that we have the Magnetic Lasso Tool (L) open, we can now create a selection area over the book of our choice and in this tutorial, we are going to use several books. First, let’s create a selection area over the book shown below:
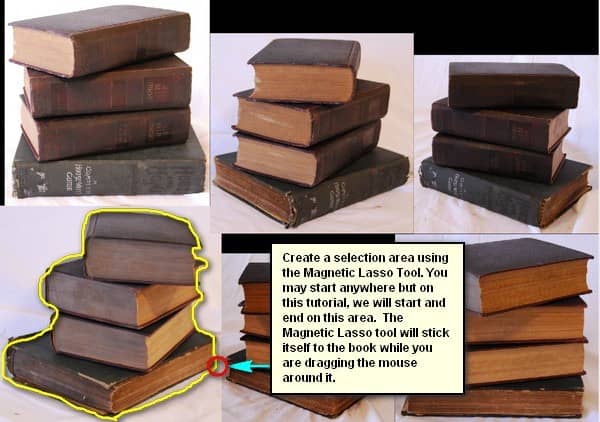
When you’re done, activate the Move tool (V) and drag that book to our canvas. Once on the canvas, rename it to “Book 1”.
Make sure to put this layer above the “Sky” group to avoid confusion on later steps.
For us to transform the book easily, position the book on the area shown below:

Next, activate the Transform tool (Ctrl/Cmd + T) and resize it as shown on the image below:

Now that it has been resized, activate the Eraser tool (E) and erase some parts of the books to make it look like it is covered by the clouds.
Use these settings for the Eraser tool:
- Brush size: 1900px
- Hardness: 0%
- Opacity: 100%
- Flow: 100%
Let’s erase:
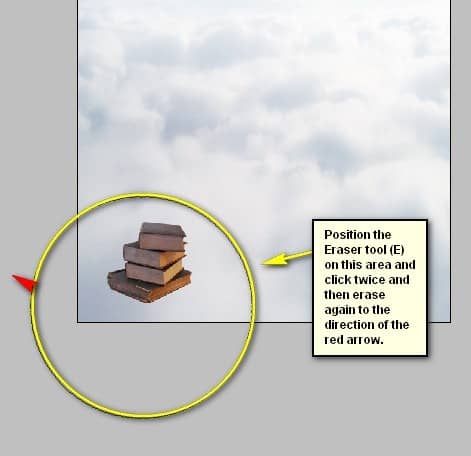
The result:

Next, let’s create the second book from the stock image “books pack 3”. Choose the following book:
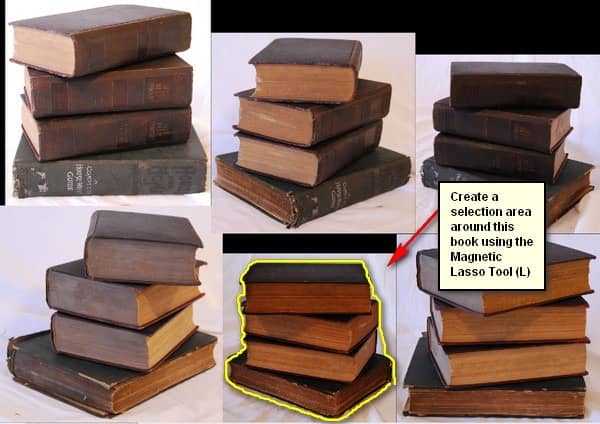
Activate the Move tool (V) and drag that book to our canvas. Once on the canvas, rename it to “Book 2”.

