Luminar AI lets you turn your ideas into reality with powerful, intelligent AI. Download the photo editor and see how you can completely transform your photos in a few clicks.

Click the Playtime XXIII and press P to activate pen tool and then make a selection around the Girl and then click V to activate the Move Tool. Left-click the image and drag the image to the main canvas and change layer name to "Girl".
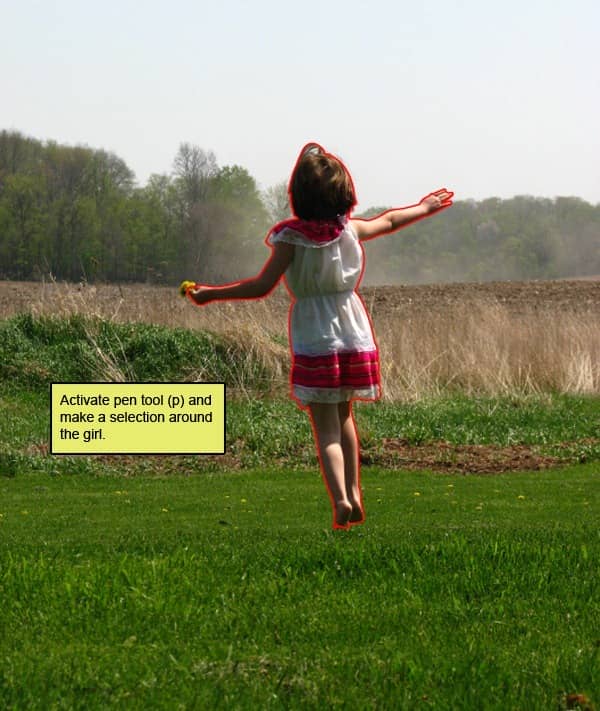
The result should be similar to this:
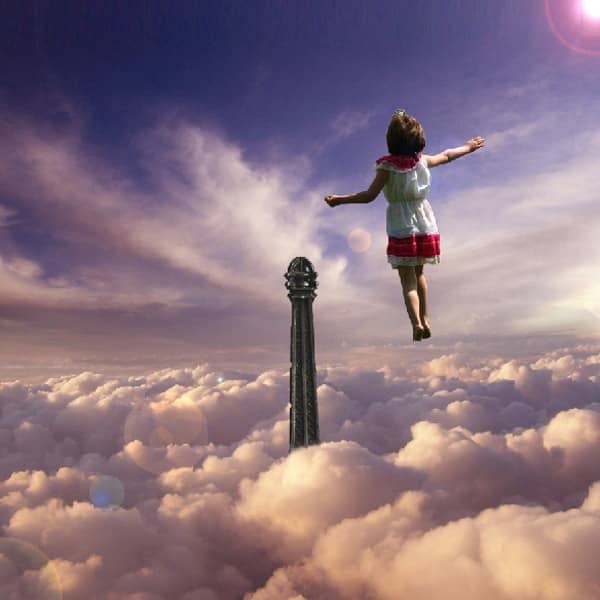
Next, activate the Transform tool (Ctrl/Cmd +T), then while the "Girl" layer is selected and then resize it as shown below:
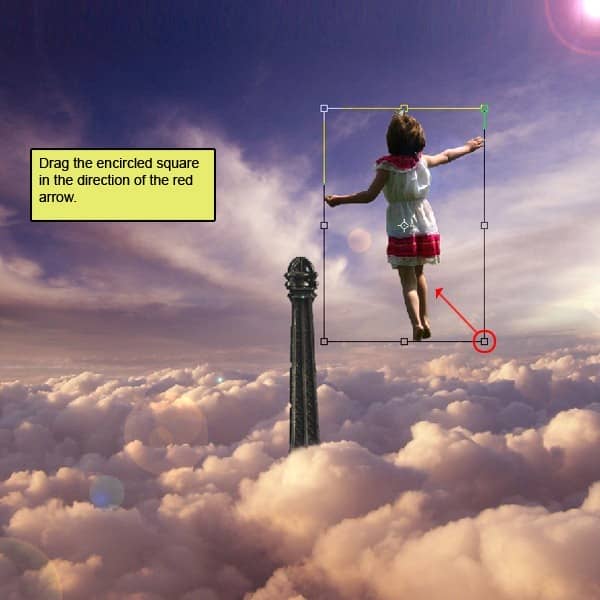
The result should be similar to this:

Now move it to here to there :
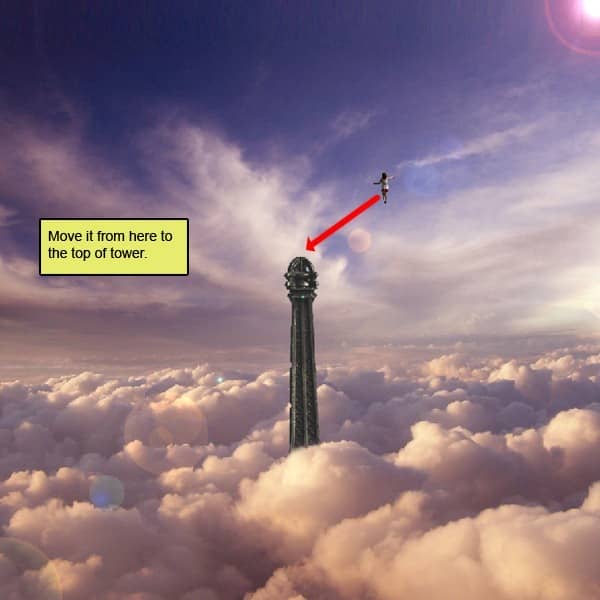
The result should be similar to this:
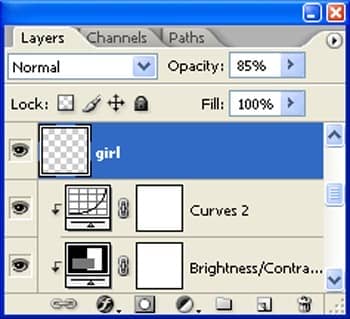
Reduce the Opacity of "girl" to 85% :
The result should be similar to this:

Step 6: Fix Piano
First off, let's open the Piano I stock in Photoshop. We will be using the Piano from this stock image so we will need to transfer it to our main canvas.
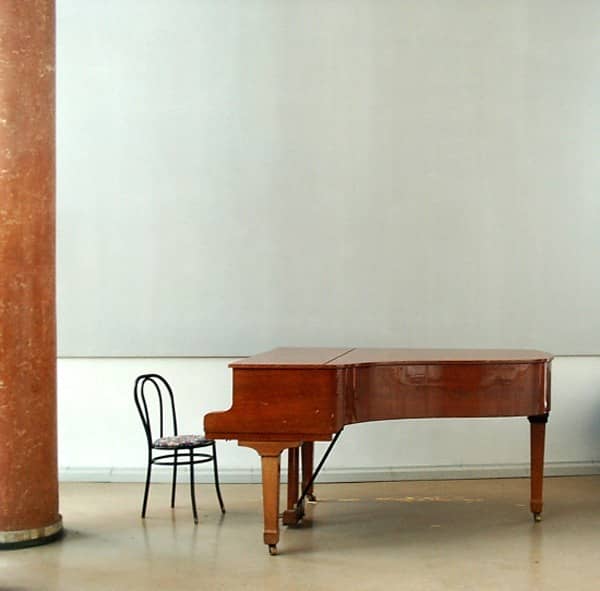
Click the Piano I and press P to activate pen tool and then make a selection around the Piano and then click V to activate the Move Tool. Left-click the image and drag the image to the main canvas and change layer name to "Piano".
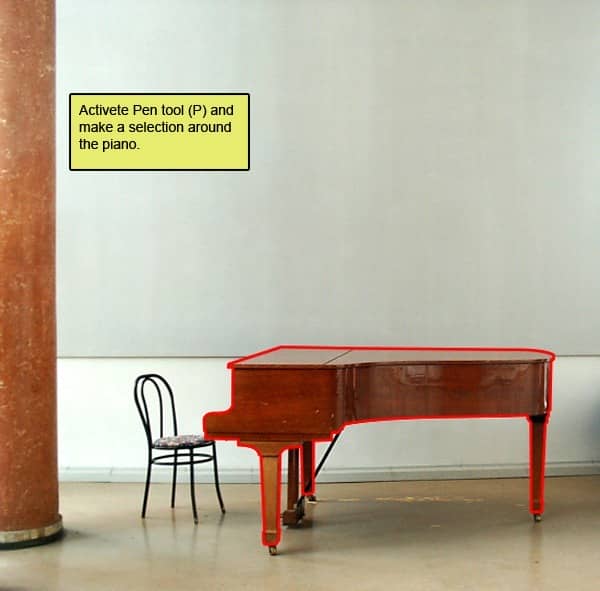
The result should be similar to this:
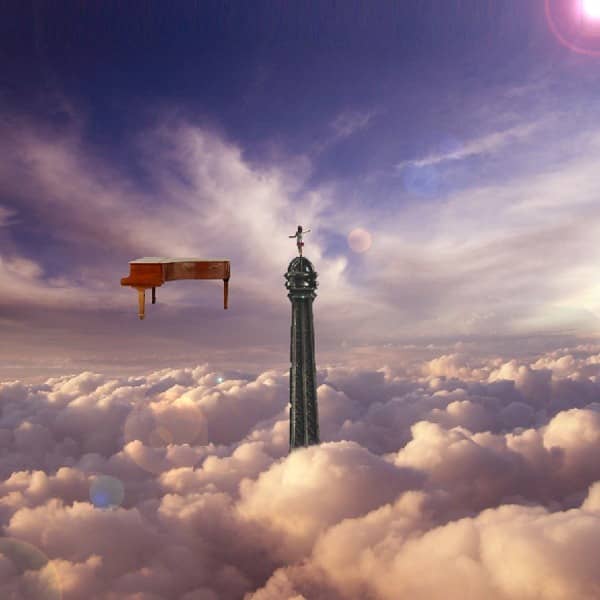
Next, activate the Transform tool (Ctrl/Cmd +T), then while the "Piano" layer is selected and then resize it as shown below:
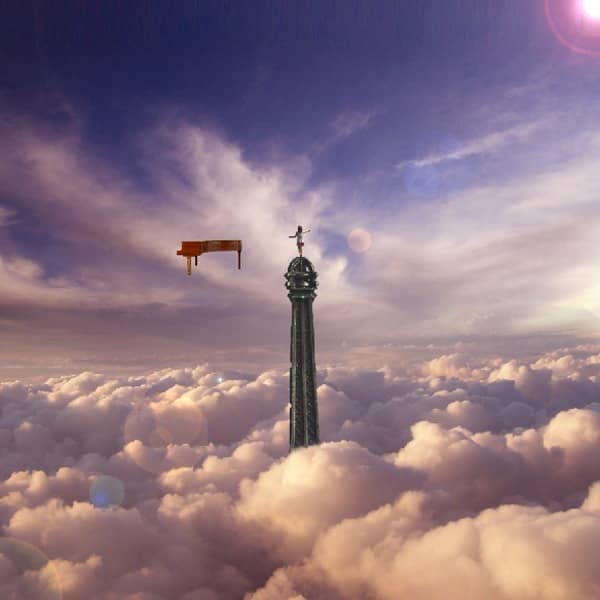
Once again, activate the Transform tool (Ctrl/Cmd +T), then while the "Piano" layer is selected and then resize it as shown below:
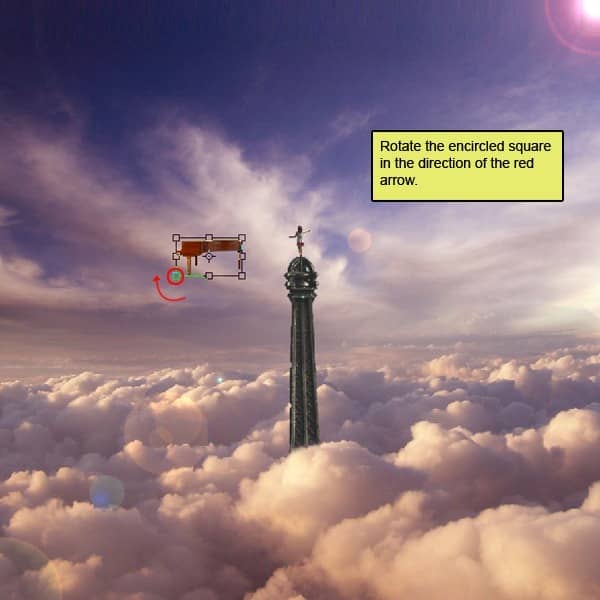
The result should be similar to this:

Reduce the opacity of "piano" layer to "90".
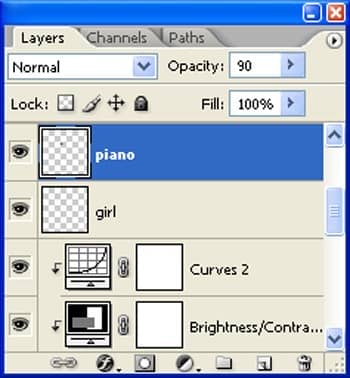
The result should be similar to this:

Step 7: Fix Balloons
First off, let's open the Balloons stock in Photoshop. We will be using the Balloons from this stock image so we will need to transfer it to our main canvas.
Click the Balloons stock and press P to activate pen tool and then make a selection around the Balloons and then click V to activate the Move Tool. Left-click the image and drag the image to the main canvas and change layer name to "Balloons".
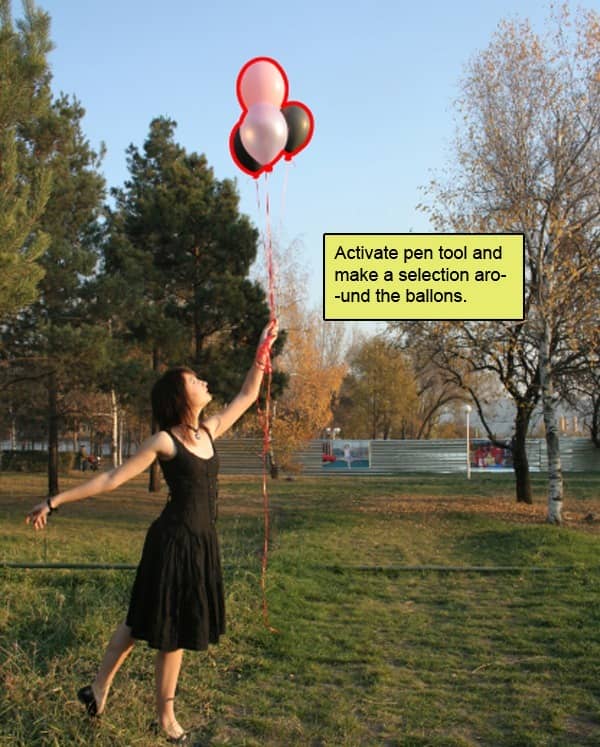
The result should be similar to this:

Next, activate the Transform tool (Ctrl/Cmd +T), then while the "Balloons" layer is selected and then resize it as shown below:
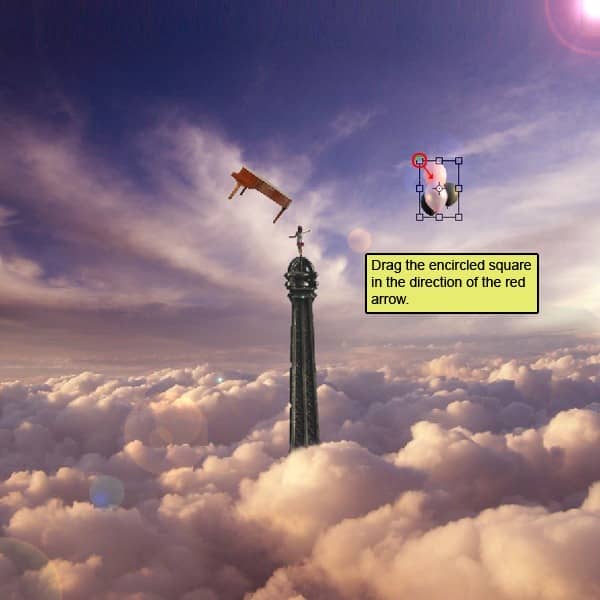
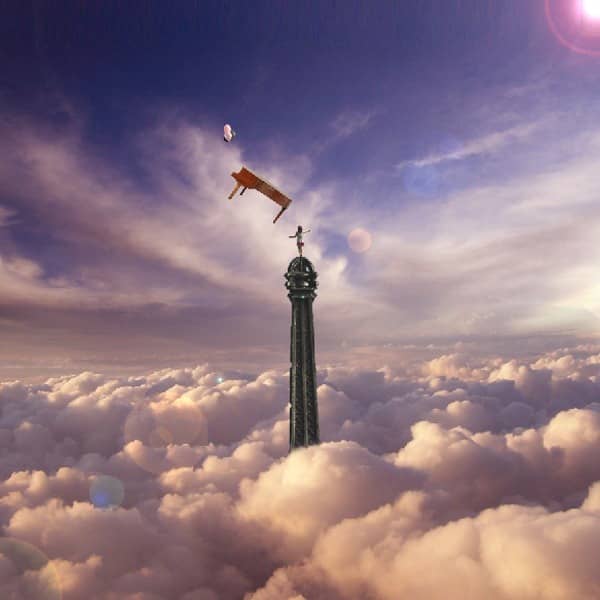
The result should be similar to this:
Now Open the Color piker and chose #464646 as foreground color.


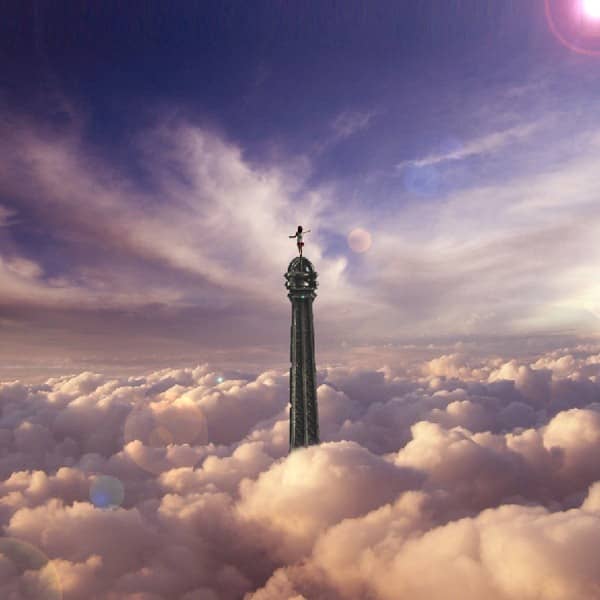
12 comments on “How to Create a Surreal Photo Manipulation of the Eiffel Tower”
Very Nice
STEP 1 ADOBE PHOTOSHO
Some Fantastic images here, some really creative, some excellent timing.
Nice! but the girl should be flipped so the the lighting on her body matches the lighting on the clouds.
Thank
i love you and i want to see you lol jkim kidding anyway this looks like a lot of work
THanks. I like the way you making tutorial .
Pretty clear teaching for those amateurs to PS like me!
This is pretty sick
nice. thank you
nice man. though there's one thing i'd suggest. the eiffel tower looks a bit chipped in places, which gives it a sharp look as compared to the surroundings. maybe you should paint over that part or smudge it a bit, so that it looks more blended
Waaw Perfect. Thanks for tutorial.
Thank You