Make your artwork look like they're from an alternate universe. These Cyberpunk presets work with Photoshop (via the Camera Raw filter) and Lightroom. Download all 788 presets for 90% off.
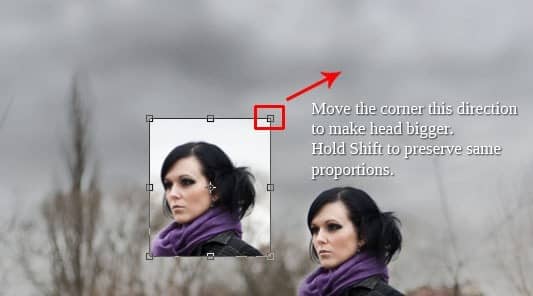
Then rotate the head in the same direction as you can see on the preview picture.
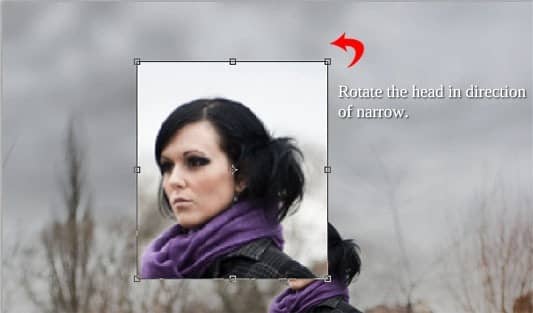
After you're done press Enter on your keyboard to apply the changes. You should have something like on the picture below.
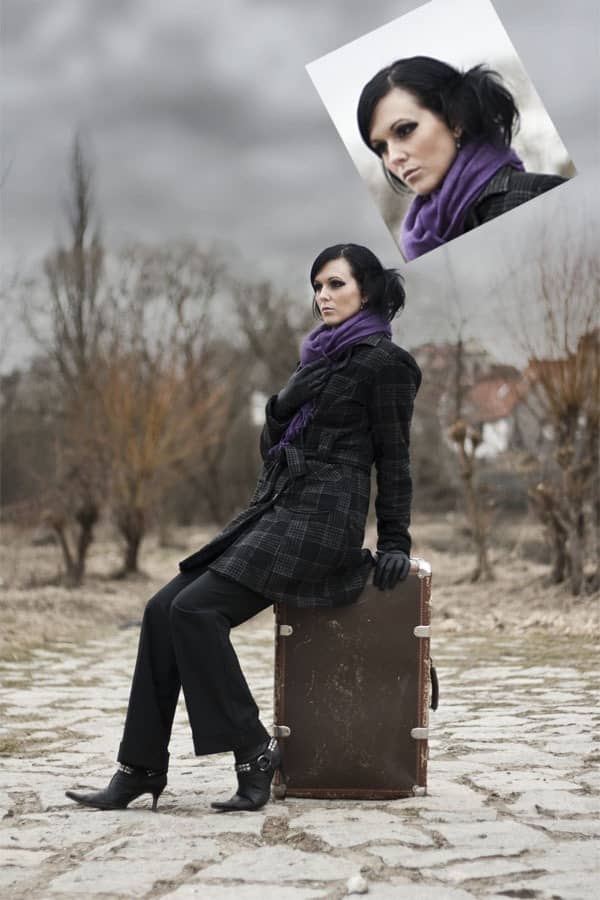
Step 8 - Blending Face
In this step you'll blend the face so it will look like it's part of the clouds. To do that you'll desaturate it, lower its Opacity and change Blending Mode.
Let's start with desaturation. Click on FACE I layer and go to Image > Adjustments > Hue/Saturation or press Ctrl + U on your keyboard. Set the value Saturation on -100 and press OK.
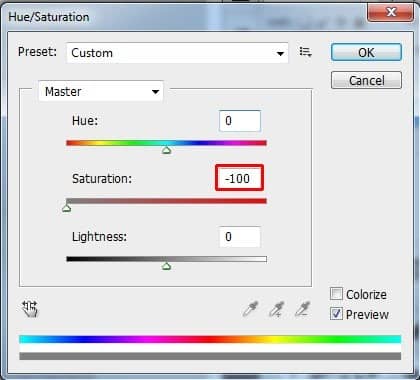
To blend it better change the Blending Mode of FACE I from Normal to Overlay. Then lower its Opacity on 15%.
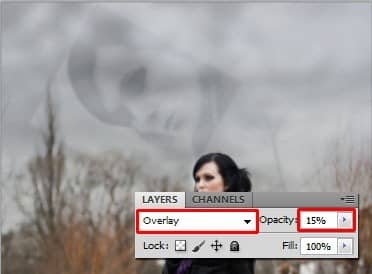
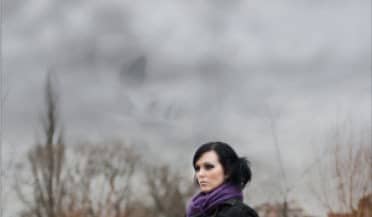
You need to create soft transition between face and sky. To do that add layer mask to FACE I. Grab the Brush Tool (B), select soft round brush and lower its Opacity on about 40%. Pick black color and paint around the edges of the layer to create the transition.
You can see how the transition should look on the picture below.
Step 9 - Adding Second Face
If you look at the preview picture you'll see that there are two faces in the sky. You'll add the second one in this step.
Right click on the FACE I layer and select the option Duplicate layer. Move the new layer on the top of all layers and name it FACE II.
Press Ctrl + T to activate the Free Transform tool again. Rotate the picture similarly as in the previous step to give it the same direction as second face has on the preview picture. Press Enter to apply the changes.
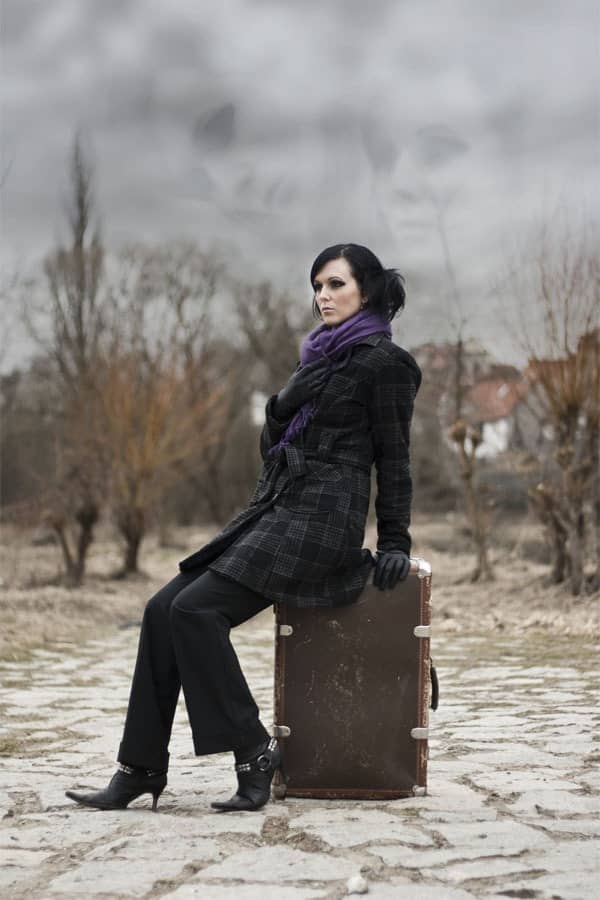
The other thing you need to change on the second face is to higher the Opacity on 30%.
Below you can see how the photo manipulation looks after last two steps.
Step 10 - Adding Raven
Download picture of raven and open it in Photoshop. Cut out the background (e.g. with the Lasso Tool (L) ) and drag it into your photo manipulation. Place it on the top of all layers and name it RAVEN. Press Ctrl + T and resize it on proper size.
Go to Edit > Transform > Flip Horizontal to flip it same as on the preview picture.
If you compare how raven looks now and how looks on the preview picture you may notice that its tail is bit different. You'll change it in this step.


9 comments on “How to Use Light and Shadow to Create a Dramatic Photo Effect with Photoshop”
Thank you so much for this tutorial. I've read many tutorials about all of the tools you mentioned in this article, but I was never able to really grasp or truly understand the concept behind the tool. You have explained them in a way that really make sense to me!! And that is very much appreciated!
thanks a lot
thanks very nice.
Woow! I am very very impressed about your tutorial. With all your stuffs, i have no doubt am gonna be a pro in photoshop!
thats a wonderfull tutorial....thank u....
thanks wow nice
plz post a video tutorial....
Yes girl, nice job. Thanx
What a fantastic tutorial, covering so many aspects of photoshop. I'm now even more excited to learn the program. . Thank you! thank you! thank you!