
Make skin look perfect in one-click with these AI-powered Photoshop actions.
Step 2
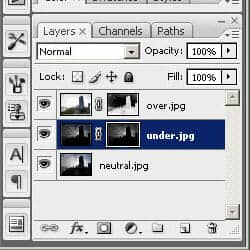
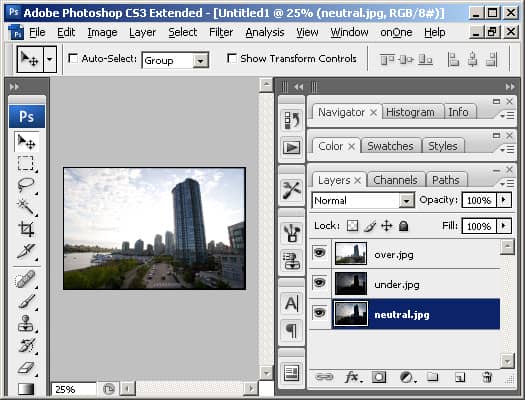
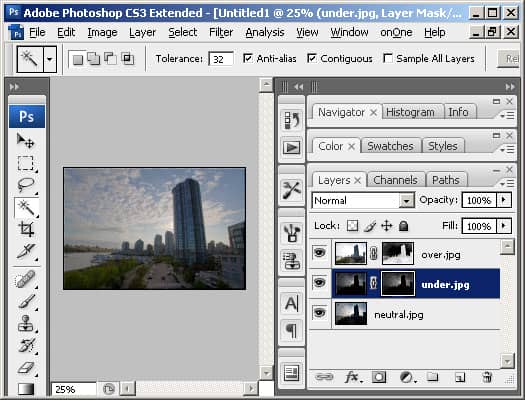
After waiting for Photoshop CS3 to process the images, you should end up with a new document with three layers. Make sure that the neutral.jpg layer is the bottom layer and the over.jpg layer is the top layer.
Step 3
Select the over.jpg layer and add a layer mask by opening the Layer> Add Layer Mask menu and selecting Reveal All.

Step 4
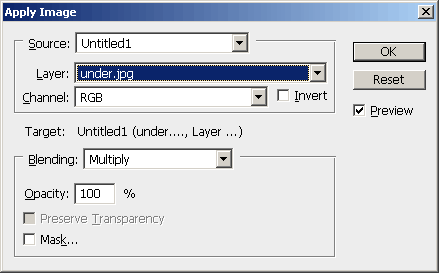
Open the Image menu and select Apply Image. In the Apply Image window, checkmark Invert and click OK.
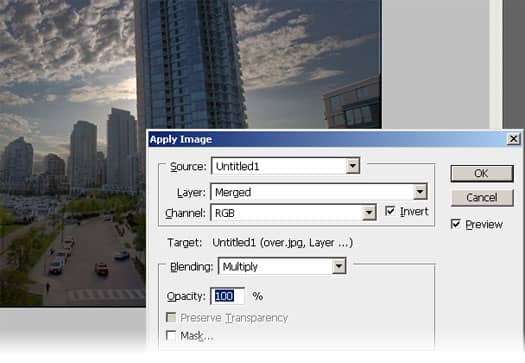
The over.jpg layer should now be an invert of the image.

Step 5
Select the under.jpg layer and add a layer mask by opening the Layer> Add Layer Mask menu and selecting Reveal All.

Step 6
Open the Image menu and select Apply Image. In the Apply Image window, select the layer under.jpg, uncheck Invert, then click OK.
Step 7
We're done tone mapping and now we have the three different exposures on their own layers with their own layer mask.
Final Results
Roll over the image below to see a before and after effect of tone mapping.

Removing Ghostings
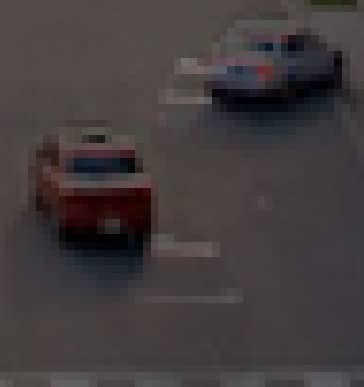
If you look closely, you may notice some ghostings due to moving objects when the image was taken.
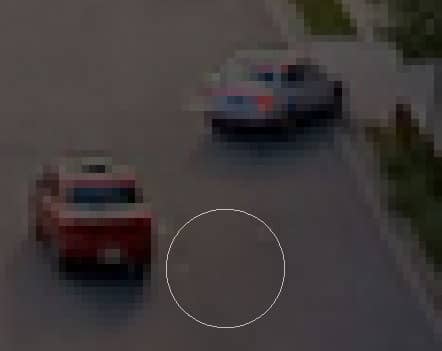
To remove this, select the over.jpg layer and paint the area in the layer mask white.
Analyzing the Results
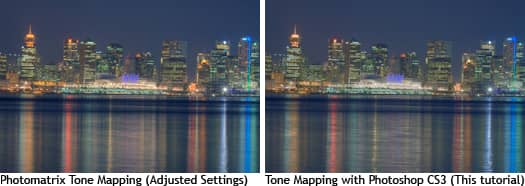
How does this process compare with HDRSoft Photomatix tone mapping? In this section, we'll analyze the results from Photoshop CS3 and Photomatix and compare the differences.
First, we'll begin with this tone mapped cityscape of Vancouver, BC that was toned mapped using both Photomatix and Photoshop CS3.
Sharpness
Photomatix:

Photoshop:

Color & Noise
Photomatix:

Photoshop:

Artifacts - Changing Color
The sails in the images below are lit by a color chaging light that fades from one color to another.
Photomatix:

Photoshop:

Artifacts - Flares
Photomatix:

Photoshop:

Pros and Cons
The two methods of tone mapping are similar, but they share their own pros and cons. Photomatix does a better job for most of the time. We recommend using Photomatix tone mapping first. If it doesn't produce good results, use try using this Photoshop tutorial instead. While the image generated by Photomatix has more noise and isn't as sharp, these can be fixed in Photoshop aftewards.
Photomatix Tone Mapping
Photoshop CS3 (This tutorial)
Pros:
- Simple process and easy adjustments
- Excellent color results
- Smooth tones
- Exposures in their own seperate and editable layer
- Good sharpness
- Lower level of noise compared to original
- Most hot pixels are removed
- Less artifacts
Cons:
- Slightly more noise than original
- Visible hot pixels
- More artifacts
- More steps required
- Tweaking the results require advance Photoshop knowledge
- Abnormal outlines around bright edges
- Less saturated colors
Update: Fixed the "Photomatix" spelling mistake. Thanks for the notice in the comments. :)