
Make skin look perfect in one-click with these AI-powered Photoshop actions.

For more precision and accuracy in the Warp process, we would need a measuring tool and that would be Photoshop’s Ruler. Activate the ruler by pressing Ctrl/Cmd + R. We would need to create guides from the ruler to make this process easier. See image below for further instructions:

We would be starting the Warp process, take a closer look at the images below:


After that, the image should be similar to the image below:

Note: You may remove the guides by clicking on View > Clear Guides.
Now, you’d notice that the distortion is partially repaired. For the next part, we would be utilizing the Liquify tool. Activate it by pressing Filter > Liquify from the Menu bar. When the box opens input these values on the Tool options bar.
- Brush size: 270
- Brush density: 50
- Brush pressure: 100

Lastly, activate your Warp tool because we would need to fix some minor errors.

Now we’ve finished correcting the distortion and the final result should be similar to the image below:

For organizational purposes, rename your layer to “background”. To rename, you just have to double click on the text that says “layer 1” and then a Type box would appear and you may now rename it.
Step 3 - Create the street art
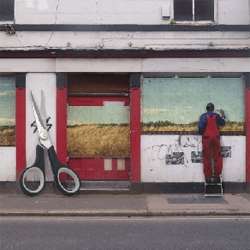
Now what we’re going to do on this step is that we would be adding a field which is currently being painted by a painter on the three gray blank walls on our image. To begin, let’s open the field stock image named “Landscape stock 5”.
When the image opens, do not move it to our canvas right away, because we would need to create some adjustment layers first. Let’s create a Solid Color adjustment layer for this image. To do that, click on the Create New Fill layer/ Adjustment layer button found on the bottom of the Layer window.

As soon as the Solid Color box opens, input the following value on the “#” box.
- #: 00001c

Now you’ll be seeing a dark blue color covering the layer, we wouldn’t want that, so let’s change its Blending Mode by clicking on the Normal drop down menu. Its Blending Mode is currently set to Normal and we would need to set it to Exclusion. You may also change its Blending Mode by double clicking on the layer which would then open the Blending options menu. When this menu opens, you’d find the Blending Options: General Blending tab open, and from there you may change the Blending mode.