
Download Lightroom presets and LUTs, absolutely free. Use the presets to add creativity and style to your photos.
Step 3 – Change the background color to blue
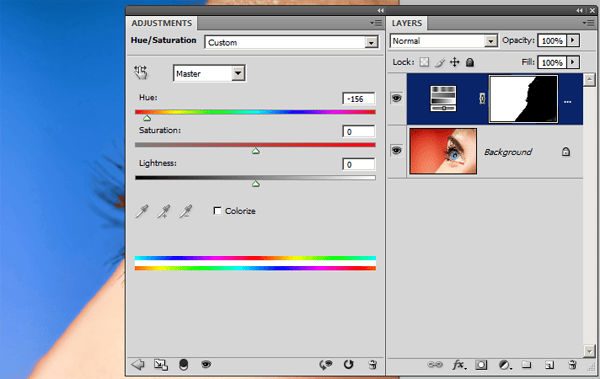
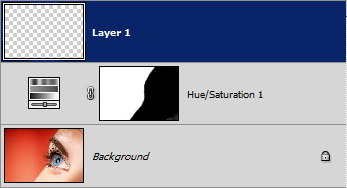
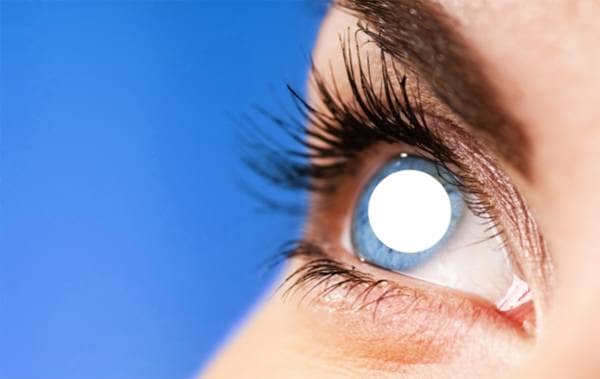
Select from the menu Layer > New Adjustment Layer > Hue/Saturation. This will create a new Hue/Saturation adjustment layer with a layer mask created from the selection. Alter the hue setting until the background turns to a nice blue like shown:
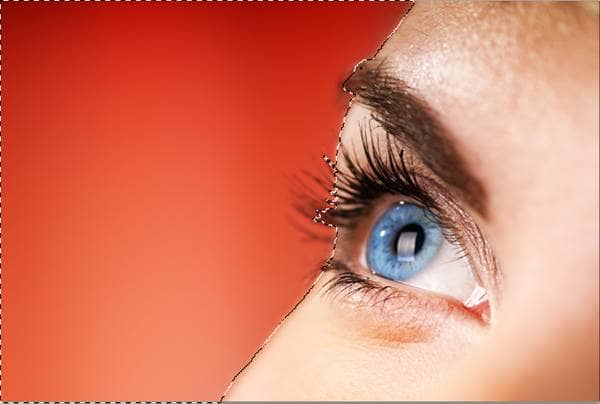
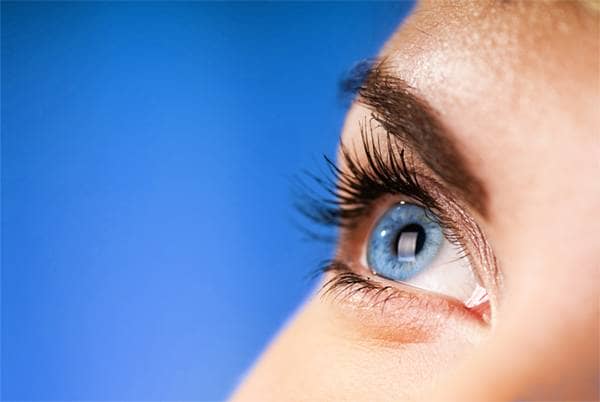
Here’s what it looks like so far. Notice that on the edge of the background and the face that it doesn’t look very clean with the colors? We’ll fix that next.

Step 4 – Refine the edge
First select the layer mask by clicking on the thumbnail in the Layers palette. There should be a white border around the layer mask thumbnail to indicate that it is selected.

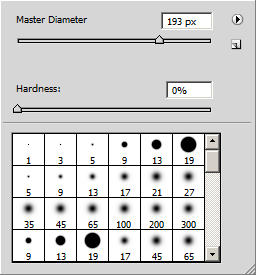
Select the brush tool then right click anywhere in the document window to bring up the brush settings. Set the hardness to 0%. This will give you a very soft edge that is great for cleaning up the edge.
Zoom in close so that you can clearly see the edge. Paint the edges very slightly to remove the edge color cast. Your brush should just be hovering over the edge slightly.
And here’s what we have after cleaning up the edge.
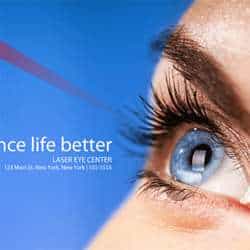
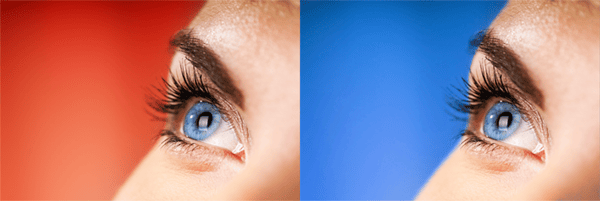
Here’s a comparison between the red and blue background. The red background on the original image makes the surgery look serious and dangerous. The blue background calms the viewer down and help make them feel that laser eye surgery is safe.
Step 5 – Create a new layer for the cutout of the flap
Create a new layer (Layer > New) and position it as the top. This layer will be used to create the cutout look from the flap that we’ll create later.
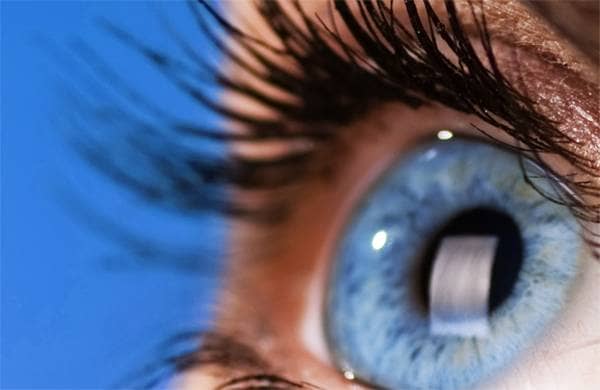
Step 6 – Create a circle that is the same shape as the iris
Use the circular marquee tool and create a circle selection on the eye like shown below. To do this, point your cursor over the center of the pupil. Hold down the Alt and Shift key then move your mouse outwards to create a perfect circle. The Alt key will make the selection created from the center rather than a corner and the Shift key will keep the selection a perfect circle and not an oval.

Fill the selected area with white then press Ctrl+D or choose Select > Deselect to deselect.
Press Ctrl+T or choose Edit > Free Transform to use the free transform tool. Hold down the Ctrl key and click on drag on each of the corner to reshape the circle. Transform the circle so that it is shaped like the iris. Press enter on your keyboard to apply the changes.
2 comments on “Perform Laser Eye Surgery on a Photo with Photoshop”
lol someone stole your pic and it got on Digg
http://i.imgur.com/9rwYKjs.png
can u pls send me through mail all of your tutorials.
These tutorials are more than useful for me.