Make skin look perfect in one-click with these AI-powered Photoshop actions.
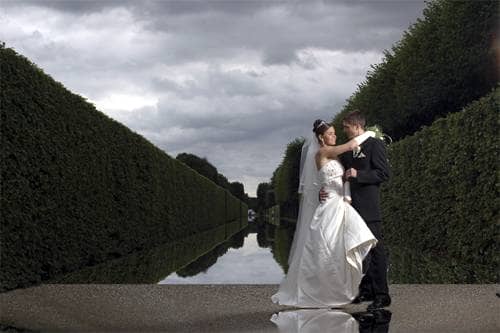
With the top layer selected, choose the move tool from the toolbar and position the layer so that the reflection matches the foreground objects. In the image below, the layer was positioned so that the bottom of the bride and groom in the two layers meet.
Step 7
Use one of the selection tools, such as the quick selection tool, to create a selection of the object's reflection.
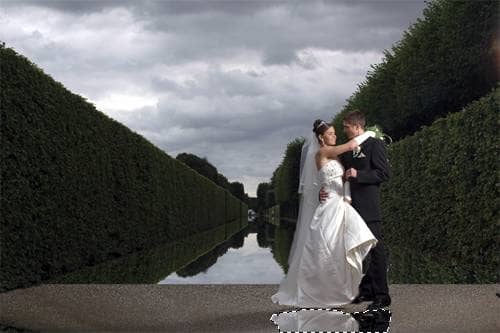
Click on the add layer mask button and you should now get a proper reflection like the image below.
Step 8
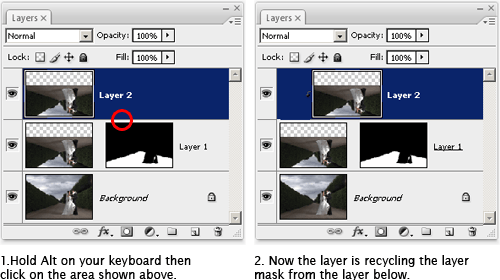
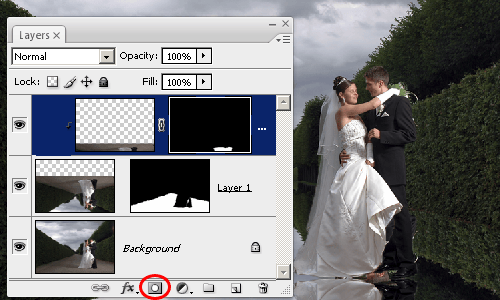
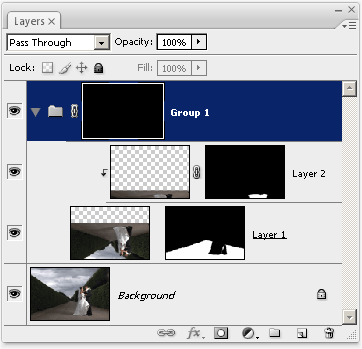
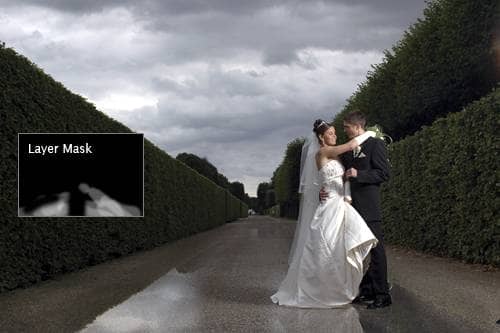
Now we'll need to create a mask for both the layers. You can only add one raster layer mask per layer, but here's a trick to add more than one layer mask. First, select Layer 1 and choose Layer > Group Layers. This will put the layers inside a folder. Now, select the group and choose Layer > Layer Mask > Hide All. Now you have another layer mask. Your layers should look similar to the image below.
Step 9
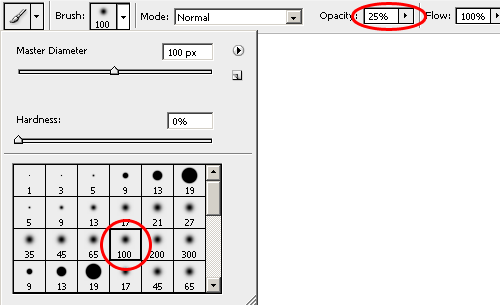
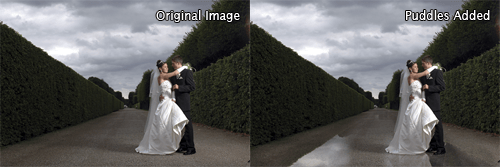
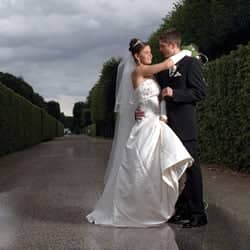
Your image should look like the original image without any puddles. In the Layers palette, click on the group layer mask to select it. Now we'll start painting the puddles. Select the brush tool from the tools palette. First, select any soft round brush with a hardness of 0% (you can change the brush size later). Then, change the opacity to 25%.
{articlead}
Paint the puddles on the floor. Basically, anywhere that you paint, the puddle will appear. If you make a mistake, you can always press Ctrl+Z to undo.
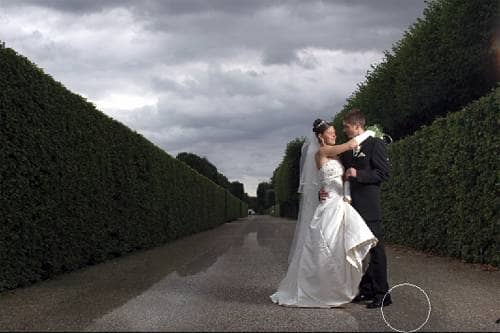
If you want to add more depth to the puddles, continue painting additional layers until you get the results that you desire.
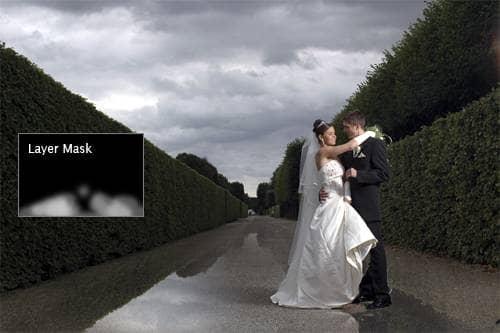
You can also switch to the eraser tool to erase the areas that you want to remove the puddles from. For example, in the image below, I erased the middle and left areas to make the puddle not seem so large.
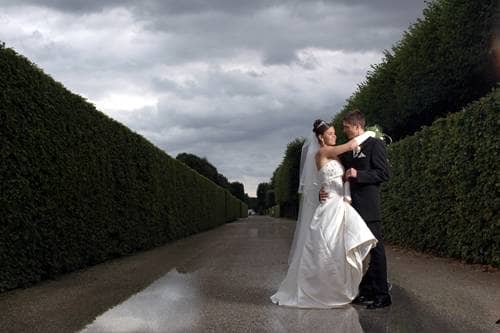
Final Results

One comment on “Photorealistic Puddles”
Hiya, I love your tutorials!
Hopefully you can help me out. I get everything to work perfectly until step 9. I select the mask in the group layer palette and then selest a brush with the desired settings, but when I brush on the image nothing happens. I even tried the eraser tool and nothing. I just don't get it. What am I doing wrong? Hope you can help. Thank you!