

Luminar AI lets you turn your ideas into reality with powerful, intelligent AI. Download the photo editor and see how you can completely transform your photos in a few clicks.
Add new adjustment layer Hue/Saturation and set Saturation on -40. Press OK. Now right click on this layer and choose the option Create Clipping Mask. This way the layer affects only one layer under itself, not the whole image.
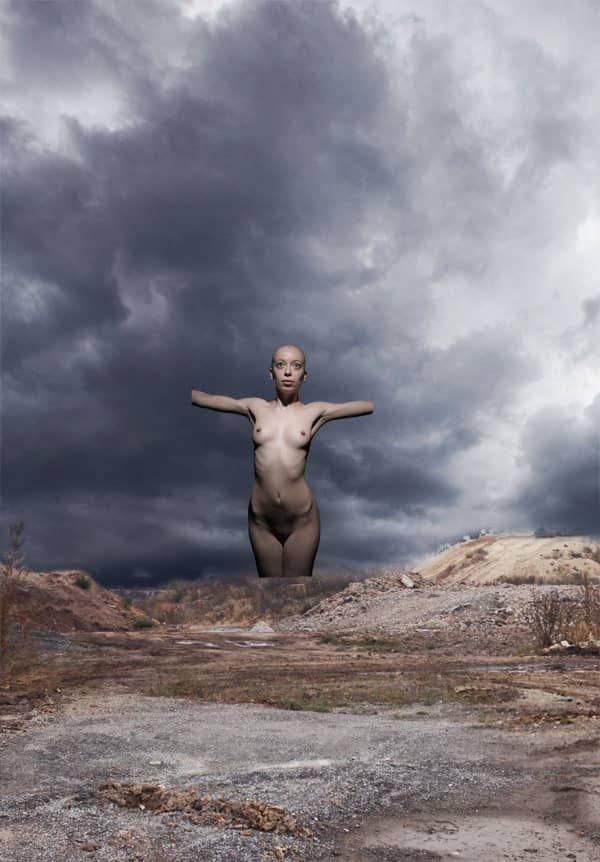
Your image should look like as it´s shown bellow:
Step 3 - Softening the Shadows
As you can see the woman has really strong shadows on her body which doesn´t fit to the rest of the scene. In this step we will soften them.
Add new layer on the top of your layers and name it SOFT SHADOWS. Grab the Brush Tool (B), select some smaller soft brush. Press Alt and select some color of womans´ body. Lower the opacity on about 20% and start painting over the shadows. Change the color of the brush quite often to get realistic result.
Bellow you can see how the woman looks with and without the softening:
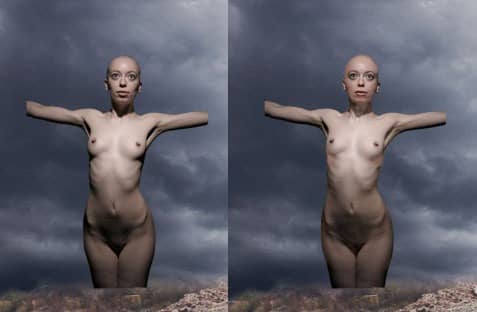
As you can see I didn´t care much about her hand because they don´t be visible in final picture.
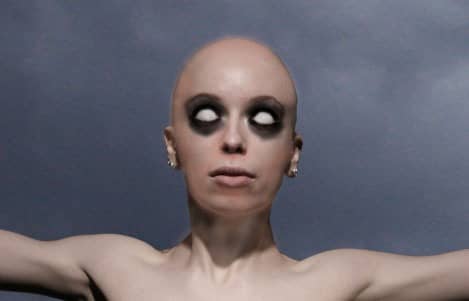
Step 4 - Changing Eyes
As you can see on the final picture the woman has blind eyes. You´ll do it in this step.
Add new layer on the top of your layers and name it BLIND EYES. Grab the Brush Tool (B) and select some small, soft, round brush. Pick some color similar to white of her eyes and paint over the irises. To get more realistic result change the color from time to time.
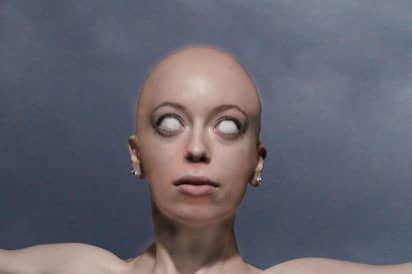
Step 5 - Adding Shadows arround the Eyes
In this step we will add shadows arround her eyes. Create new layer on the top of your layers and name it SHADOWS ARROUND EYES. Press B (= Brush Tool), pick some dark color, lower the opacity on about 40% and paint carefully arround her eyes. Bellow you can see how it should look:
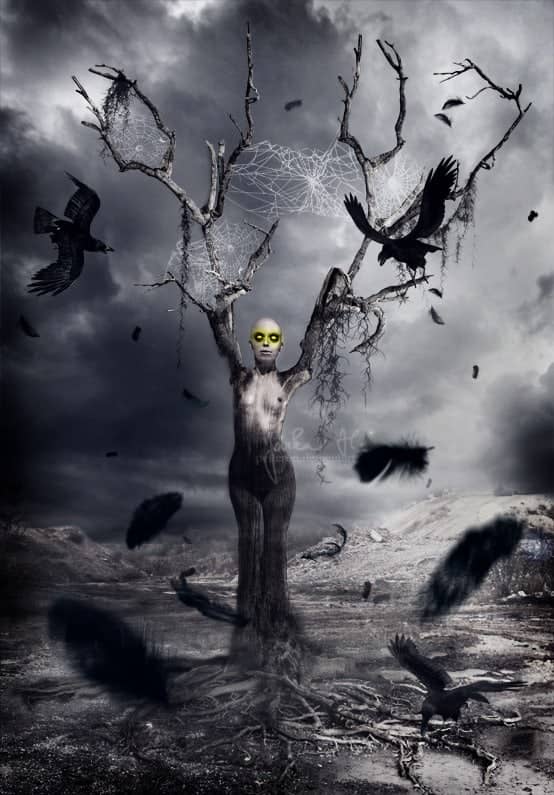
Step 6 - Adding Branches
Download picture of branches and open it in Photoshop. Cut out the background. This may be little boring and time consuming but do it as carefully as possible because more precise you cut it out more realistic the result will be.
After you´re done drag the branches into your manipulation. Place the layer under the WOMAN and name it LEFT BRANCH. Press Command + T and rotate the brach in the same direction as you can see on final image. Bellow you can see what I mean:
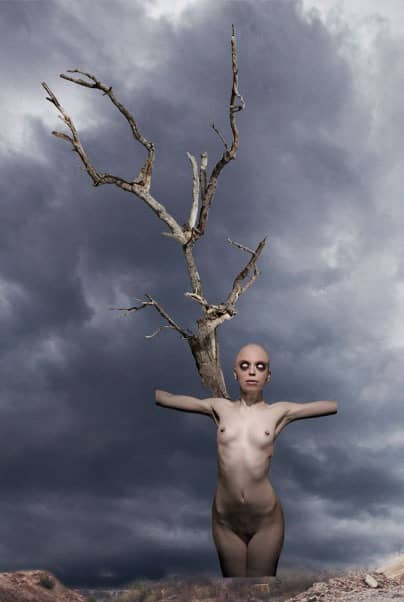
Duplicate LEFT BRANCHES and name it RIGHT BRANCHES. Go to Edit > Transform > Flip Horizontal.
5 comments on “Terrifying Horror Photo Manipulation”
The branches, ravens and some brushes don't exists and its a pity that I cannot complete you very nice tutorial. Regards Magdalena
Got this tutorial from the Google search engine.. but i really appreciate the work you have done in this Photoshop tutorial...
Great tutorial but the raven link no longer exists. I think this tutorial would be suited to intermediate, definitely not a beginners tutorial.
A very god tutorial but a bit hard
Nice bro, like it ...