Make your artwork look like they're from an alternate universe. These Cyberpunk presets work with Photoshop (via the Camera Raw filter) and Lightroom. Download all 788 presets for 90% off.
![step-006b[3] step-006b[3]](https://cdn.photoshoptutorials.ws/wp-content/uploads/migrated-images/ad2143290bbc_133F2/step-006b3.png?strip=all&lossy=1&quality=70&webp=70&avif=70&w=1920&ssl=1)
Step 7
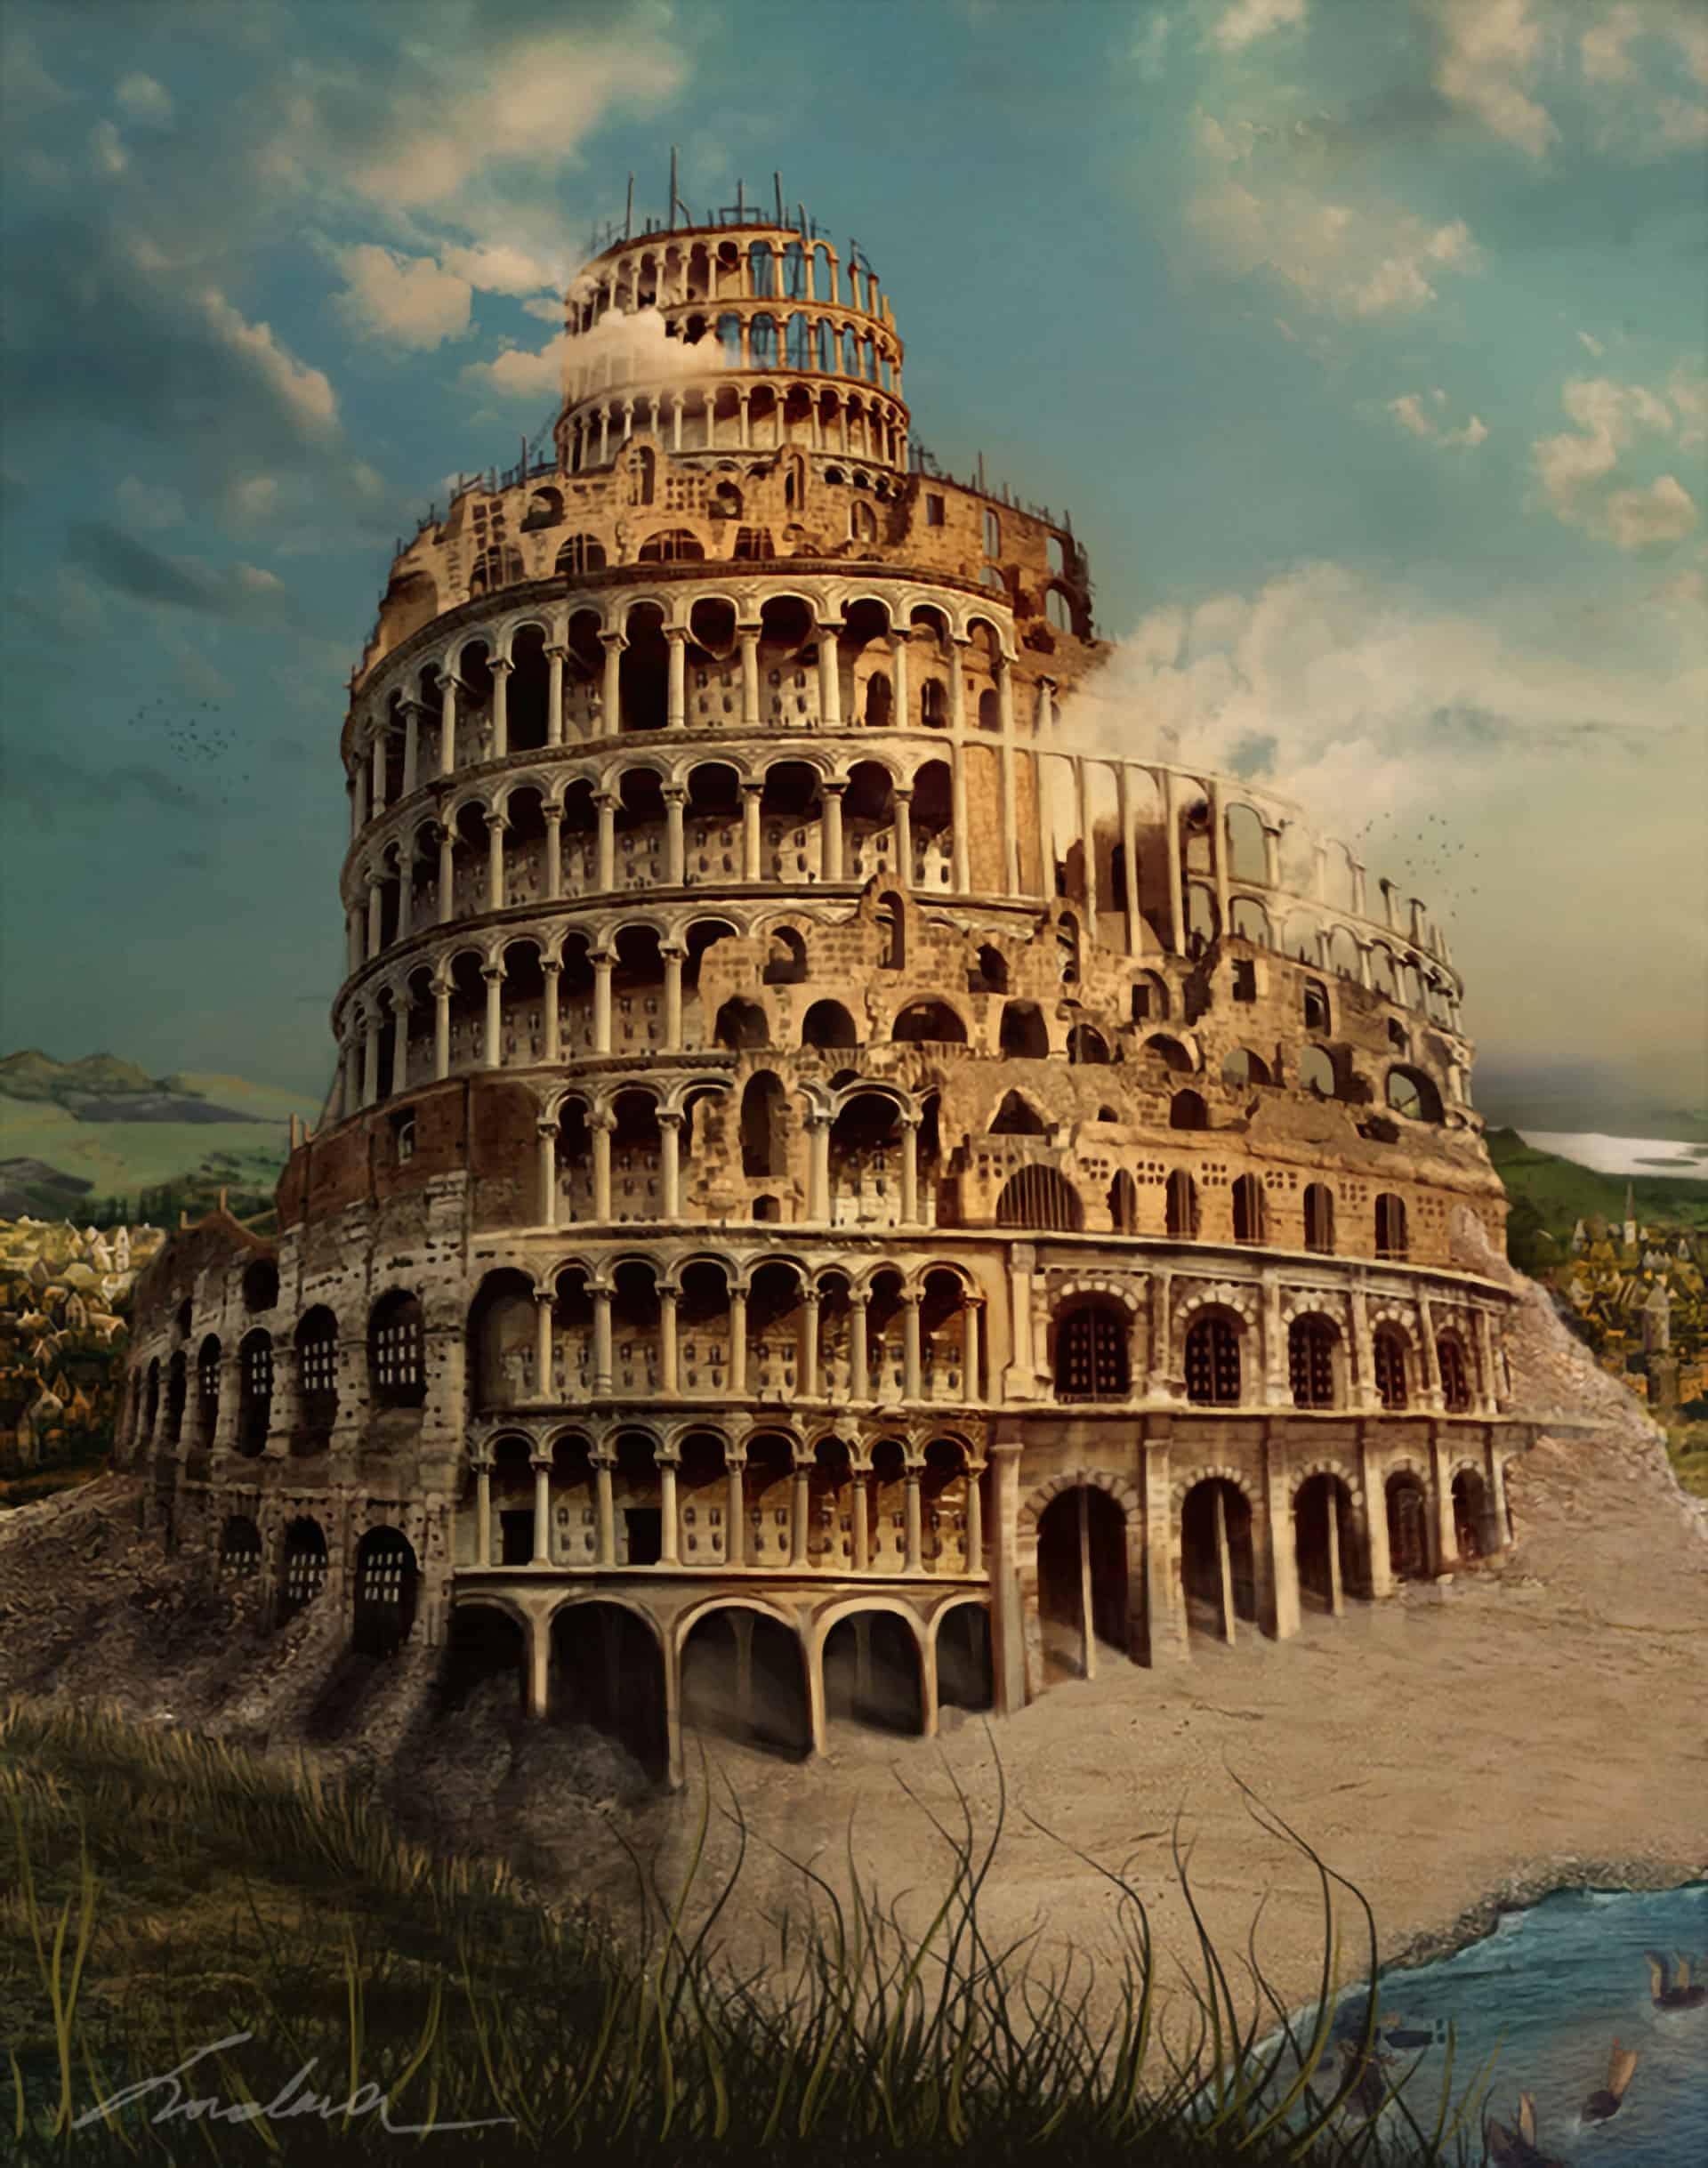
Select some clouds brushes and place them on top of the babel tower.
![step-007[3] step-007[3]](https://cdn.photoshoptutorials.ws/wp-content/uploads/migrated-images/ad2143290bbc_133F2/step-0073.png?strip=all&lossy=1&quality=70&webp=70&avif=70&w=1920&ssl=1)
![step-007a[3] step-007a[3]](https://cdn.photoshoptutorials.ws/wp-content/uploads/migrated-images/ad2143290bbc_133F2/step-007a3.png?strip=all&lossy=1&quality=70&webp=70&avif=70&w=1920&ssl=1)
Step 8
Cut out the hill.
![step-008[3] step-008[3]](https://cdn.photoshoptutorials.ws/wp-content/uploads/migrated-images/ad2143290bbc_133F2/step-0083.png?strip=all&lossy=1&quality=70&webp=70&avif=70&w=1920&ssl=1)
Create a clipping mask. Go to Adjustment Layers- Color Balance.
![step-008a[3] step-008a[3]](https://cdn.photoshoptutorials.ws/wp-content/uploads/migrated-images/ad2143290bbc_133F2/step-008a3.png?strip=all&lossy=1&quality=70&webp=70&avif=70&w=1920&ssl=1)
Duplicate the layer. Go to Filter- Other- High Pass. Radius 1px. Blending mode to overlay.
![step-008b[3] step-008b[3]](https://cdn.photoshoptutorials.ws/wp-content/uploads/migrated-images/ad2143290bbc_133F2/step-008b3.png?strip=all&lossy=1&quality=70&webp=70&avif=70&w=1920&ssl=1)
Step 9
Open the sand picture.
![step-009a[5] step-009a[5]](https://cdn.photoshoptutorials.ws/wp-content/uploads/migrated-images/ad2143290bbc_133F2/step-009a5.png?strip=all&lossy=1&quality=70&webp=70&avif=70&w=1920&ssl=1)
Create a new layer. Select the clone stamp tool and start cloning the sand from the right and the left piles. Watch how I did it in the image below. Take samples from different places.
![step-009a[6] step-009a[6]](https://cdn.photoshoptutorials.ws/wp-content/uploads/migrated-images/ad2143290bbc_133F2/step-009a6.png?strip=all&lossy=1&quality=70&webp=70&avif=70&w=1920&ssl=1)
![step-009b[3] step-009b[3]](https://cdn.photoshoptutorials.ws/wp-content/uploads/migrated-images/ad2143290bbc_133F2/step-009b3.png?strip=all&lossy=1&quality=70&webp=70&avif=70&w=1920&ssl=1)
![step-009c[3] step-009c[3]](https://cdn.photoshoptutorials.ws/wp-content/uploads/migrated-images/ad2143290bbc_133F2/step-009c3.png?strip=all&lossy=1&quality=70&webp=70&avif=70&w=1920&ssl=1)
Step 10
Drag in the sea picture. Using a basic brush paint some boats on the water. Don’t go into detail because it's a very small area.
![step-010[3] step-010[3]](https://cdn.photoshoptutorials.ws/wp-content/uploads/migrated-images/ad2143290bbc_133F2/step-0103.png?strip=all&lossy=1&quality=70&webp=70&avif=70&w=1920&ssl=1)
Paint some shadow across the sea’s shore. Use some color balance to blend it in.
![step-010a[3] step-010a[3]](https://cdn.photoshoptutorials.ws/wp-content/uploads/migrated-images/ad2143290bbc_133F2/step-010a3.png?strip=all&lossy=1&quality=70&webp=70&avif=70&w=1920&ssl=1)
![step-010b[3] step-010b[3]](https://cdn.photoshoptutorials.ws/wp-content/uploads/migrated-images/ad2143290bbc_133F2/step-010b3.png?strip=all&lossy=1&quality=70&webp=70&avif=70&w=1920&ssl=1)
Step 11
Adjustment Layer – Gradient Map. ( around 15 px)
![step-011[3] step-011[3]](https://cdn.photoshoptutorials.ws/wp-content/uploads/migrated-images/ad2143290bbc_133F2/step-0113.png?strip=all&lossy=1&quality=70&webp=70&avif=70&w=1920&ssl=1)
Step 12
Add some light in the right part of the sand. Use a basic brush.
![step-012[3] step-012[3]](https://cdn.photoshoptutorials.ws/wp-content/uploads/migrated-images/ad2143290bbc_133F2/step-0123.png?strip=all&lossy=1&quality=70&webp=70&avif=70&w=1920&ssl=1)
Step 13
Create a new layer so you can paint the small village in the back of the tower. This is easier than it first looks since the village is very small and you don’t have to go into detail.
![step-013[3] step-013[3]](https://cdn.photoshoptutorials.ws/wp-content/uploads/migrated-images/ad2143290bbc_133F2/step-0133.png?strip=all&lossy=1&quality=70&webp=70&avif=70&w=1920&ssl=1)
![step-013a[3] step-013a[3]](https://cdn.photoshoptutorials.ws/wp-content/uploads/migrated-images/ad2143290bbc_133F2/step-013a3.png?strip=all&lossy=1&quality=70&webp=70&avif=70&w=1920&ssl=1)
Add the shadow cast by the tower in the village.
![step-013b[3] step-013b[3]](https://cdn.photoshoptutorials.ws/wp-content/uploads/migrated-images/ad2143290bbc_133F2/step-013b3.png?strip=all&lossy=1&quality=70&webp=70&avif=70&w=1920&ssl=1)
Step 14
Place some small birds next to the clouds so the tower will appear bigger.
![step-014[3] step-014[3]](https://cdn.photoshoptutorials.ws/wp-content/uploads/migrated-images/ad2143290bbc_133F2/step-0143.png?strip=all&lossy=1&quality=70&webp=70&avif=70&w=1920&ssl=1)
![step-014a[3] step-014a[3]](https://cdn.photoshoptutorials.ws/wp-content/uploads/migrated-images/ad2143290bbc_133F2/step-014a3.png?strip=all&lossy=1&quality=70&webp=70&avif=70&w=1920&ssl=1)
Step 15
Create some shadow on the left part of the tower using curves.
![step-015[3] step-015[3]](https://cdn.photoshoptutorials.ws/wp-content/uploads/migrated-images/ad2143290bbc_133F2/step-0153.png?strip=all&lossy=1&quality=70&webp=70&avif=70&w=1920&ssl=1)
Step 16
Adjustment Layer – Hue/Saturation.
![step-016[3] step-016[3]](https://cdn.photoshoptutorials.ws/wp-content/uploads/migrated-images/ad2143290bbc_133F2/step-0163.png?strip=all&lossy=1&quality=70&webp=70&avif=70&w=1920&ssl=1)
Step 17
Adjustment Layer –Color Balance.
![step-017[3] step-017[3]](https://cdn.photoshoptutorials.ws/wp-content/uploads/migrated-images/ad2143290bbc_133F2/step-0173.png?strip=all&lossy=1&quality=70&webp=70&avif=70&w=1920&ssl=1)
Step 18
Now we will start painting on top of the tower adding some details and blend all the parts into one. You can add as many details as you feel like. Select the basic brush with sharp edges. Go to the brush presets and check the shape dynamics box. Create a new layer and draw some vertical black lines to create the impression that the tower is not yet finished.
![step-018[3] step-018[3]](https://cdn.photoshoptutorials.ws/wp-content/uploads/migrated-images/ad2143290bbc_133F2/step-0183.png?strip=all&lossy=1&quality=70&webp=70&avif=70&w=1920&ssl=1)
Go to the next part of the tower and start adding the same lines but in a lighter color.
![step-018a[3] step-018a[3]](https://cdn.photoshoptutorials.ws/wp-content/uploads/migrated-images/ad2143290bbc_133F2/step-018a3.png?strip=all&lossy=1&quality=70&webp=70&avif=70&w=1920&ssl=1)
Create a new layer and draw 4 windows as you see in the image. Duplicate this layer as many times you need to place these windows on each floor of the tower.
![step-018b[3] step-018b[3]](https://cdn.photoshoptutorials.ws/wp-content/uploads/migrated-images/ad2143290bbc_133F2/step-018b3.png?strip=all&lossy=1&quality=70&webp=70&avif=70&w=1920&ssl=1)
![step-018c[3] step-018c[3]](https://cdn.photoshoptutorials.ws/wp-content/uploads/migrated-images/ad2143290bbc_133F2/step-018c3.png?strip=all&lossy=1&quality=70&webp=70&avif=70&w=1920&ssl=1)
Add some windows on the left part of the tower as well.
![step-018e[3] step-018e[3]](https://cdn.photoshoptutorials.ws/wp-content/uploads/migrated-images/ad2143290bbc_133F2/step-018e3.png?strip=all&lossy=1&quality=70&webp=70&avif=70&w=1920&ssl=1)
![step-018f[3] step-018f[3]](https://cdn.photoshoptutorials.ws/wp-content/uploads/migrated-images/ad2143290bbc_133F2/step-018f3.png?strip=all&lossy=1&quality=70&webp=70&avif=70&w=1920&ssl=1)
![step-018h[3] step-018h[3]](https://cdn.photoshoptutorials.ws/wp-content/uploads/migrated-images/ad2143290bbc_133F2/step-018h3.png?strip=all&lossy=1&quality=70&webp=70&avif=70&w=1920&ssl=1)
![step-018i[3] step-018i[3]](https://cdn.photoshoptutorials.ws/wp-content/uploads/migrated-images/ad2143290bbc_133F2/step-018i3.png?strip=all&lossy=1&quality=70&webp=70&avif=70&w=1920&ssl=1)
Now that we have some details let’s take care of the parts that make the connection between all the different components of the tower. Just look at the pictures below and see how I did it.


2 comments on “The Babel Tower Photo Manipulation”
This is an incredible piece I am so stoked to try it out. Thanks!
how to cut and paste a head of a person