
Download Lightroom presets and LUTs, absolutely free. Use the presets to add creativity and style to your photos.

Conclusion
To finish this tutorial off I thought I'd point you to a great PSD file of a DVD case, you can download it it here. What I did was saved my image as a jpeg then pasted the jpeg image into the DVD case document and this shows you roughly how the cover will look. This is optional but it's the kind of thing that would be useful if you were to present a DVD cover design to a client. You can see what mine looked like below
![20[1]](https://cdn.photoshoptutorials.ws/images/stories/20%5B1%5D_8c152009-7942-4c8e-a701-2ae482c49657.jpg?strip=all&lossy=1&quality=70&webp=70&avif=70&w=1920&ssl=1 "20[1]")
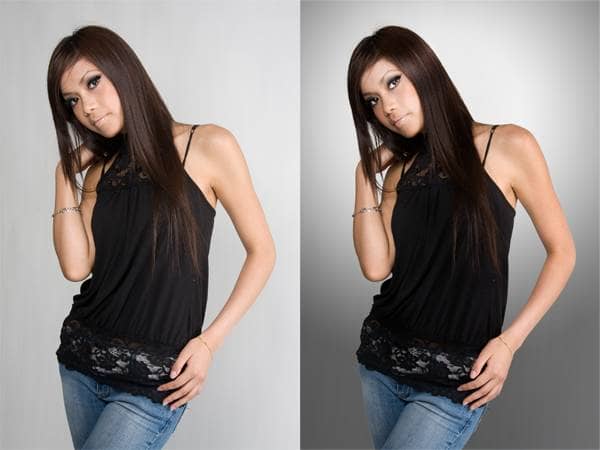
Before and After
Retouching a Studio Portrait Photoshop Tutorial
Retouching the background
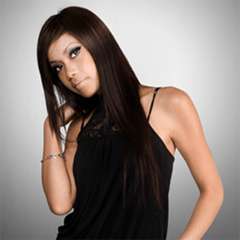
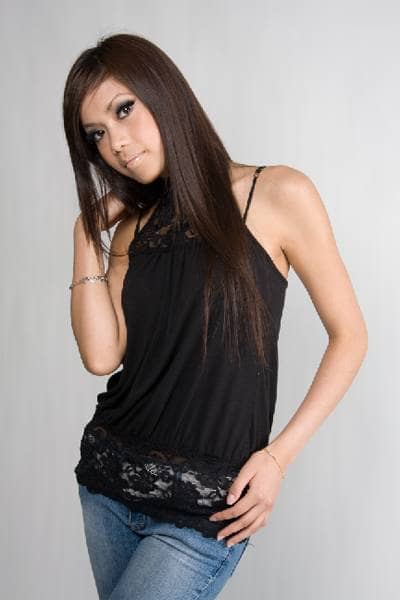
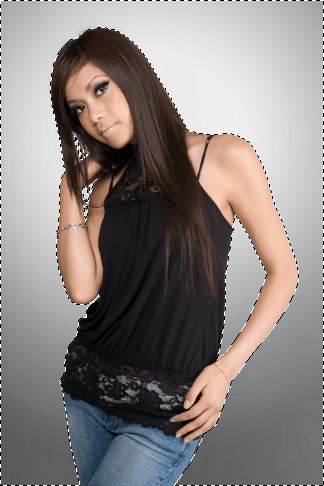
Here is the original image. As a photo it looks fine but it looks flat and boring. This Photoshop tutorial will show you techniques used to make the photo have a stronger impact. You can follow this tutorial with one of your own image or you can use the image below:
Creating the mask
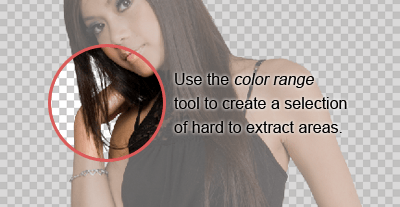
The first step is to isolate the model from the background. I used the extract and color range tool to create this. First I used the extract tool (Filter > Extract) but it didn’t work very well for the hair.
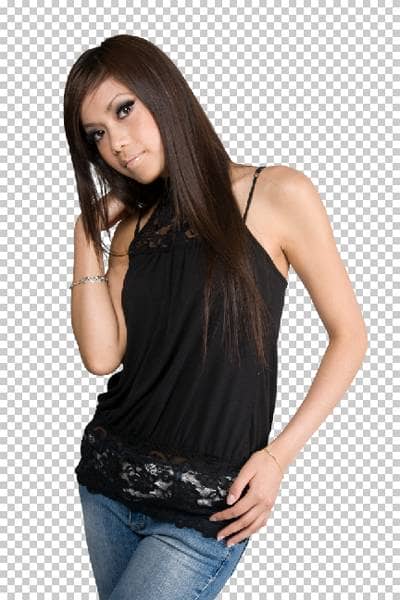
I then use the color range tool (Select > Color Range) to select the areas that were hard to extract using the extract tool.
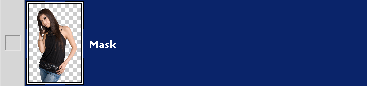
Now we have a mask in it’s own layer.
Adding a gradient to the background
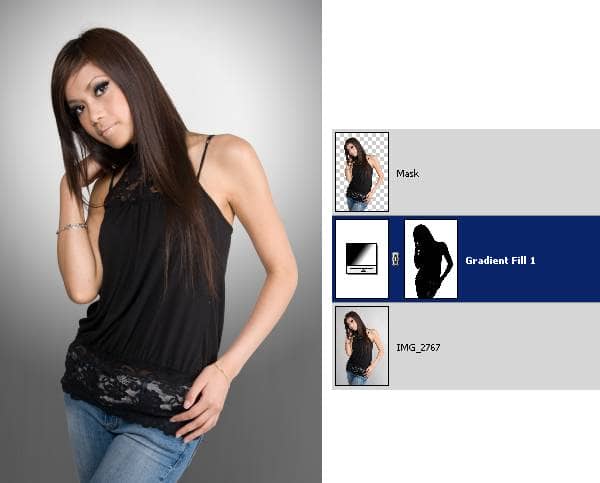
With the mask created, I can add a gradient to the background. Adding a gradient to the background is a simple and effective way to enhance a boring background. Here is a preview of what the layers will look like in the end.
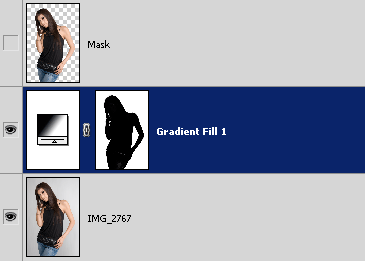
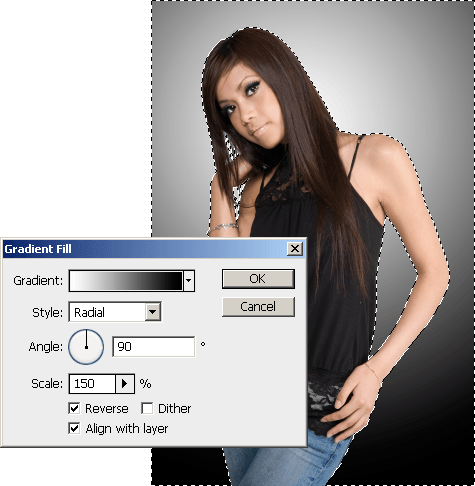
To create a gradient background, we’ll be adding a gradient fill layer using the mask that we just created. To do that, hold down the Ctrl key and click on the layer thumbnail of the layer “Mask”. It will load the selection of the layer. Choose Select > Inverse to inverse the selection. Then, choose Layer > New Fill Layer > Gradient.
In the Gradient Fill tool, move the center of the gradient behind the head. You can do this by clicking and dragging on the document window.
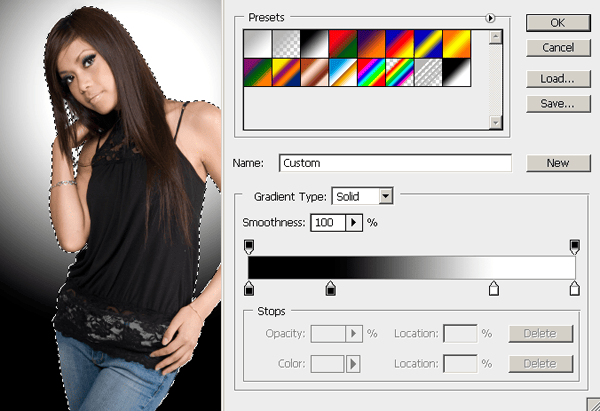
To increase contrast, you can change the gradient so that it is like the image below.
Finally, adjust the opacity of the Gradient Fill layer. I set mine to 50% opacity.
Tone
Begin by creating a new layer for dodging and burning. Position the layer above the gradient fill adjustment layer. Then, change the blending mode to soft light.
6 comments on “Retouching a Studio Portrait”
Nice but very simple. could be more appealing.
Hi,
I am Arnob. I am willing to work with you and seeking a long term contract with a reputed company like you. I am basically experienced with photo editing manly in masking, clipping path, retouch, and color balance. So it would be a great job if you have any job for me on these areas.
I am willing to discuss with you and do a short term trial project so you know if I am perfect or not.
Warmest Regards,
Arnob
Very handy to know! Great tutorial!
Nice but very simple. could be more appealing.
Really great tutorial! I love the dodge and burn on the soft light layer...just what I wanted to know..and the shine is very cool!
thanks So much!
Nice one..... but not so attractive.