Make your artwork look like they're from an alternate universe. These Cyberpunk presets work with Photoshop (via the Camera Raw filter) and Lightroom. Download all 788 presets for 90% off.
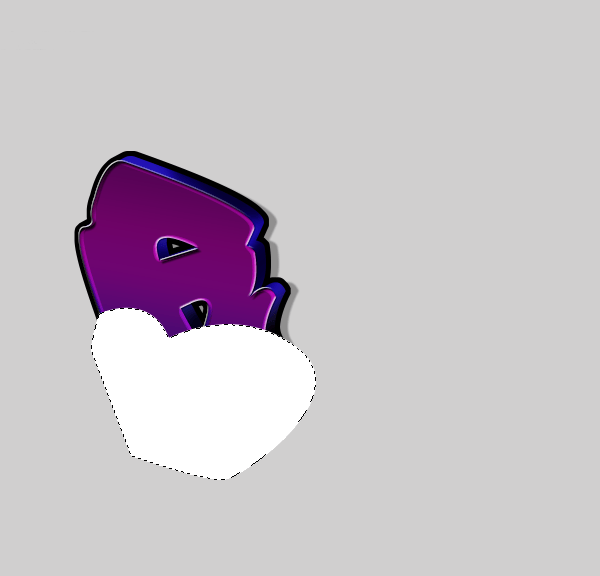
Step 13
Erase the unnecessary areas. To do this make a marquee selection of the original "G" and "G Copy" layer (while holding the ctrl+alt key, select the box next to the layer's name) Select>Inverse, then delete while the highlight layer is still selected.
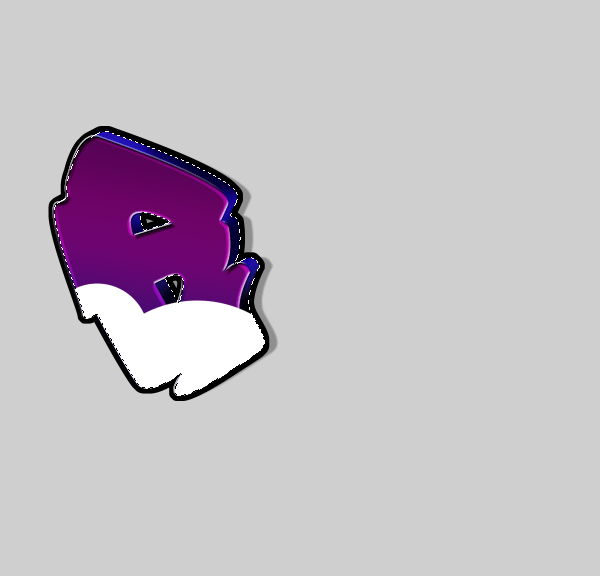
Step 14
Change this layer to 'Soft Light' and add this layer style (Layer > Layer Style > Inner Shadow).
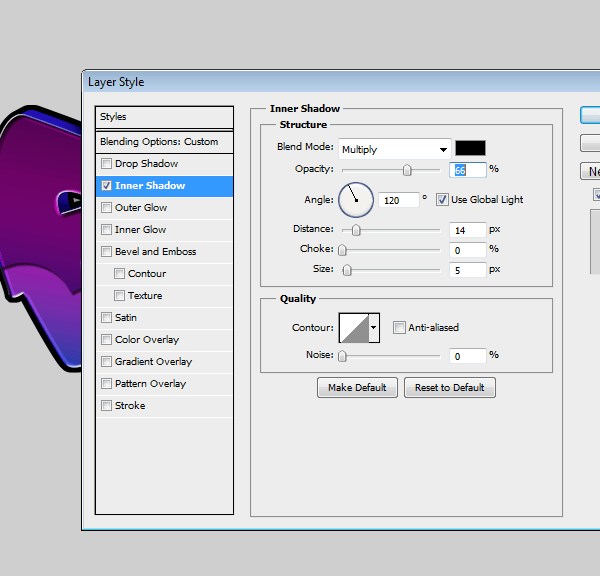
Step 15
Repeat these same steps for the rest of your letters
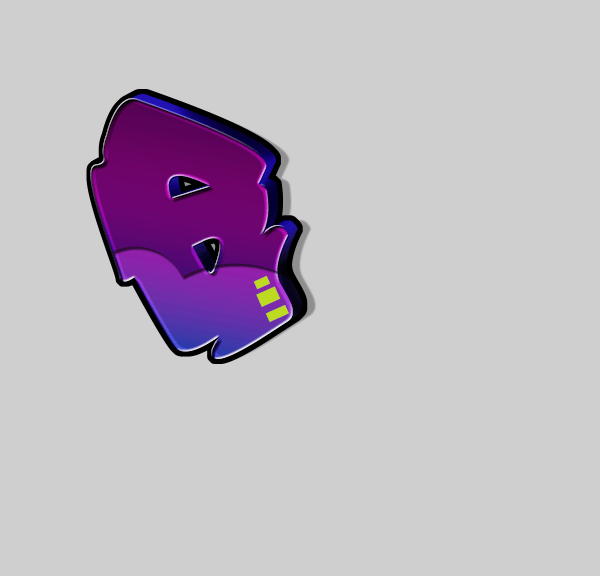
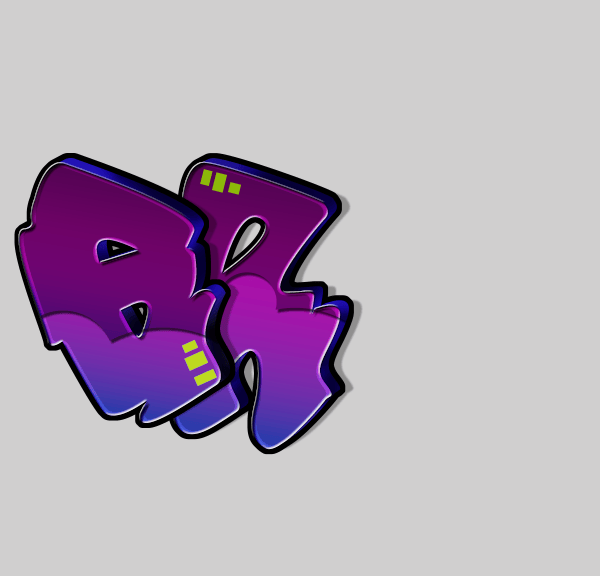
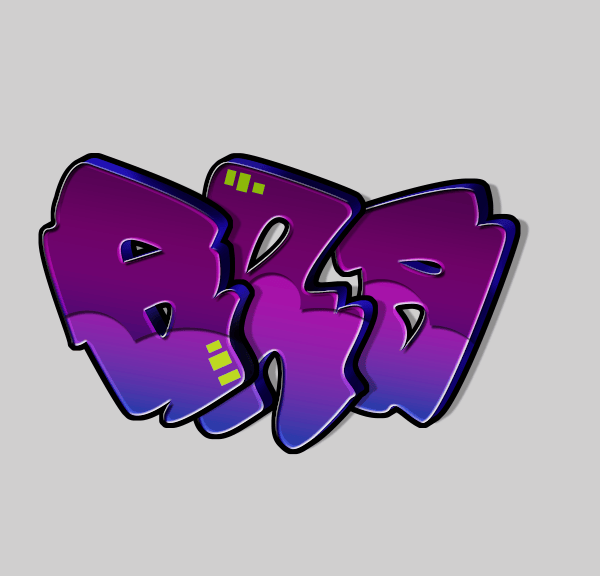
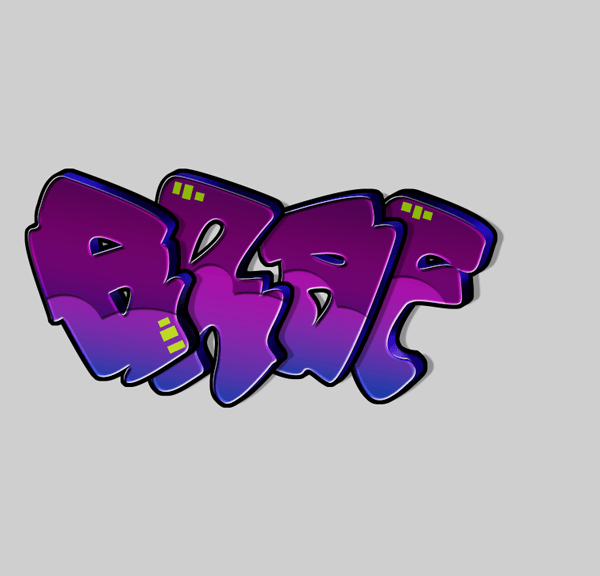
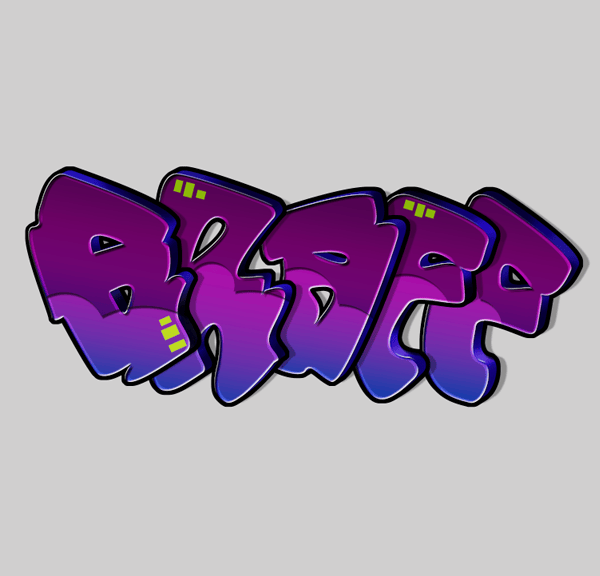
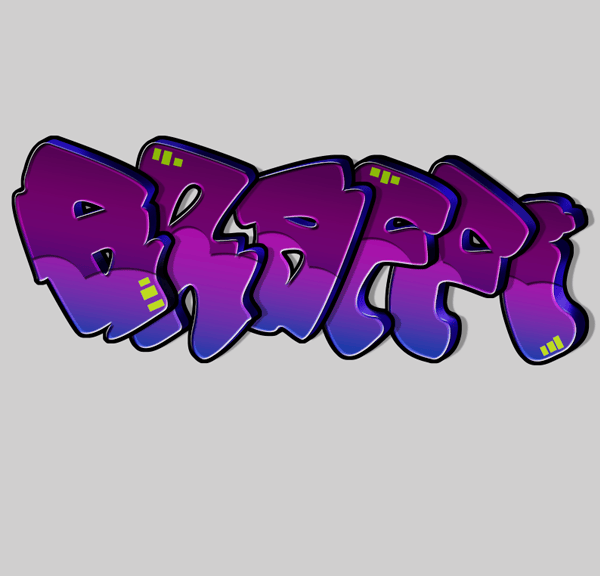
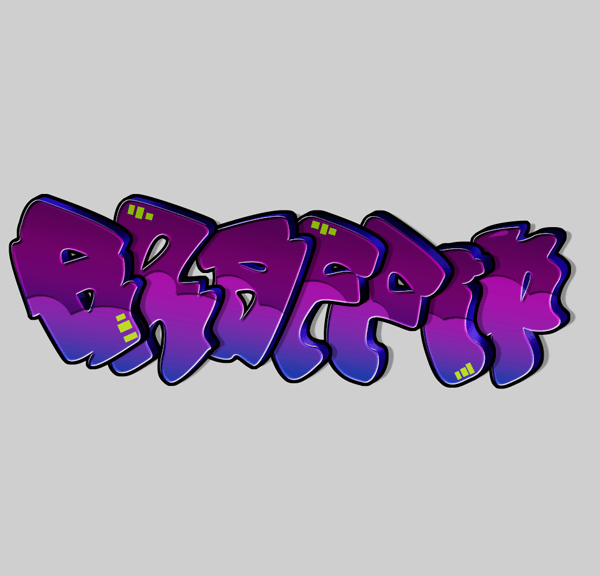

Step 16 Cloud
Create a New layer and rename it "cloud". Place this layer beneath the letter layers. Grab your brush tool and use different sizes of circles to create the cloud. I used the color #e40480. Once finished duplicate this layer
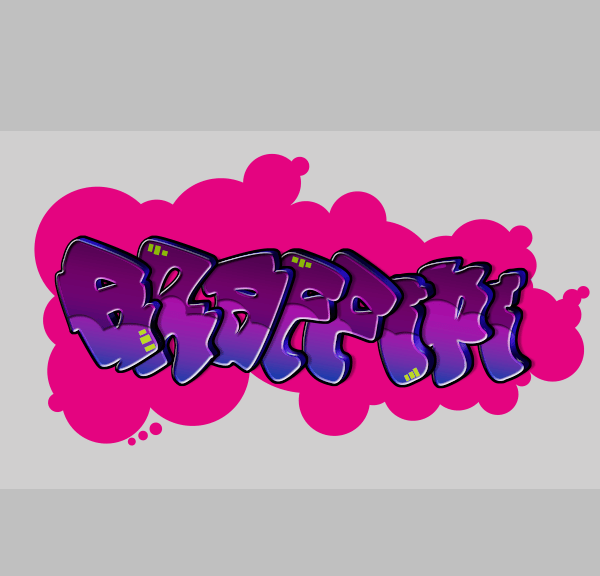
Step 17
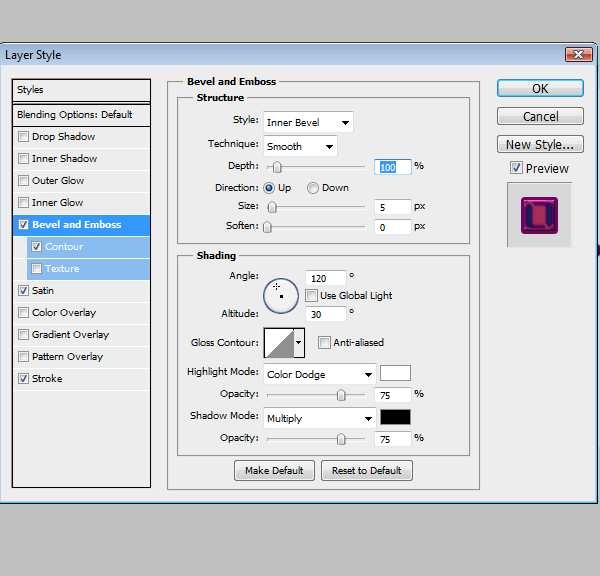
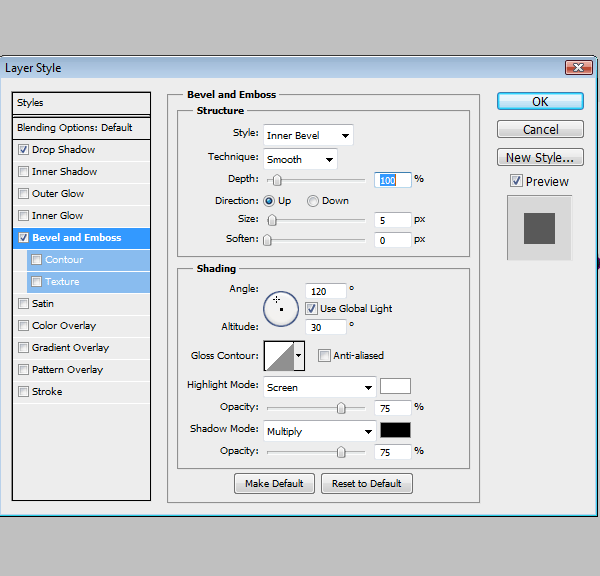
Add these layer styles to the original layer (Layer > Layer Style > Bevel and Emboss).
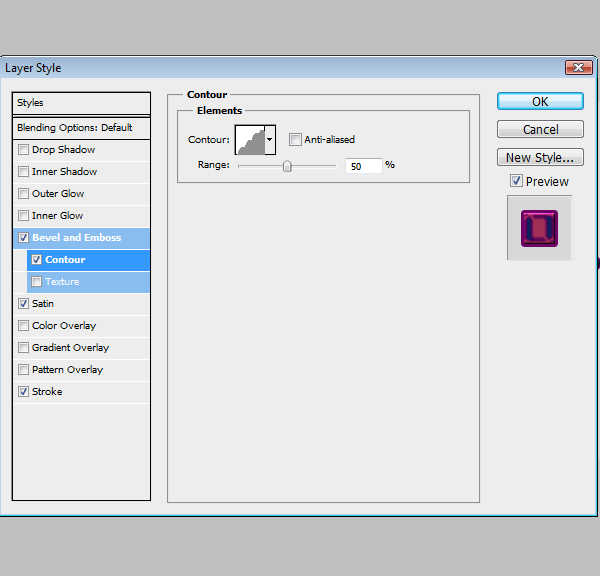
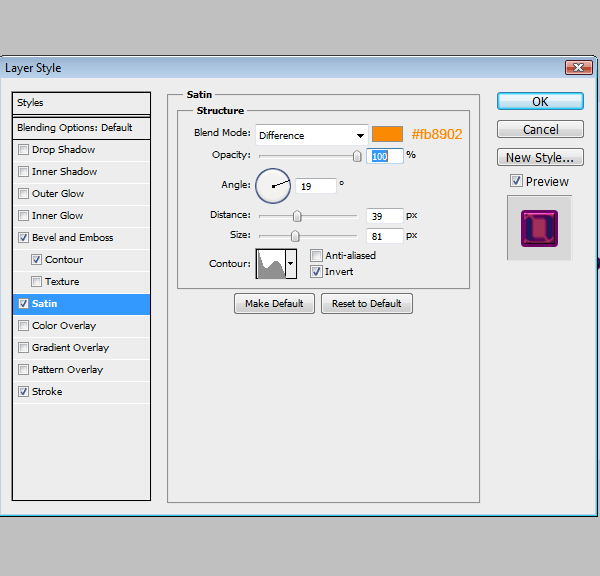
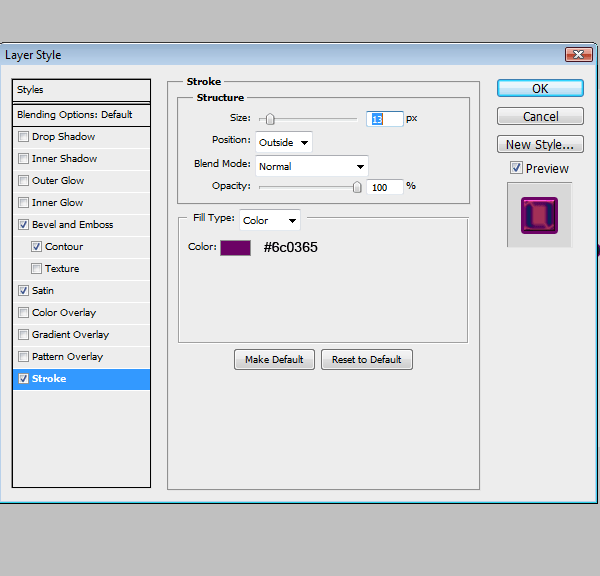
Step 18
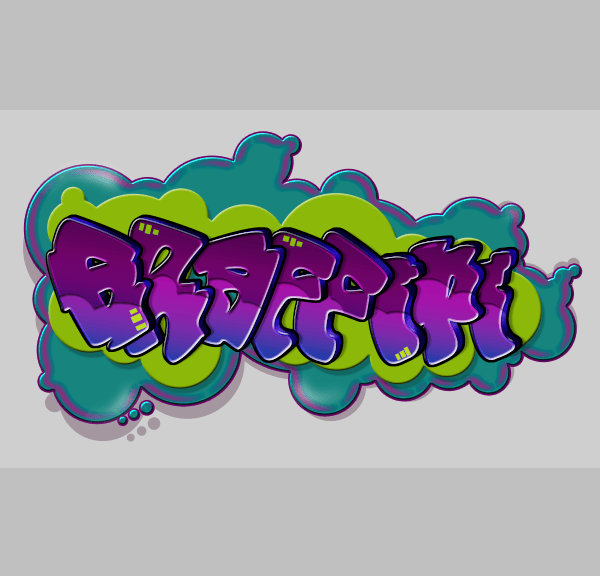
This is how yours should look.
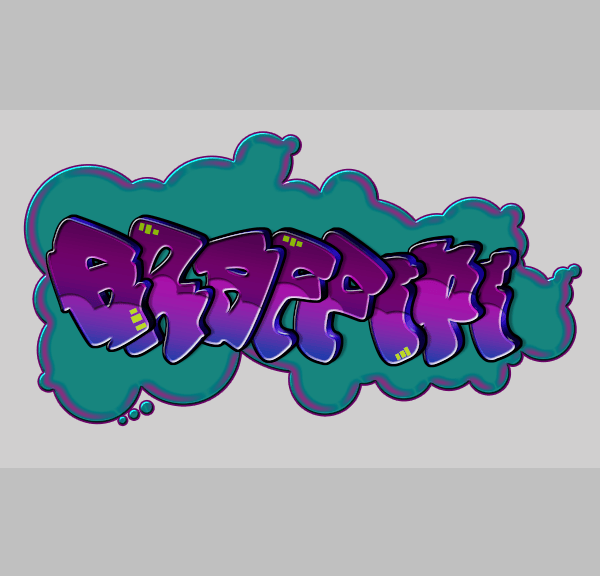
Step 19
Create a new layer above the cloud layer and with a #FFFFFF soft round brush place some highlights around the cloud. Make sure the opacity on the brush is very low.
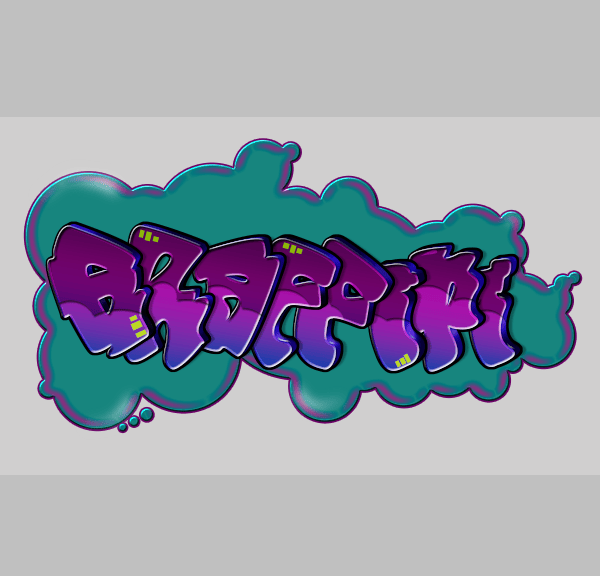
Step 20
Go to your "Cloud copy" layer and place it underneath the original cloud layer and change the opacity of this layer to 27%. Also maneuver this layer a bit so that the shadow shows.
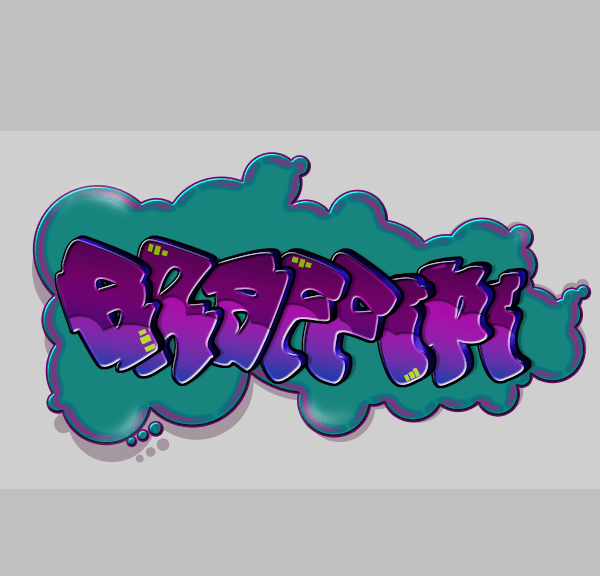
Step 21
Create a new layer for the inner cloud grab a hard round brush of different sizes and create a cloud. I used the color #8cb809
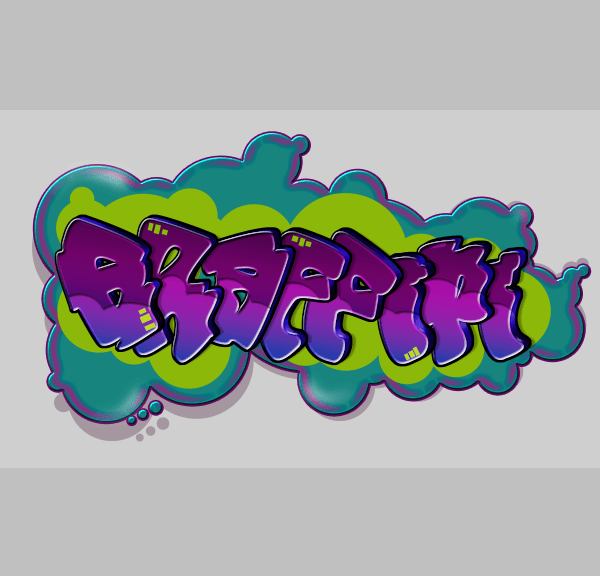
Step 22
Add these layer styles to this layer
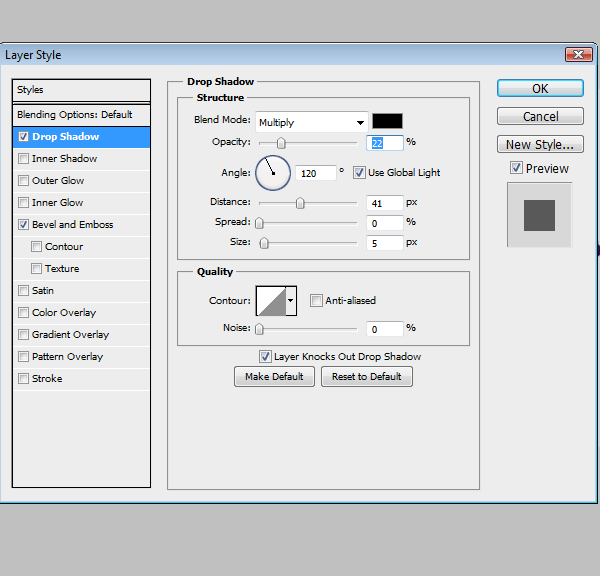
Step 23
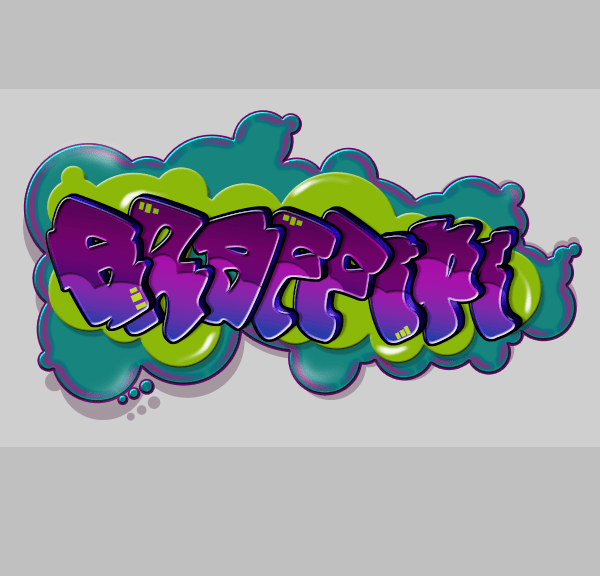
Create a new layer and add some shine to this cloud layer with a small soft round brush. I used the smudge tool also to stretch out highlights
Step 24
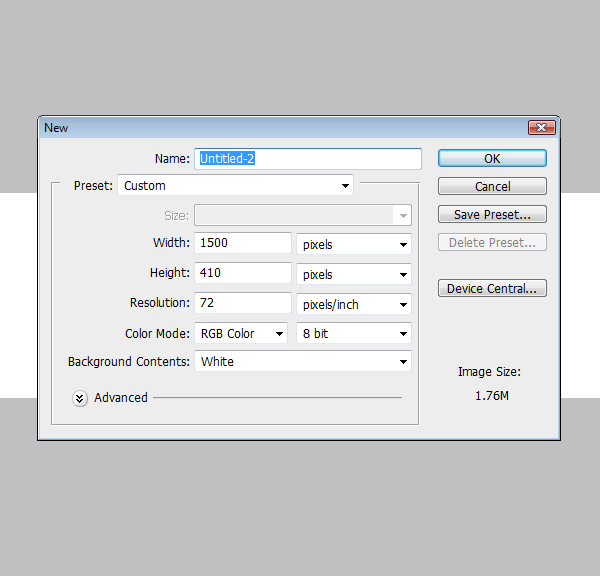
Now I will show you how to create the background. First Create a New Document
Step 25
Grab your rounded rectanlge tool and make a rectangle. The color I'm using is #8cb809 Radius: 21px

Step 26
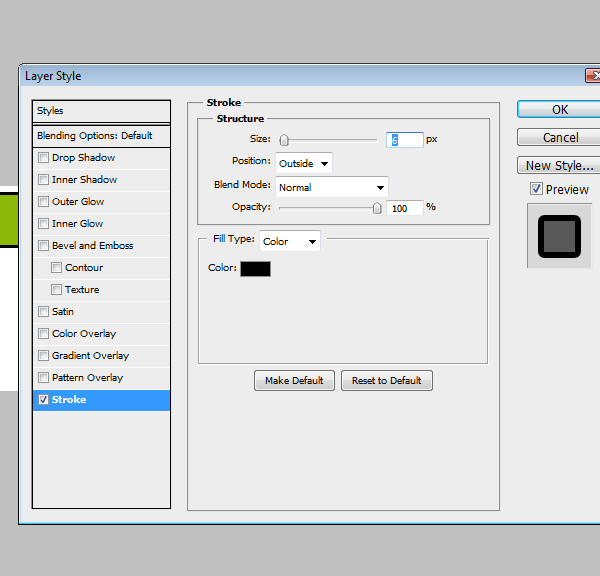
Add a Stroke in the layer style panel
Step 27
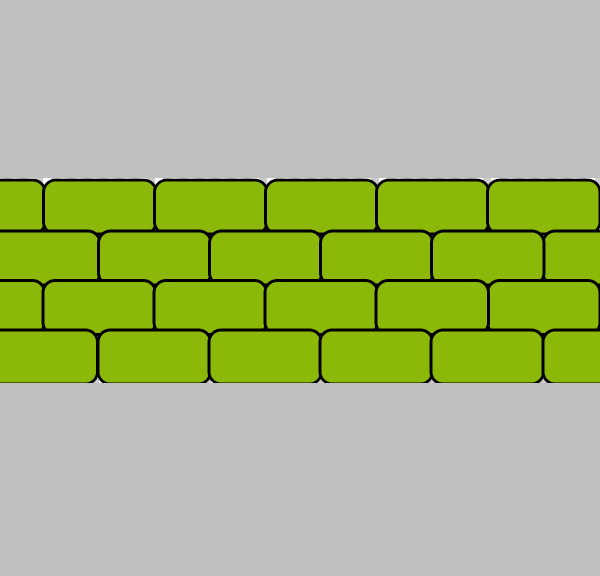
Make multiple duplicates of the brick. Note: Make sure to overlap the bricks so that there is no white background showing.
Step 28
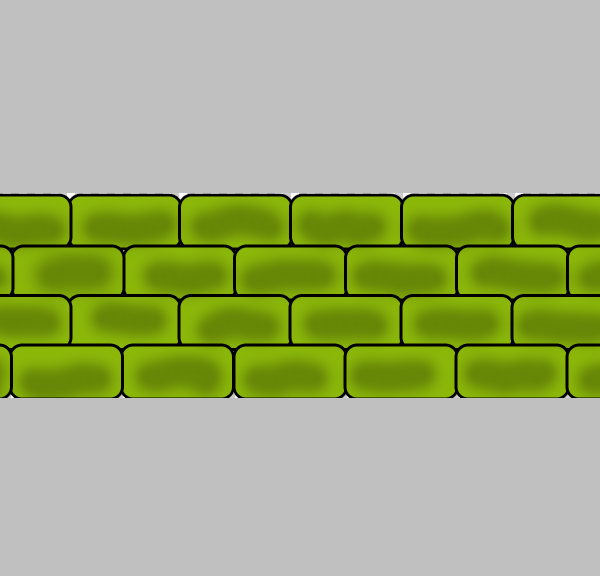
Create a new layer above the bricks and with a 60px #000000 soft round brush apply shadow to the bricks. Change this layer's Opacity to 27%.
Step 29
Go to Edit>Define Pattern and name it bricks, click ok. Go back to your graffiti document. Create a New Layer underneath your cloud layers. Fill this layer with #FFFFFF. Change this layer Fill to 0%. Add these layer styles


15 comments on “Create a Cartoon-Style Graffiti Text Effect in Photoshop”
bruh
A very smart approach to explain the things,like your step by step tutorial.
Fantastic tutorial, thank you. Used it in my Graphic Design assessment, it made all the difference.
It's fascinating. Way but I want to clarify more video
Great tutorial. Thanks for sharing :)
10Q FOR TUTORIAL I LIKE IT
welldone Ashlee, Nice Tutorial
Really Great....tutorial. Thank Your Ashlee.
galing
good tut
Nice one Ashlee....love graffiti as well..
Bad tut...
nice tutorial,...thanks Ashlee!:)
very nice
thanks a lot