


Make your artwork look like they're from an alternate universe. These Cyberpunk presets work with Photoshop (via the Camera Raw filter) and Lightroom. Download all 788 presets for 90% off.

Step 6
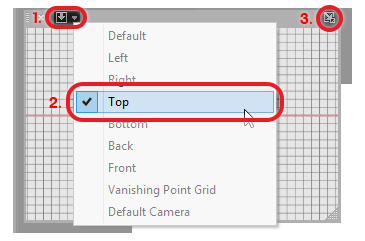
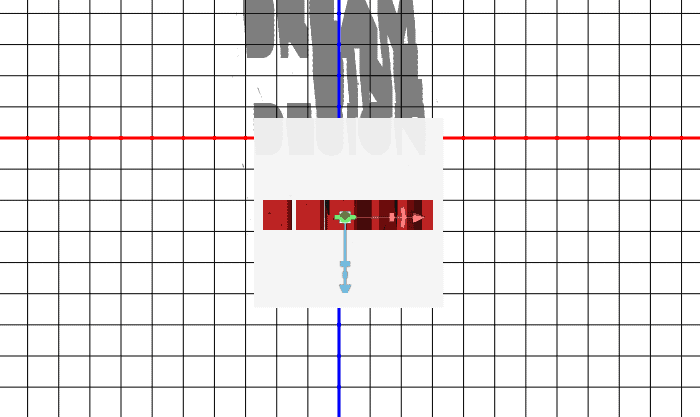
Now we’re going to resize and reposition the text so that it fits inside the cube. To make it easier, we’re going to switch the view so that we’re looking from the top down. In your 3D Secondary View window (View > Show > 3D Secondary View), click on the panel menu and select Top. Then click on the “Swap Main and Secondary-View” button located at top-right of your panel. This will swap your secondary view with your main view.
Step 7
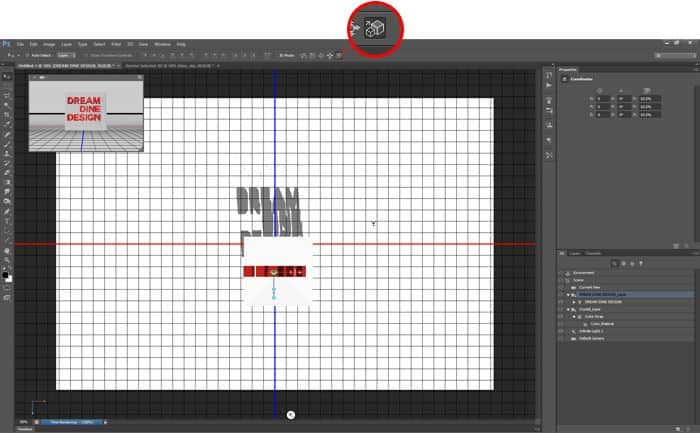
Select the 3D text layer in your 3D panel. Switch the 3D Mode to Scale in your options bar then click on an area outside of the text and drag to scale it down so that it fits inside the cube. Switch your 3D Mode to Drag (the 3rd button), then click on an area outside of the text and drag to reposition the text so that it’s in the middle of the box.
Step 8
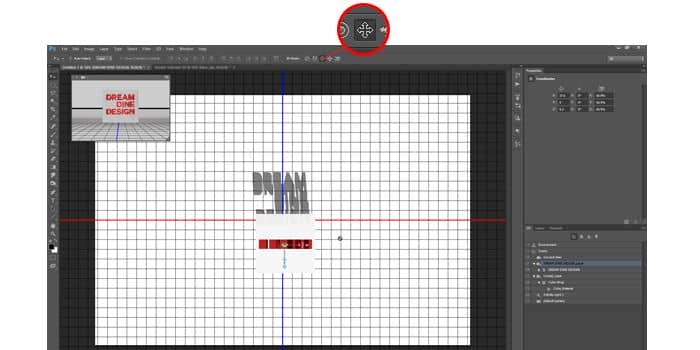
In your Secondary View panel, change the view to Left. Click on the “Swap Main and Secondary-View” button located at top-right of your panel. With the Drag tool selected, click on an empty area then drag to reposition the text so that it’s in the middle of your crystal. When you’re done, click on the “Swap Main and Secondary-View” button again to bring you back to the default camera view.
Step 9
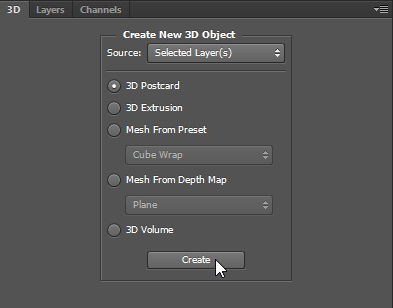
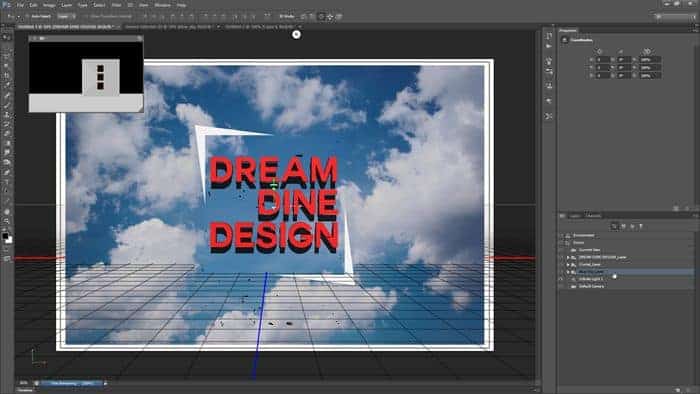
Next, we’re going to add the image of the sky. I got my sky picture from ShutterStock but you can easily find free cloud pictures on other websites. Drag and drop the file into your document. Photoshop will place your photo as a new Smart Object. Rename this layer to “Blue Sky”. In the 3D panel, select 3D Postcard then click create. This will turn your layer into a 3D object. Press Ctrl/Cmd+E or go to Layer > Merge Down to merge this 3D postcard layer with your other 3D layer.

Step 10
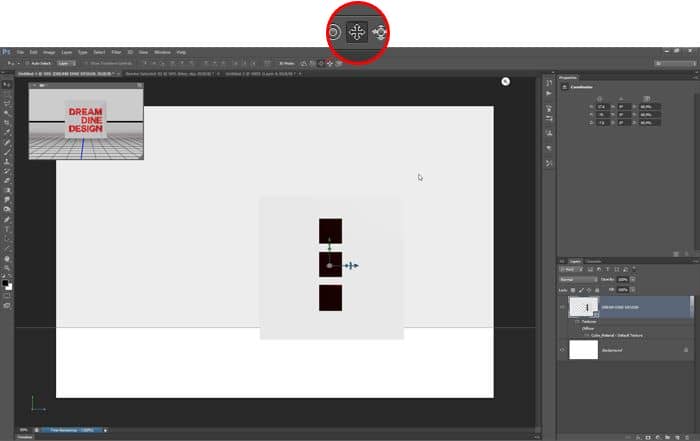
Currently, your blue sky picture is cutting through the middle of your text and cube and we need to move this object way towards the distance. To do this, change the view to Left in your Secondary View panel then click the swap views button located at top-right of your panel. Select the Blue Sky 3D object in your 3D panel then set the 3D Mode in the options bar to Slide. Click on an empty area then, while holding the shift key, drag left to move the blue sky all the way towards the left. Click the swap view button to switch back to your default view.
7 comments on “How to Create a Crystal Cube with 3D Text in Photoshop Extended”
I like the idea of this tutorial, it’s very creative and the result looks great.
Impressive! Really impressed at this tutorial.. quality is great
nice tutorial
In the video, you keep clicking and dragging to change the text leading. If you highlight the text first, you will see the changes in realtime. Other than that great video and keep these coming!
Nice and easy
unique n amazing tutorial . .. .
COOL VIDEO!! Who cares about the crystal... teach me how to make the intro!!