Turn any photo into a dot grid artwork with these Photoshop actions. You'll get great results with dots that change size. They get larger in brighter areas and smaller in darker areas. Free download available.
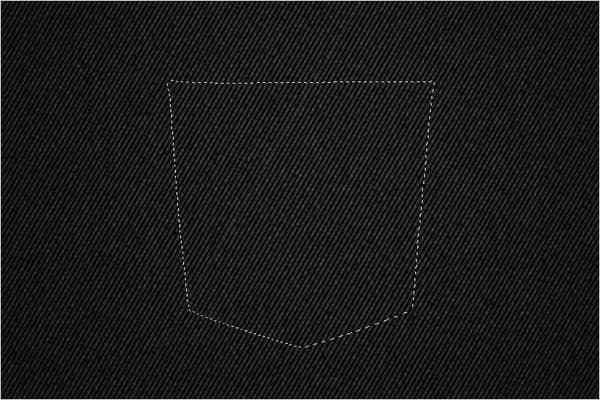
Step 13 - Transforming
Copy (Ctrl+C) and paste (Ctrl+V) the image of the pocket you just drew. Then transform (Ctrl+T) the pocket. Invert the pocket colors by right clicking on the selection and selecting Flip Horizontal.
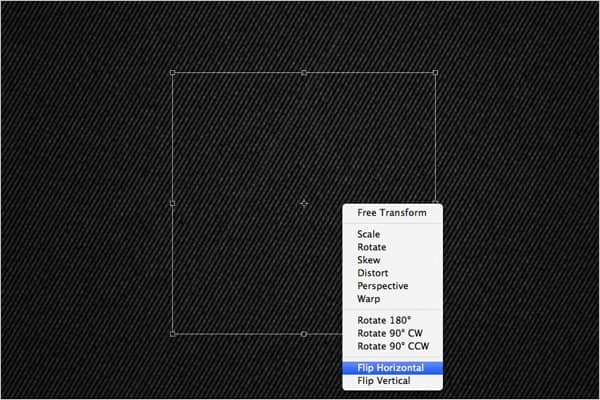
Step 14 - Adding Levels to Pocket
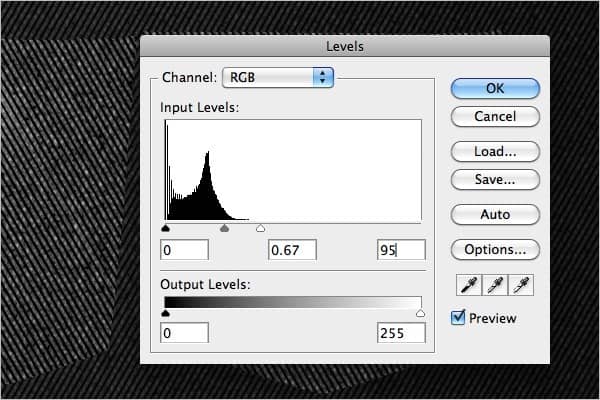
Brighten up the pocket image (Image > Adjustments > Levels or Ctrl+L) using the settings below:
- Input Levels: 0, 0.67, 95
- Output Levels: 0, 255
Step 15 - Adding Borders
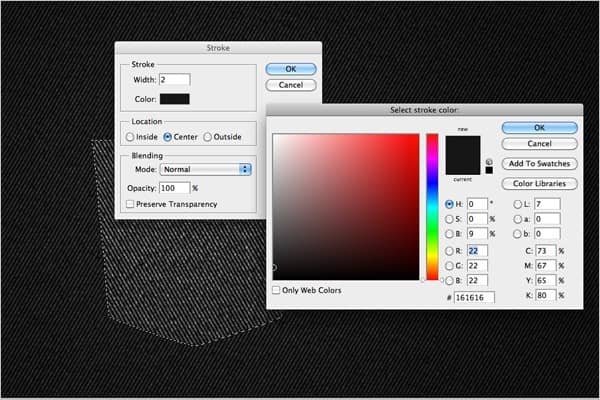
Add borders to the pocket by using the Stroke (Menu > Edit > Stroke) option and the settings below:
- Width 2
- Location: Center
- Mode: Normal
- Opacity: 100%
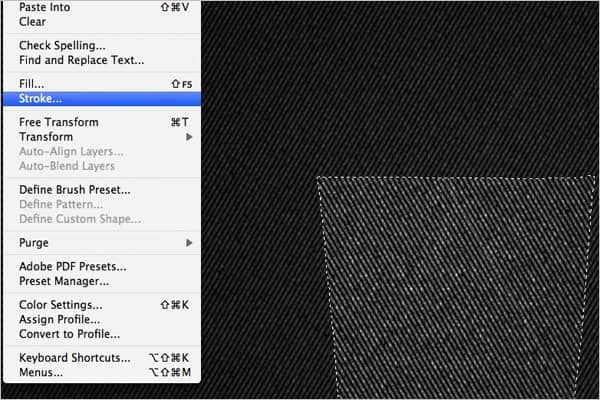
Set the stroke color to #161616.
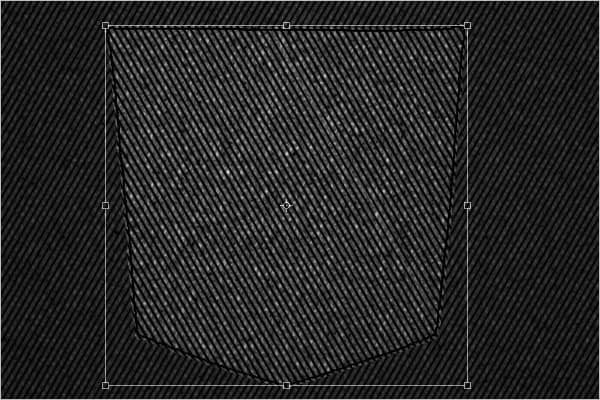
Step 16 - Transforming Border
Transform (Ctrl+T) the border and move it 2px inside the pocket image.
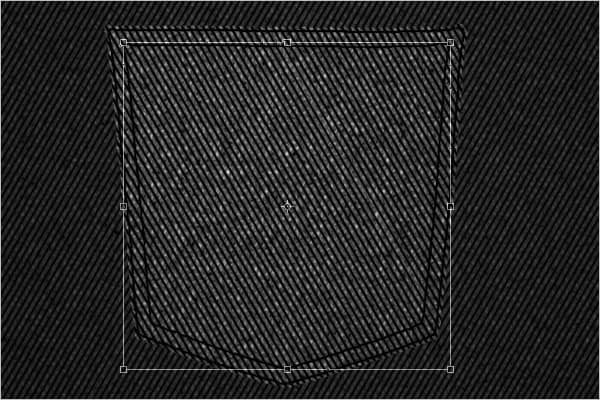
Step 17 - Duplicating Border
Duplicate (Ctrl+J) the border and name it “border2”. Move “border2” 6-7px inside the pocket image.
Step 18 - Transforming Inner Border
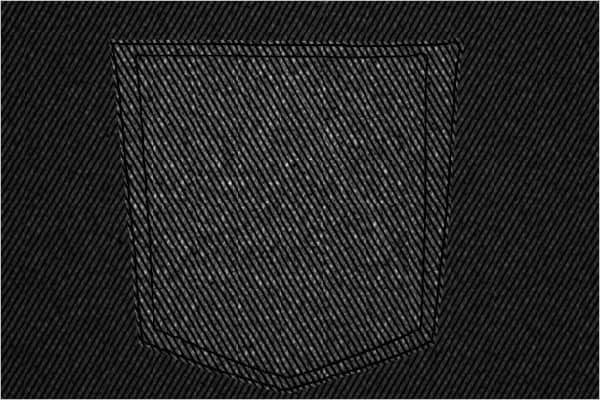
Use the transform (Ctrl+T) option on the inner border. Retract the upper top part of the border image by moving the top left and top right squares to the middle.
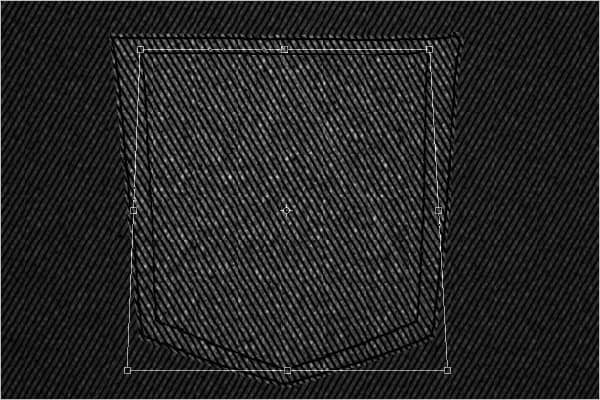
Your image should now look like this:
Step 19 - Duplicating the Pocket Image
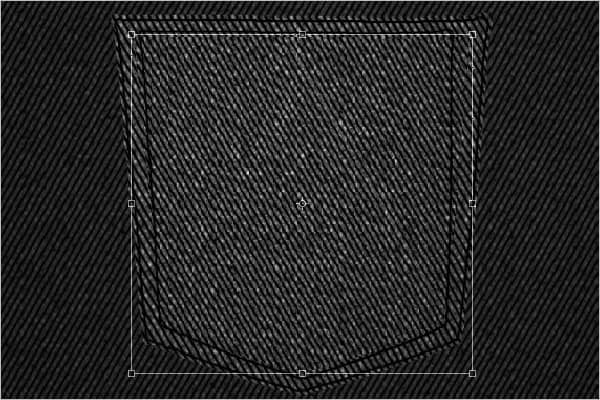
Select the main pocket image. Duplicate (Ctrl+J) it and name it “patch”. Use the transform (Ctrl+T) tool option to reduce the size. Fit the reduced version of the pocket inside the second border.
Step 20 - Adding Levels to Patch
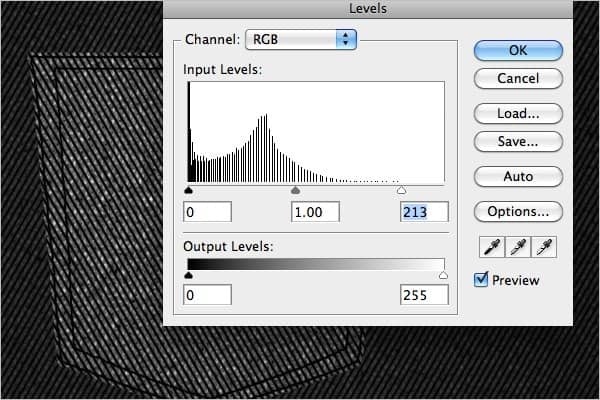
Select the patch and create another levels adjustment (Ctrl+L) using the settings below:
- Input Levels: 0, 1.00, 213
- Output Levels: 0, 255
Step 21 - Adding Blur to Patch Image
Select the patch and use Gaussian blur filter (Filter > Blur > Gaussian Blur) and the settings below:
- Radius: 0.5 pixels
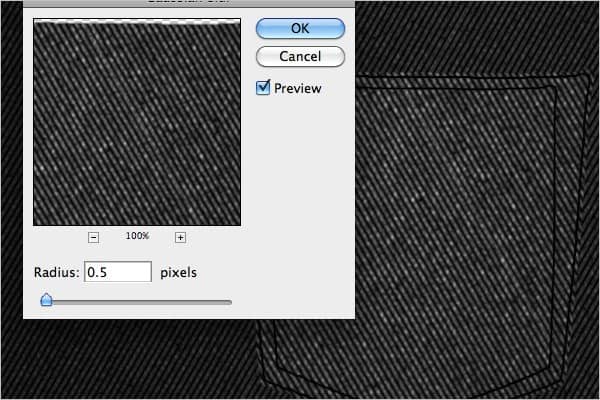
Your image should now look like this:
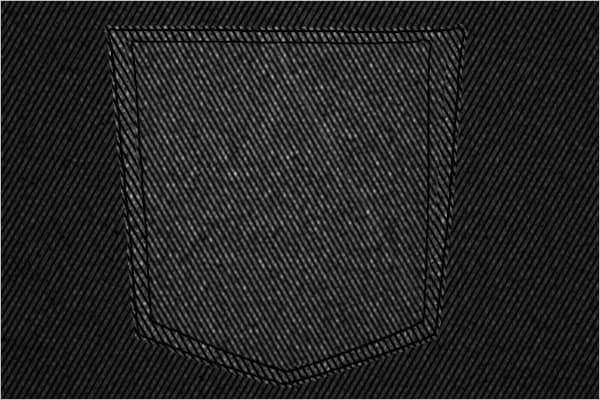
Step 22 - Adding Faded Effect
Select the Dodge tool (O) and right click on your image. Choose the soft rounded 300px brush.
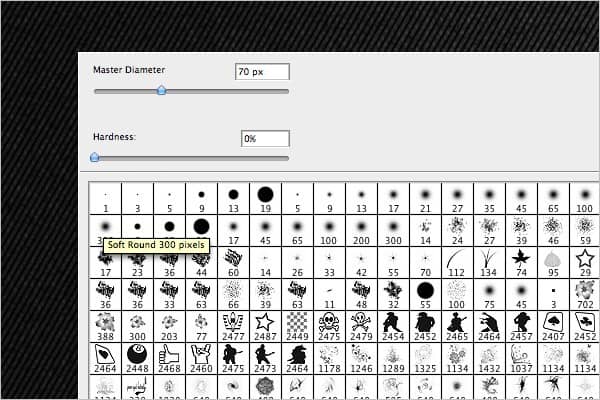
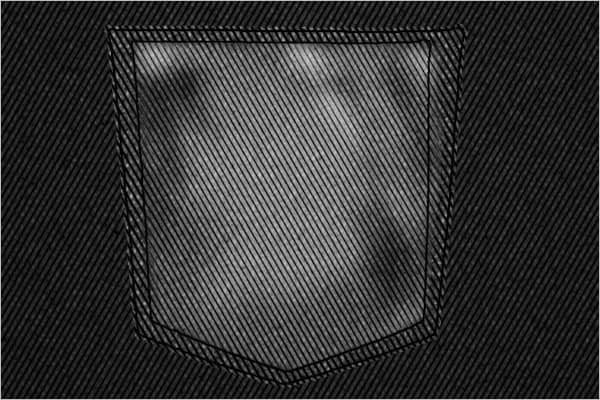
Use your discretion and paint over the patch and some of the main pocket image.
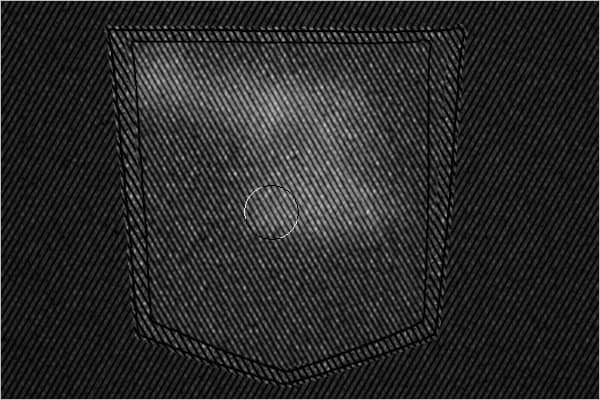
Your image should now look like this:
Step 23 - Adding Design
If you have not downloaded extra brush tip designs, download the floral Photoshop brushes. Still using the Dodge tool (O), select floral brush design 1246.
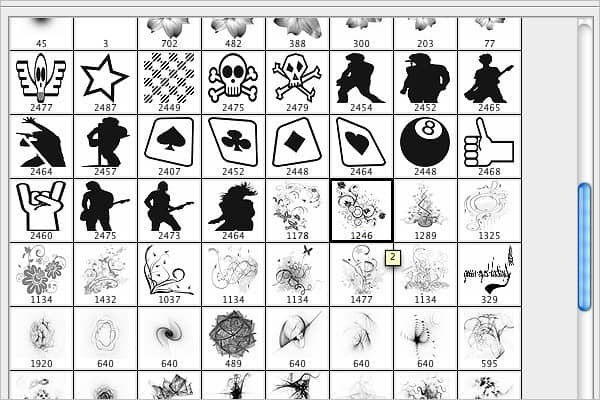
Create a new layer and place the brush as you see in the image below:
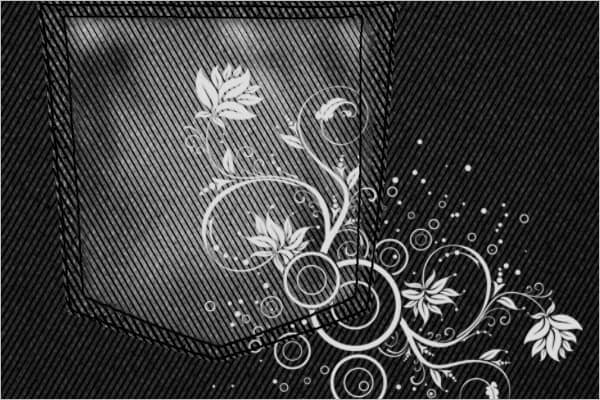
Step 24 - Making Selection
Hold down the Ctrl key then click on the thumbnail of the layer with the floral design.
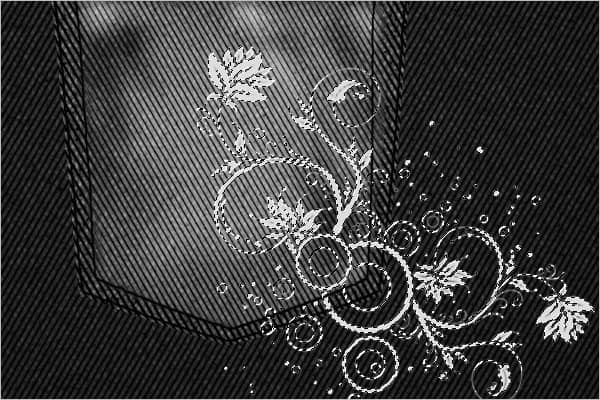
Hide the visibility of the layer with the floral design.
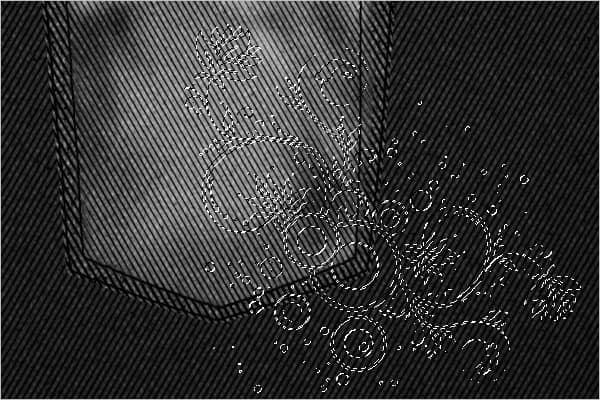
Step 25 - Adding Stroke
Create a new layer. Add strokes (Menu > Edit > Stroke) using the settings below:
- Width: 1px
- Color: white
- Location: center
- Mode: Normal
- Opacity: 100%
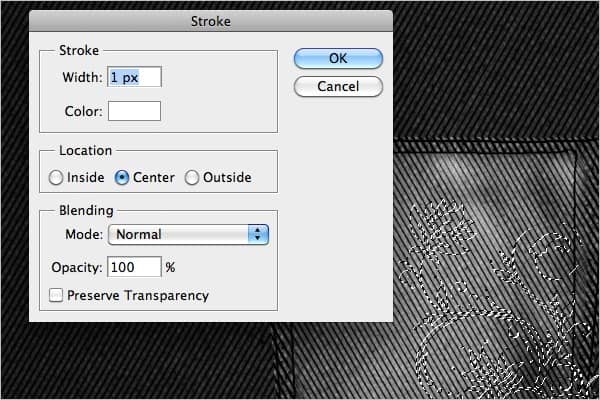
Your image should now look like this:
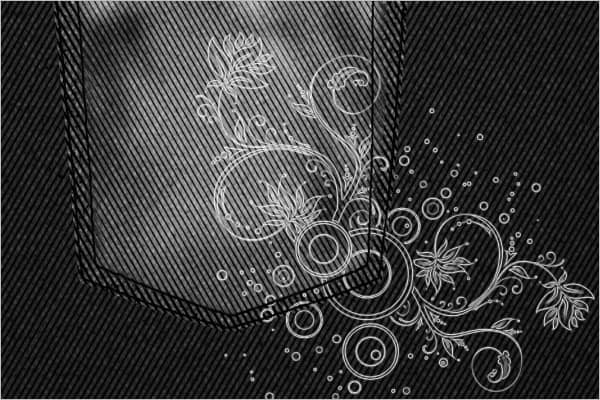
Step 26 - Cropping the Design
Use the Pen tool to create a path that would crop out the design from the jeans. Press Ctrl+Enter to make the selection and then Delete.


One comment on “Create this 2010 Typographic Wallpaper in Photoshop”
I really liked it Mr.Shiva Kumar sir but it was in long process that is why somewhere I felt bore and hope you will provide some easy method in net episode.