Turn any photo into a dot grid artwork with these Photoshop actions. You'll get great results with dots that change size. They get larger in brighter areas and smaller in darker areas. Free download available.
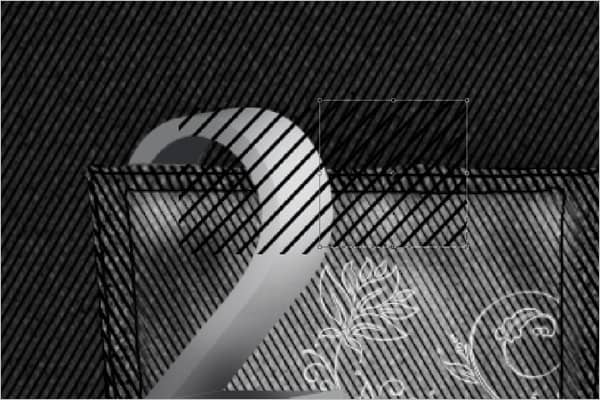
Your image should now look like this:
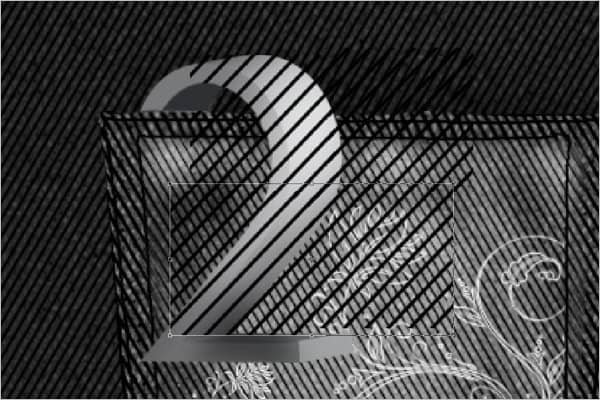
Step 38 - Rotating lines
Select all the lines and merge them together. Rotate (Ctrl+T) until you see fit.
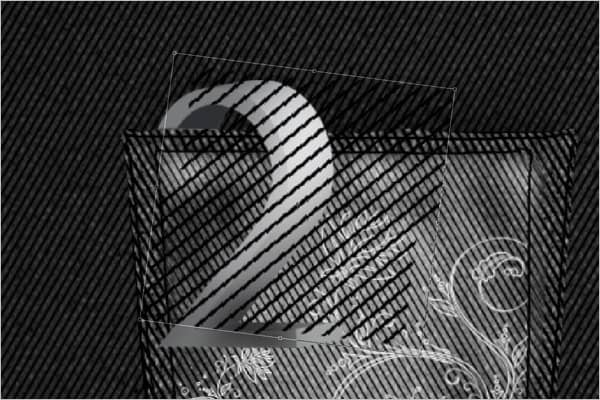
Step 39 - Placing Lines in side the Fill
Make a duplicate layer of the lines and hide it. Show the hidden white layer and select (Ctrl+Click) the layer.
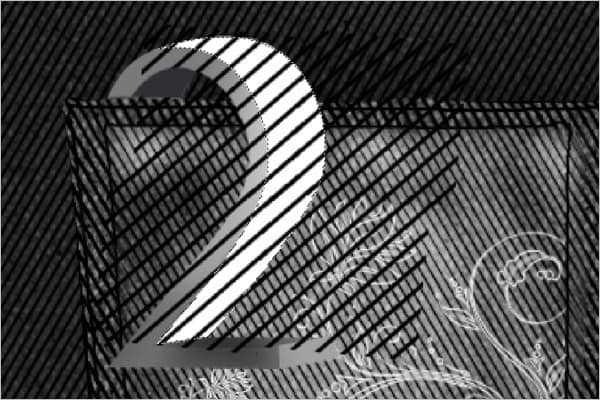
Inverse (Ctrl+I) the selection and delete the lines.
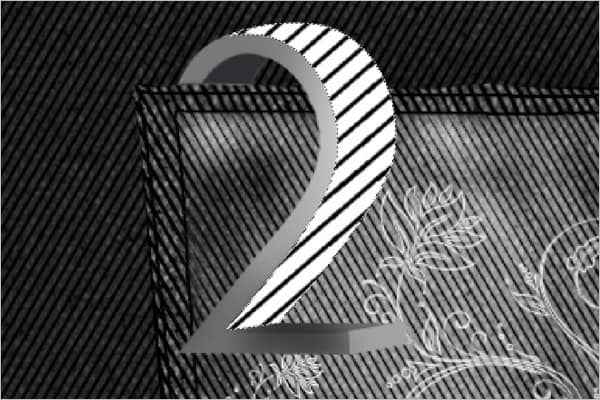
Hide the white layer again.
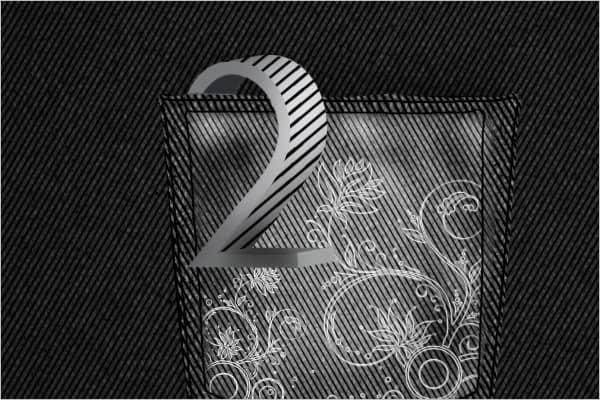
Step 40 - Adding lines to the bottom surface of text
Use the Pen tool and select the area to add lines to. Copy and paste the selected area in the same place.
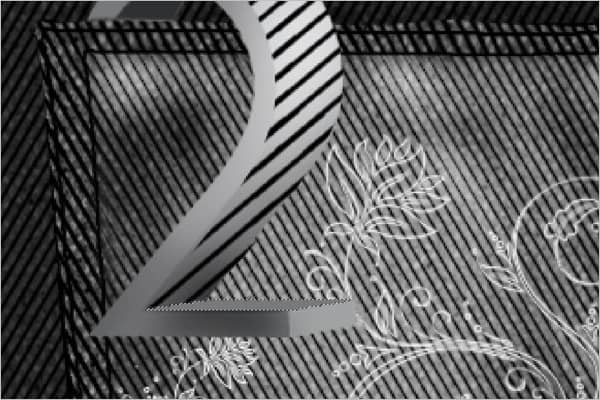
Step 41 - Placing Lines
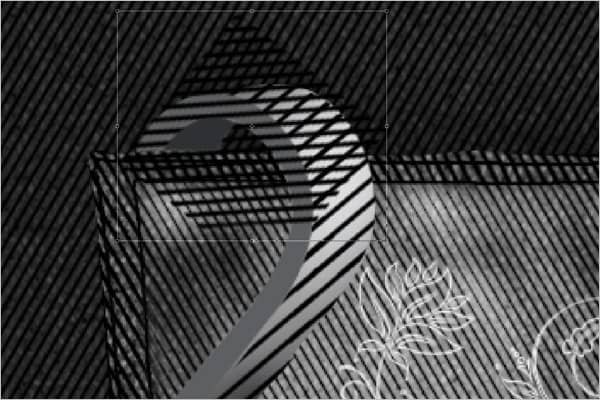
Copy the layer of lines and hide the original again. Move the layer above the area of text you were working on. Group (Ctrl+Alt+G) the Lines layer inside the layer of text you pasted in the area. Rotate the lines so that they align in a three dimensional way.
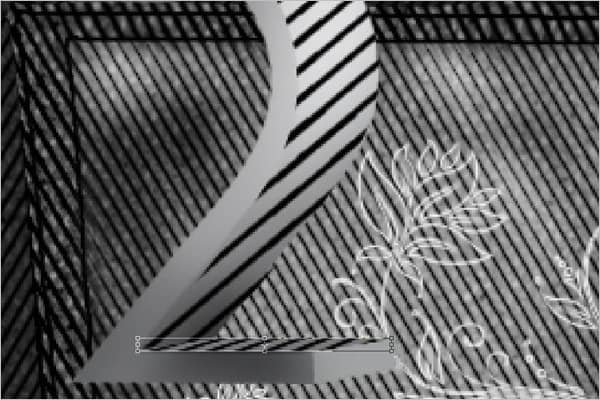
Step 42 - Making Selection
Make another selection on another side of the text.
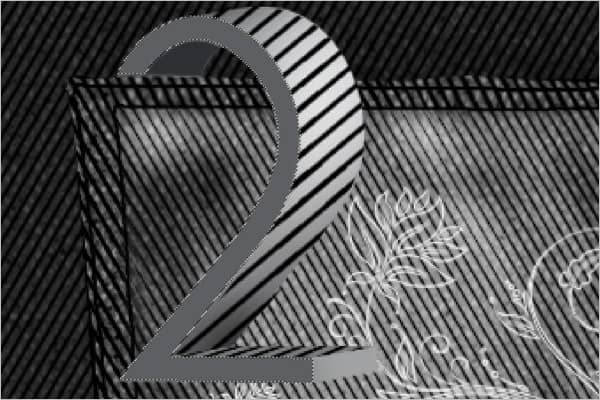
Step 43 – Adding lines to the side of the text
Follow the same methods of placing the lines in the selection as you did in steps 40-41.
Step 44 - Making Selection
Make a selection on a blank surface of the text.
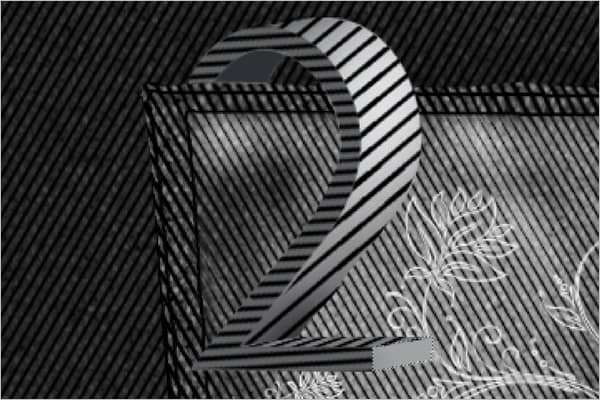
Follow the same methods of placing the lines in the selection as you did in steps 40-41.
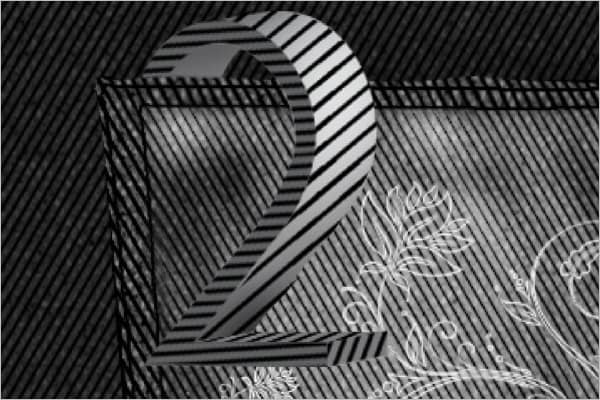
Step 46 - Adding lines behind the text
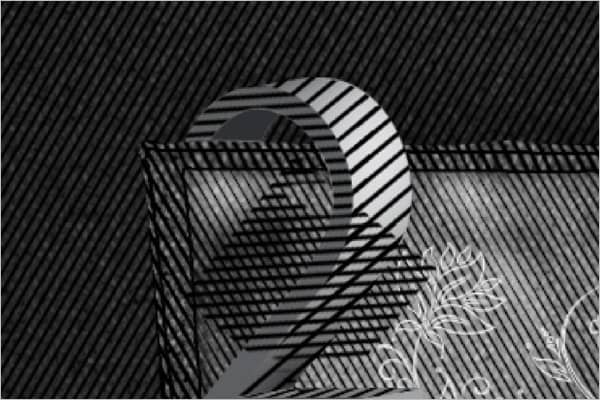
Make a selection on the underside of the text.
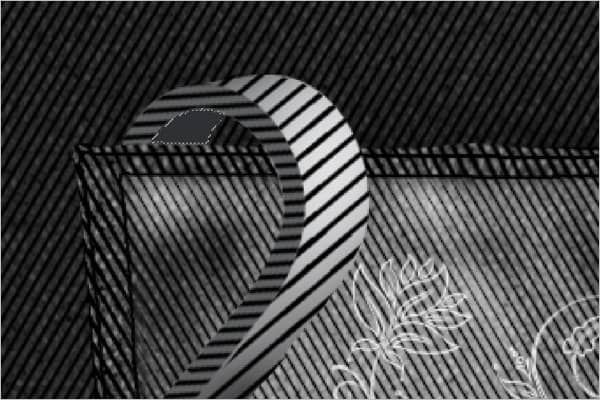
Follow the same methods of placing the lines in the selection as you did in steps 40-41.
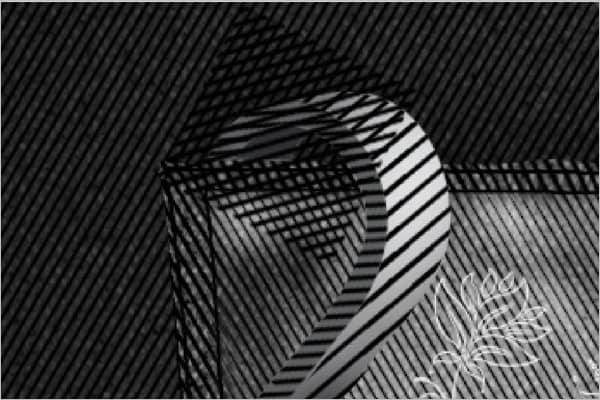
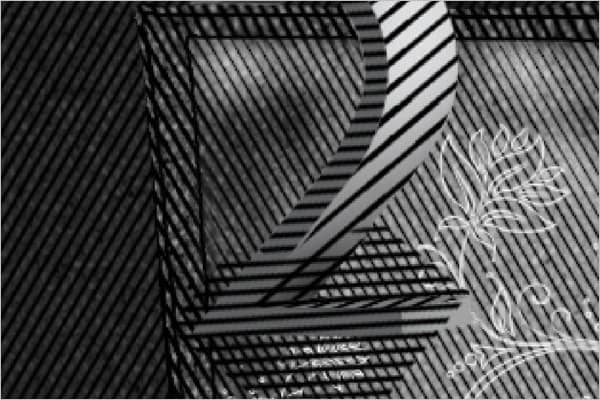
Your image should now look like this:
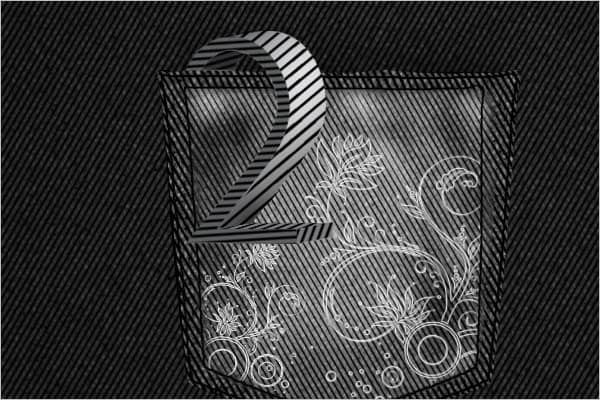
Step 47 - Creating Path
Use the Pen tool and create a path along the area where the letter meets the pocket.
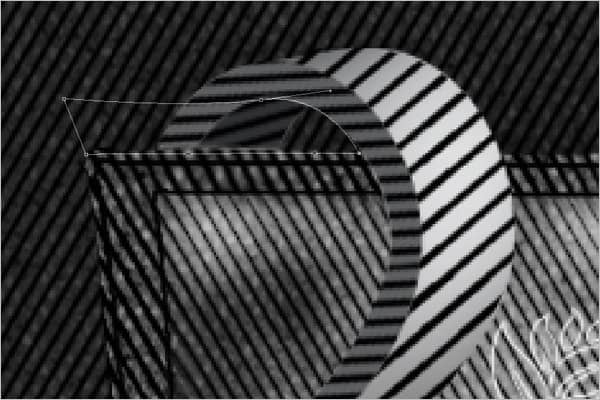
Right click and choose the 200px soft rounded brush.
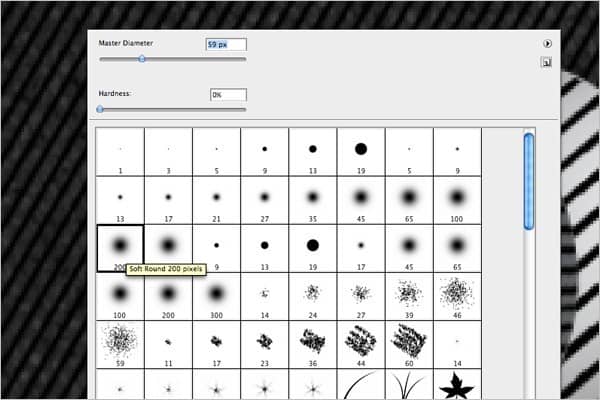
Click and drag the brush slowly along the bottom of your selection until you get a feeling of depth.
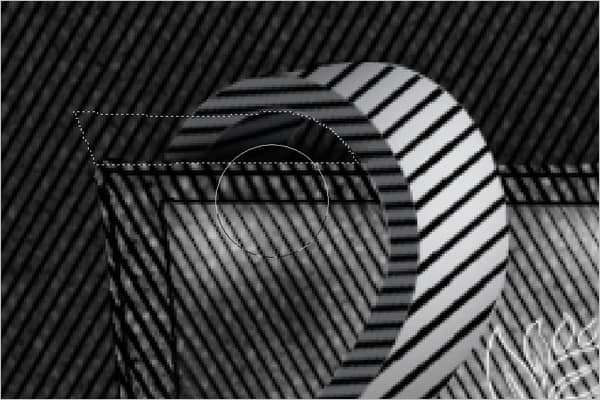
Step 48 - Adding Shadow
Create a path that would reflect your text on the surface of the pocket.
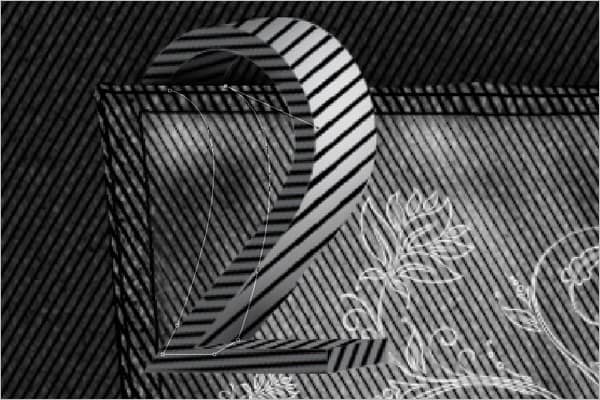
Select (Ctrl+Enter) the area and fill the selection with black.
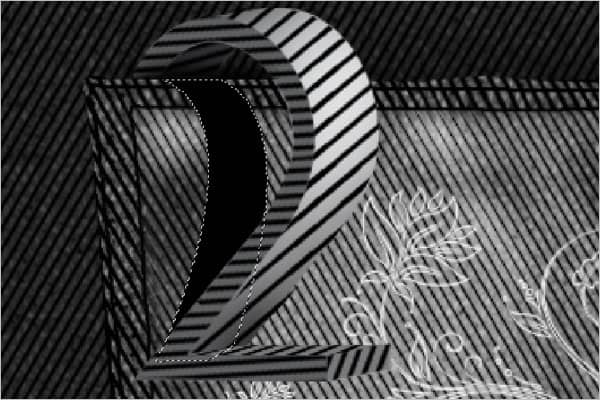
Blur (Menu > Filter > Blur >Gaussian Blur) the shadow with the following settings:
- Radius: 7
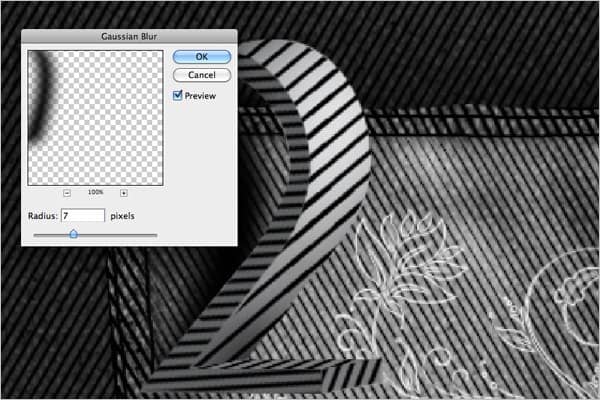
Step 49 - Adding shadow another side of the text
Create a path along the area on the text that would not be exposed to light.
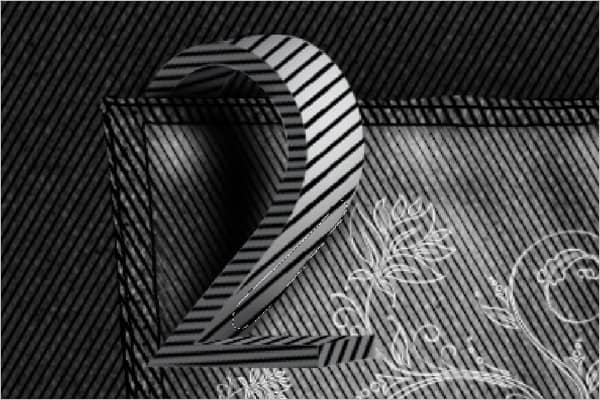
Select the area with the Pen tool and fill the area with black. Blur (Menu > Filter > Blur > Gaussian Blur) with the same settings as in step 48).
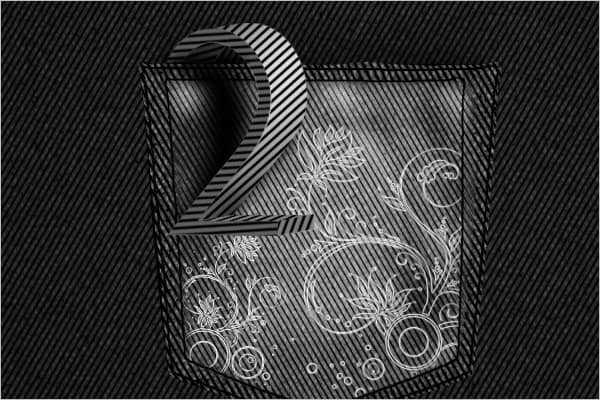
Step 50 – Placing text with the same angles on the screen
Place the letters you created with the same angle as the first letter on the screen.
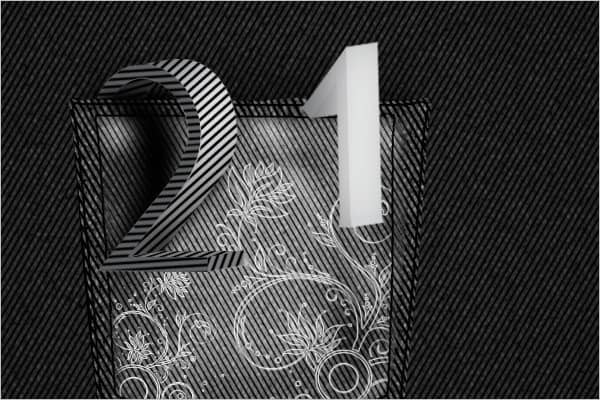
Step 51 – Creating patterns
Follow steps 35-46 to create the same line patterns.
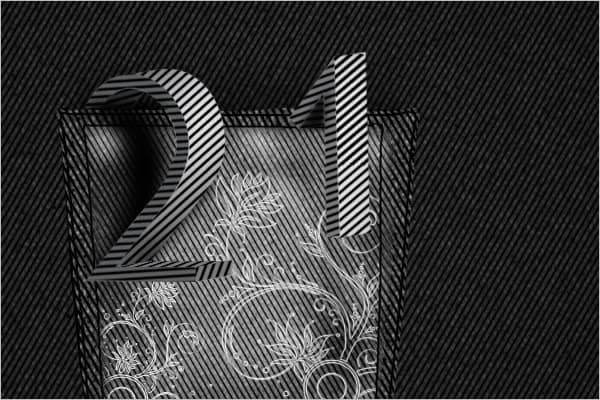
Step 52 – Cropping
Follow step 34 to create the hanging effect.
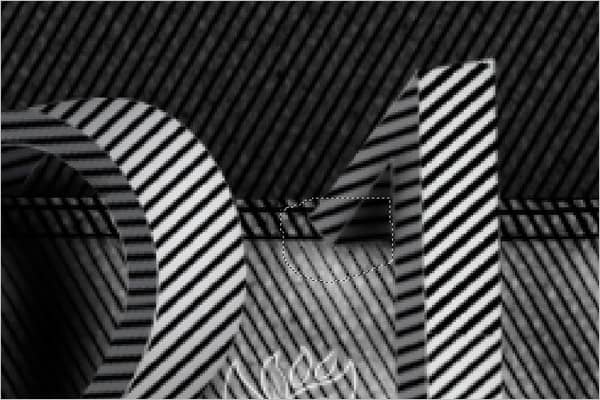
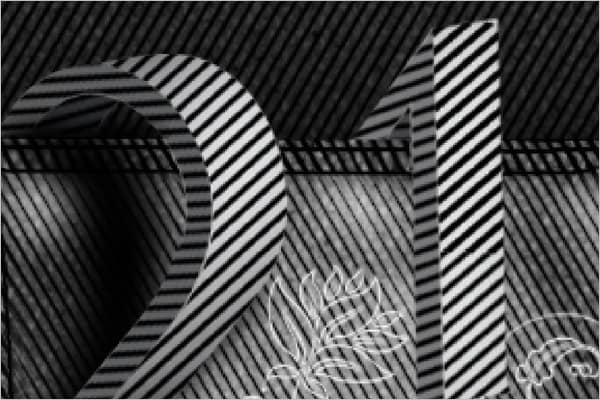
Step 53 – Creating shadows
Follow steps 47-48 to create shadows behind the text and by the pocket edge.


One comment on “Create this 2010 Typographic Wallpaper in Photoshop”
I really liked it Mr.Shiva Kumar sir but it was in long process that is why somewhere I felt bore and hope you will provide some easy method in net episode.