
Download Lightroom presets and LUTs, absolutely free. Use the presets to add creativity and style to your photos.

Step 24
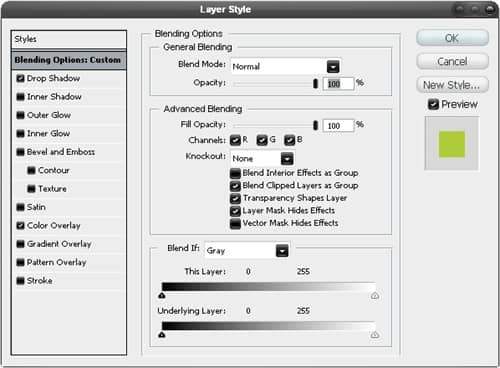
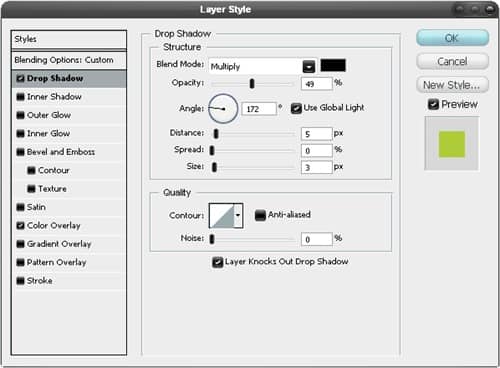
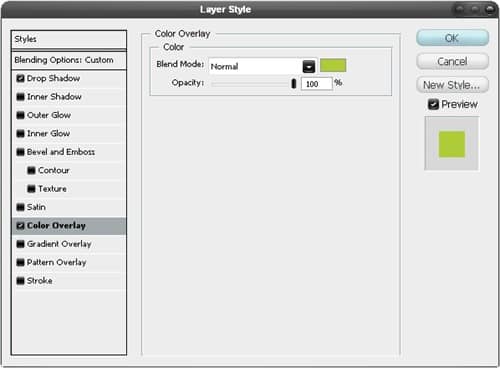
Do exactly the same with the other two movie files and just copy and paste the layer styles by right clicking on the layers then change the color overlay. They should vaguely resemble the image below.
Step 25
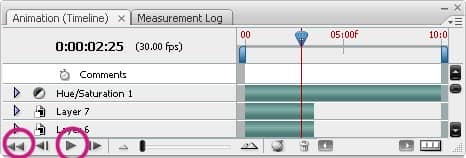
Try now playing your animation by clicking the rewind button then the play button in the animation panel.
Step 26
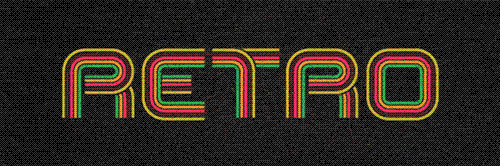
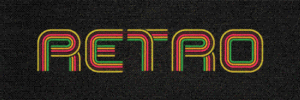
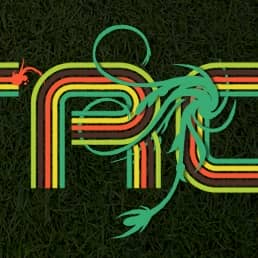
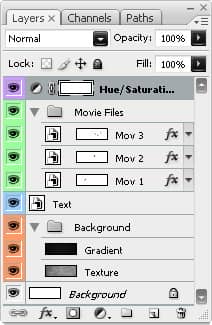
There's a few things you can do with this file, you could save it as an animated gif, export it to flash or save it as a movie file. Here I saved it as a gif by going file>save for web & devices. Depending on what you want to do with the file you can choose your settings. I knew I was going to upload it to this site so wanted it quite low quality, I also found that by cranking the lossy value up you get a grainy effect and a smaller file, I liked this effect so kept the lossy at about 85% then set the colors to 64. Below I've included my final layers panel and also the unanimated image. You may notice that the colors are different here this is because I added a hue/saturation adjustment layer at the top of the layer stack.
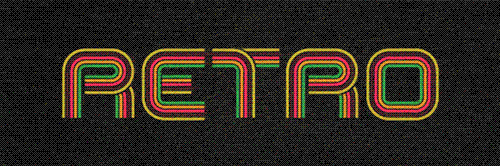
5 comments on “Retro Text”
This is a great post for inspiration and tutorials, you can use in soo many ways..... Thanks
I like text.
Finally got it. Wasn't the easiest but I recommend it just for the fact that it teaches you how to make a vector.
Is there a chance you can make a template for this project? Im new to this stuff :$
whaaaaaaaaaaaaaaattttttttttttttttttttttt?????????????????????