
Make skin look perfect in one-click with these AI-powered Photoshop actions.
Retro Text and Video Layers Retro text like this looks great but isn't easy to create in Photoshop alone so here we use a mix of Photoshop and Illustrator, raster and vector to create some unique text. The second part of this tutorial explains video layers, something which is relatively new to most people. The final result will be an animated image that could be used for a web header.
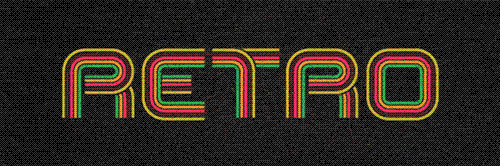
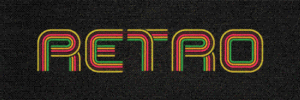
Preview of Final Results
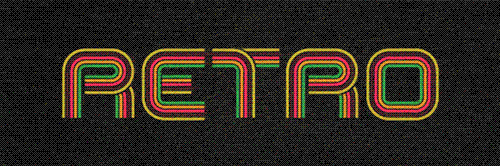
Retro Text Photoshop Tutorial
This tutorial will kind of be split into two parts, the second part starting at step 19.The first part will cover the creation of the text and then editing this text in Photoshop. The first part will require Adobe Illustrator as well as Photoshop. The second part covers adding the animation in through Photoshop, this will mean you have to have Photoshop CS3 extended version as we will be using video layers. However there is ways round this if you can find a program to convert movie files into animated gifs. Firstly a good idea when starting any project is to think up a color scheme or to find one on the internet, I tend to use this site to find color schemes so for this project I searched for 'retro'. Part of the reason why I wrote this tutorial was because gomedia have released a couple of free sample motion packs which ought to be utilized and for people who don't know how to use them then this is what the tutorial covers. For this I will be using the Hooladanders pack which can be downloaded here.
Step 1
Start by opening Adobe Illustrator, there are two reasons why we want to use Illustrator here rather than Photoshop, firstly we can create vector files which gives us more flexibility when we export things to Photoshop and secondly there are a few nice things we can do in Illustrator which would take a while in Photoshop. Hit Ctrl+N to create a new document, I used a size of 800x600px but this doesn't matter as we are working with images that can be enlarged infinitely. Now hit Ctrl+' to show the grid. Now the default grid should have 8 subdivisions, if yours is different then go edit>preferences>guides & grid and change it. Next click on the view dropdown and make sure snap to grid is checked. Select the rectangle tool and draw a 2x2 rectangle, we will change the fill and stroke in the next step.
5 comments on “Retro Text”
This is a great post for inspiration and tutorials, you can use in soo many ways..... Thanks
I like text.
Finally got it. Wasn't the easiest but I recommend it just for the fact that it teaches you how to make a vector.
Is there a chance you can make a template for this project? Im new to this stuff :$
whaaaaaaaaaaaaaaattttttttttttttttttttttt?????????????????????