Make your artwork look like they're from an alternate universe. These Cyberpunk presets work with Photoshop (via the Camera Raw filter) and Lightroom. Download all 788 presets for 90% off.
4. Base effect layers
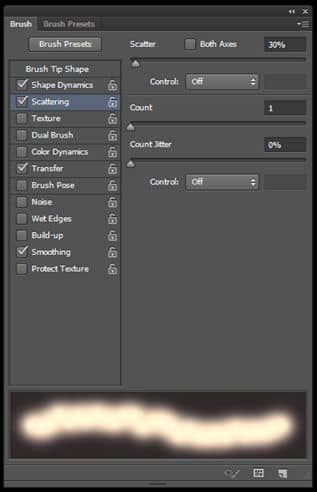
There are lots of times you'll need a layer filled with a base color for an effect. You may use lens flares, add noise to make grain, do nondestructive dodging and burning, or other effects that require a layer that's filled with black, white, or gray. Usually, when you create a layer of this type, you'll use it in a blend mode that will make the base color invisible so only your effect shows. You could create a layer; fill it with gray, black, or white; and then change the blend mode; or you could do this: Hold down the Alt key when you click the Create a New Layer icon at the bottom of the Layers panel. Choose your blend Mode from the dropdown menu. You'll now see an option that says, "Fill with [name of blend mode]-neutral color." Turn on the checkbox, and you're now ready to apply your effect safely.
5. Dragging your lens flare around
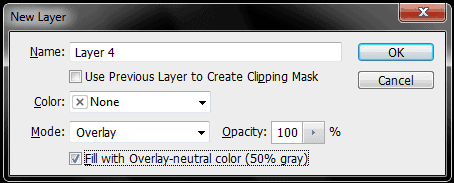
Speaking of lens flares, did you know that you're not limited to adding the flare to the center of the image? You can position a lens flare anywhere on the layer. When you choose Filter > Render > Lens Flare, you'll see a preview window with your layer visible. Just click-and-drag the flare in the preview window for exact placement.
6. Layer style control
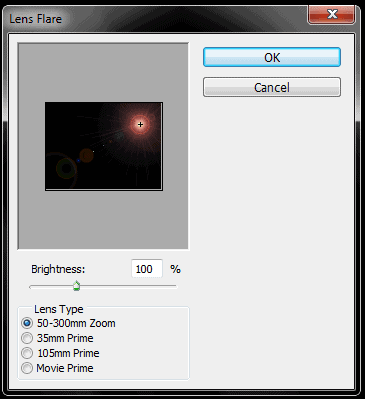
When you're creating layer effects, you can reposition the Drop Shadow, Inner Shadow, and Gradient Overlay layer styles by clicking-and-dragging in your document window. This makes it much easier to precisely position your effects compared to moving sliders. (Note: To add a layer style, click on the Add a Layer Style icon [fx] at the bottom of the Layers panel).
7. Smoother line art
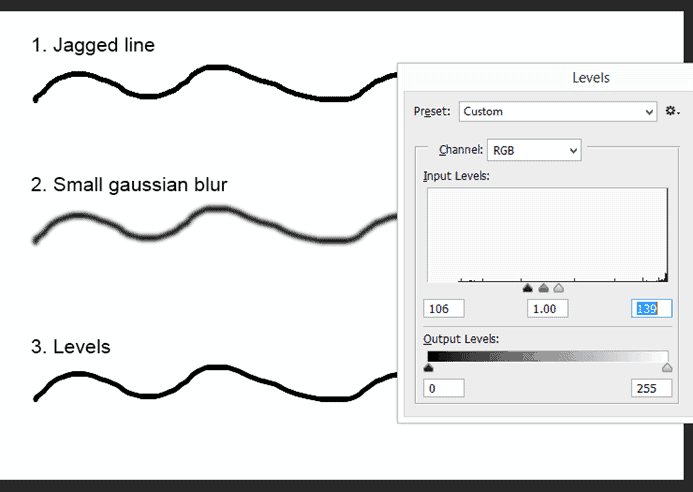
Sometimes when you bring bitmap line art into Photoshop, it can have jagged edges. These aren't very pretty, but we can fix them. Add a little bit of a blur to the line art using Filter > Blur > Gaussian Blur (2-6 px). Now press Ctrl-L for Levels. Click on the black and white triangles and drag them toward the middle. Notice that the line art becomes nice and sharp again, sans the "jaggies."
8. Create a new layer under your current layer
Usually when you create a new layer it goes above the currently active layer. What if you want it under the layer? If you hold down the Ctrl key while Clicking the Create a New Layer icon at the bottom of the Layers panel, the new layer will be created directly underneath the currently active layer.

3 comments on “13 Useful Photoshop Tips”
thank a lot do you have any advice for starters linke me
Thank you so much for useful points which helped md more.plz accepf my special thanks. All the best. Morteza
I need to render Building elevations in 2D AutoCAD. How do I bring the drawing in and render brick, vinyl siding etc.