
Make skin look perfect in one-click with these AI-powered Photoshop actions.
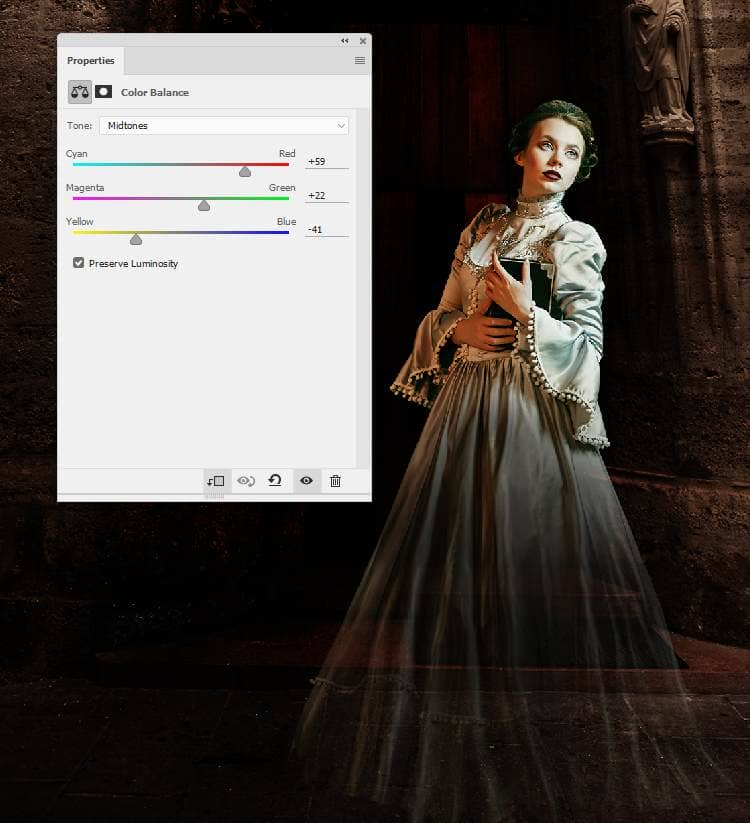
Step 8
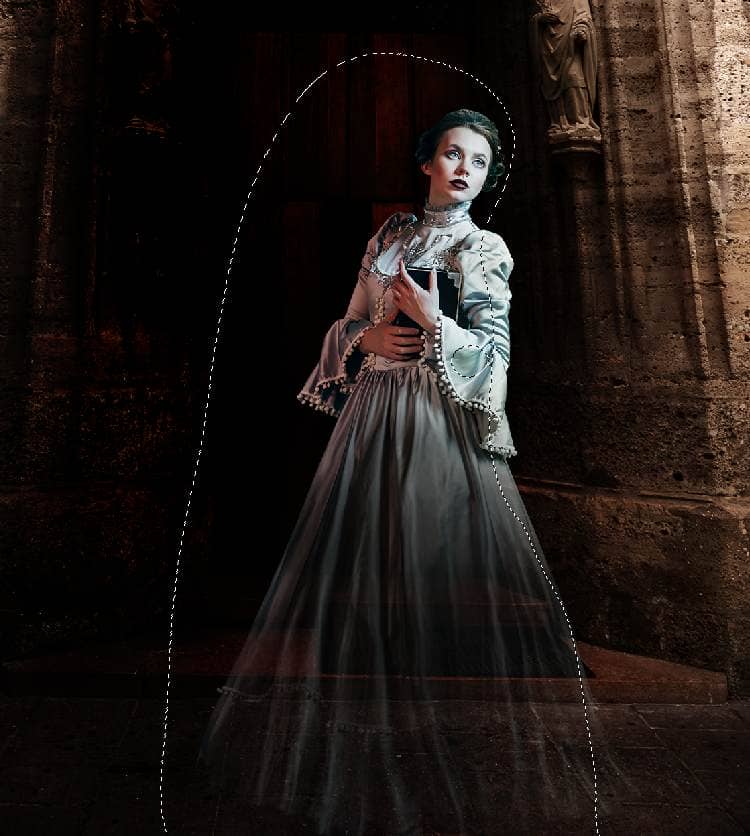
Create a Color Balance adjustment layer to give the model some bright warm tone. On the layer mask, use a soft black brush to reduce the effect on the model, especially on the higher part of the model's body.
Step 9
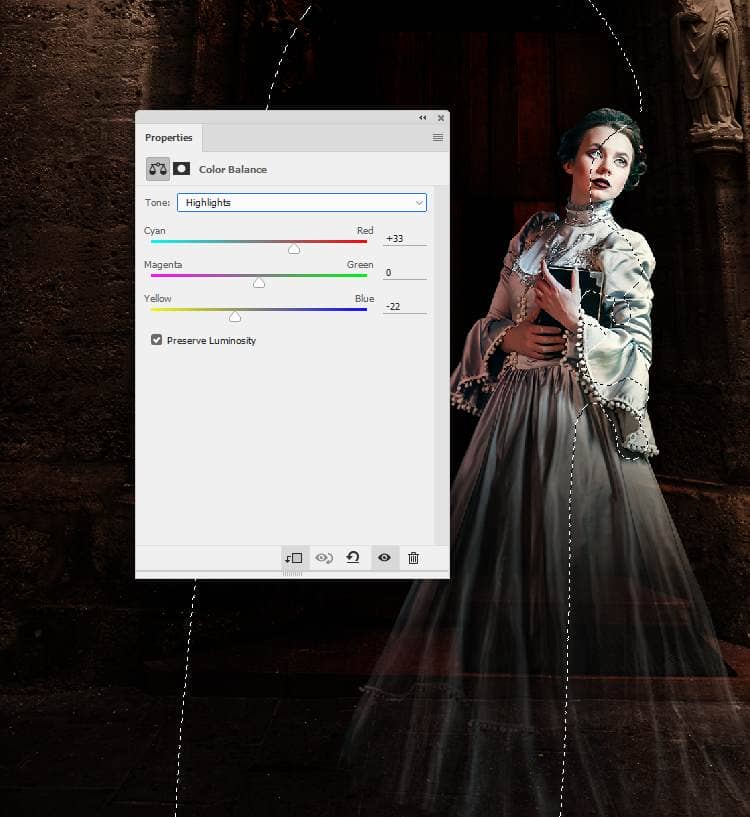
Make another Color Balance adjustment layer to make the bright part of the model warmer and a bit redder to fit the light on this side ( the right from the viewer). Paint on the rest so they won't be or less be affected by this adjustment layer.
Step 10
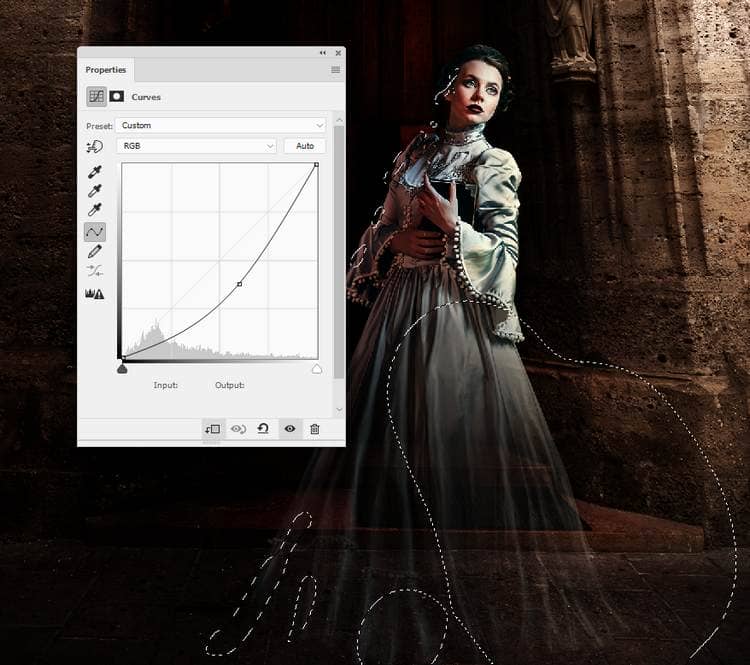
The model looks too bright compared the light of the background. Create a Curves adjustment layer and reduce the light on the model. On the layer, paint on the her dress or any details you feel too dark.
Step 11
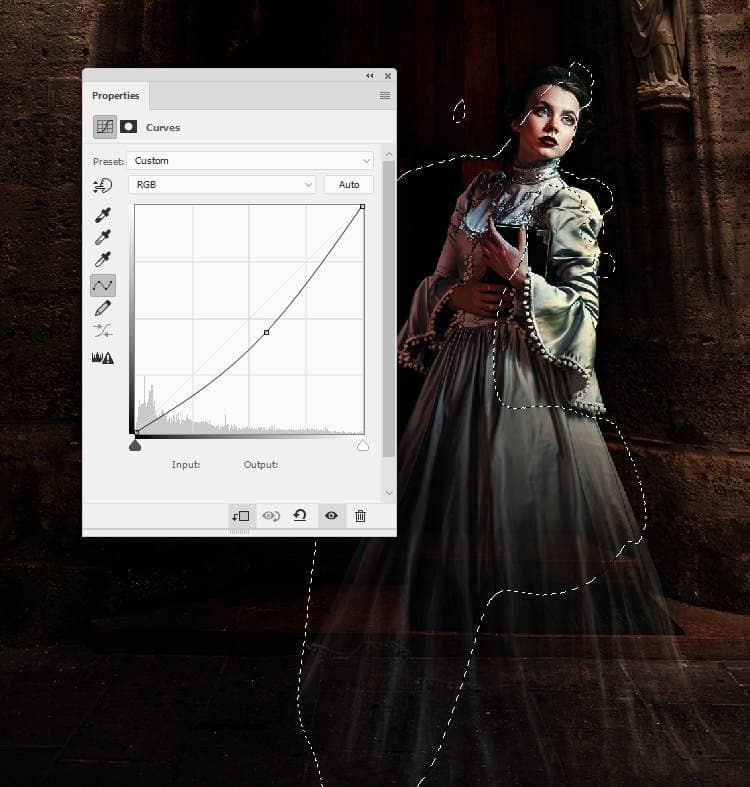
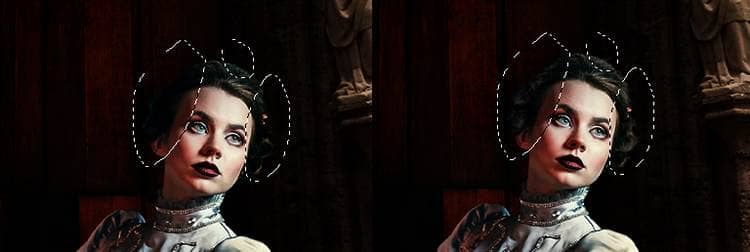
Use another Curves adjustment layer to increase the contrast on the bright side of the model a little. The selected areas show where to paint on the layer mask.
Step 12
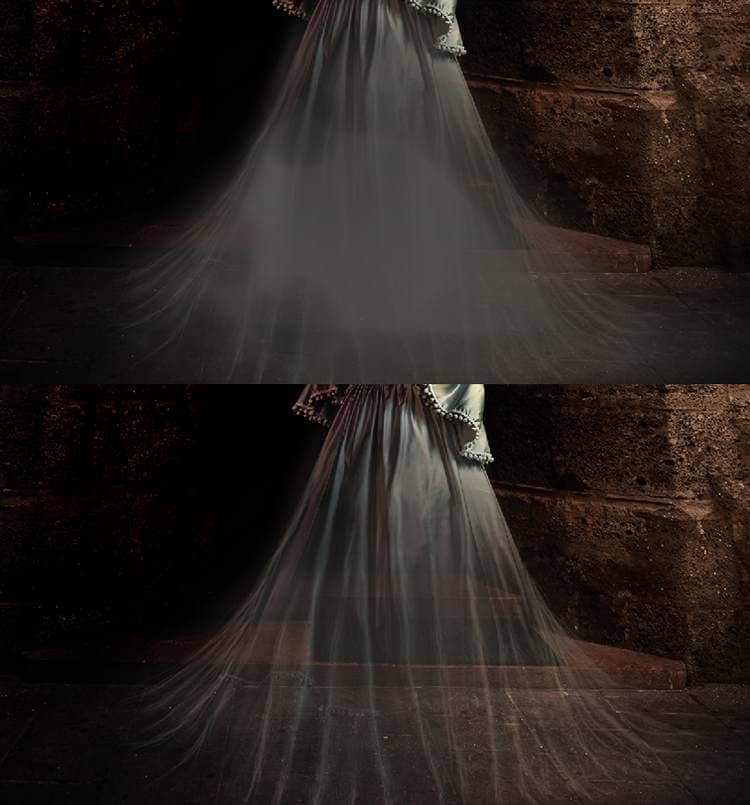
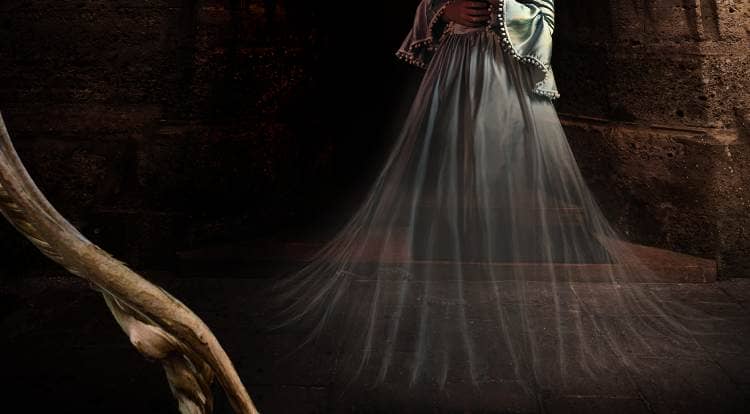
The dress still lacks a bit of fantasy feel so I make a new layer on top of the layers and pick a similar color with the dress's one (#54473f) to paint more details of its bottom . Vary the opacity of the brush to about 50-70% to make the dress look graceful and gentle.

Step 13
Make a new layer and use a soft brush with the color #54504b to paint on the transparent part of the dress. Change this layer mode to Linear Dodge 50% to give some glowing effect to this area.
Step 14
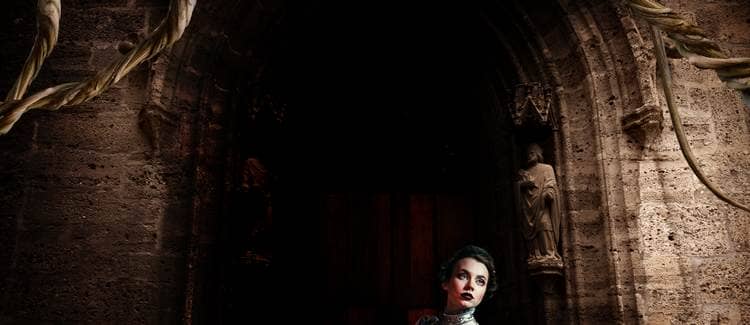
Create a new layer and use a small brush with the color #806d5c to paint more highlight on the both sides of the model's head.
Step 15
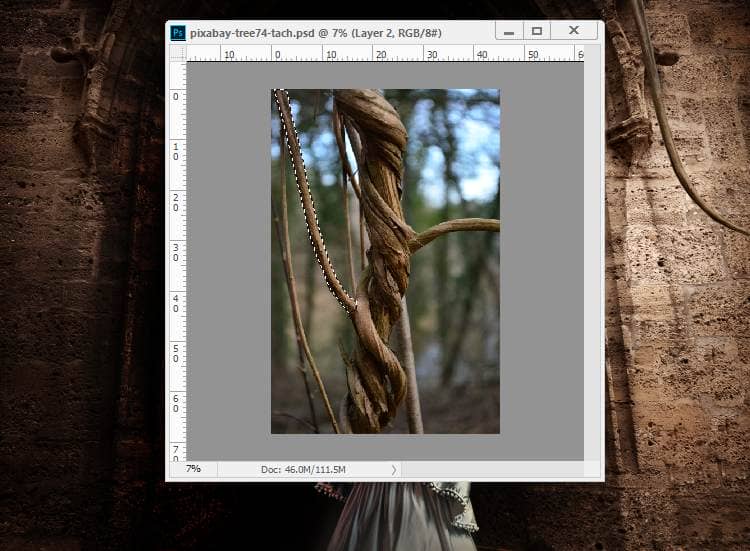
Open the tree image. Use the Polygonal Lasso Tool (L) to take a small branch on the left to add to the top right of the wall. Use the Free Transform Tool (Ctrl+T) with the Warp mode to bend this branch as shown below:
Step 16
Take the twisted part of the tree to add to the top left of the wall.
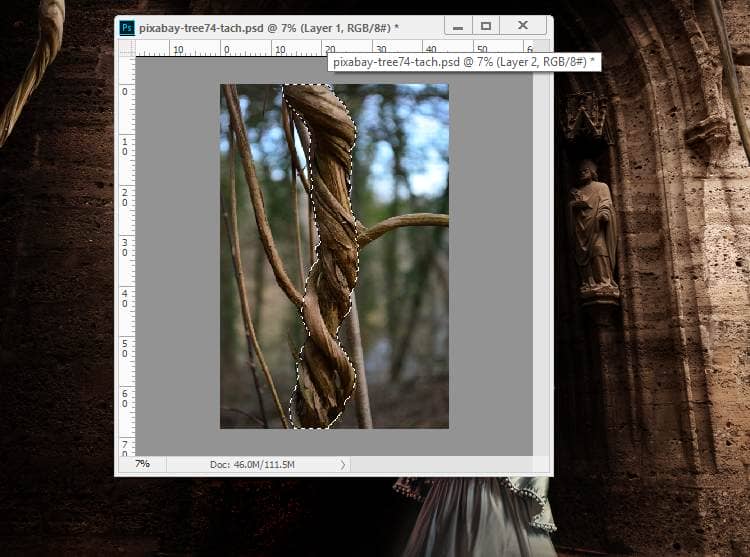
Duplicate this layer twice and move them to other positions as shown below. Use Ctrl+T with the Warp mode to tweak them so they appear different.
Step 17
Take the small branch in the step 15 and the twisted one to add to the left bottom of the scene.
Add a mask to the small branch layer and use a soft black brush to blend it with the twisted one .