

Luminar AI lets you turn your ideas into reality with powerful, intelligent AI. Download the photo editor and see how you can completely transform your photos in a few clicks.
Step 6
Open the image “Moon”. Using the Elliptical Marquee Tool create a selection of the moon. Copy/paste into our document and resize as shown below. Lower the opacity to 22% and in the layer mask hide the bottom part of the moon until it looks like the moon is rising from the water.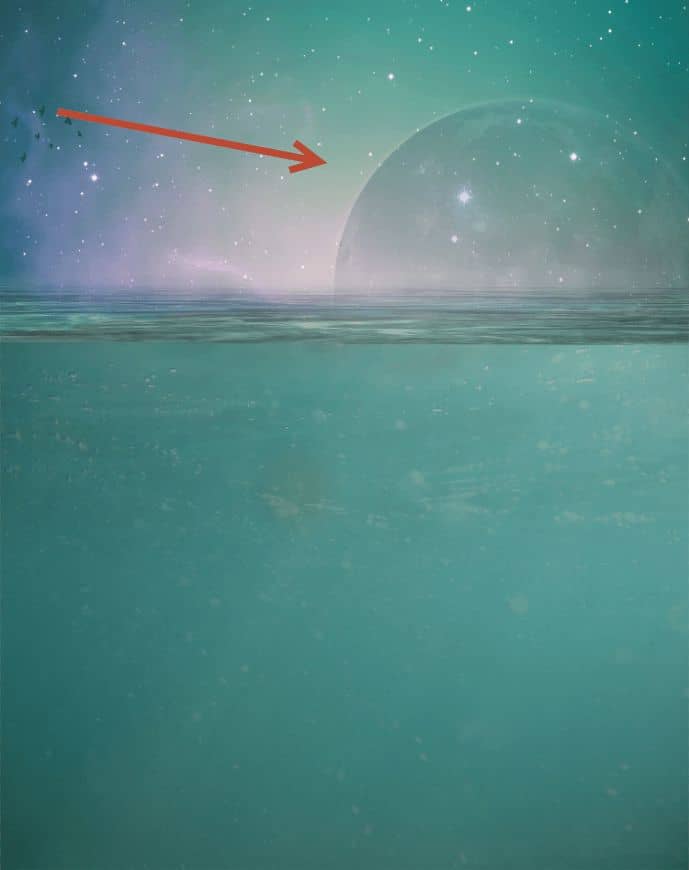
Step 7
Open the image “Underwater2” and copy all. Paste into our document place it as shown below.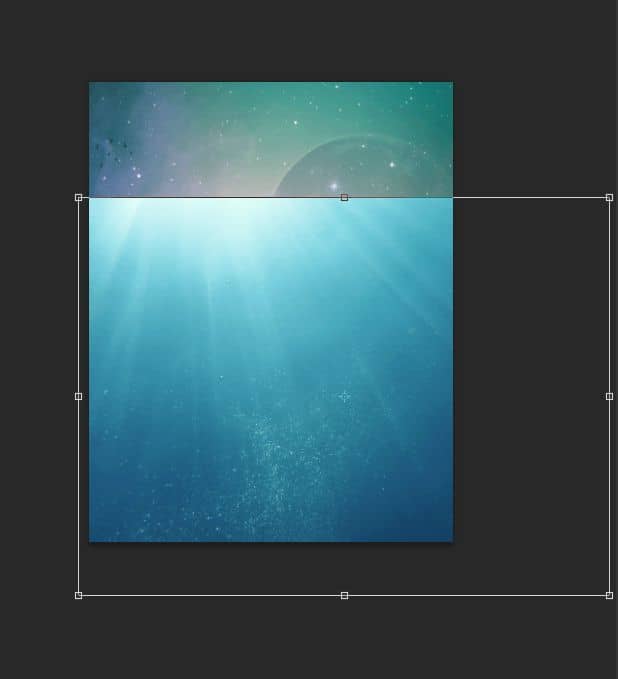
Step 8
In the layer mask hide the upper part (hide everything where it overlaps the sky) of the underwater layer you just pasted (with a brush or a gradient).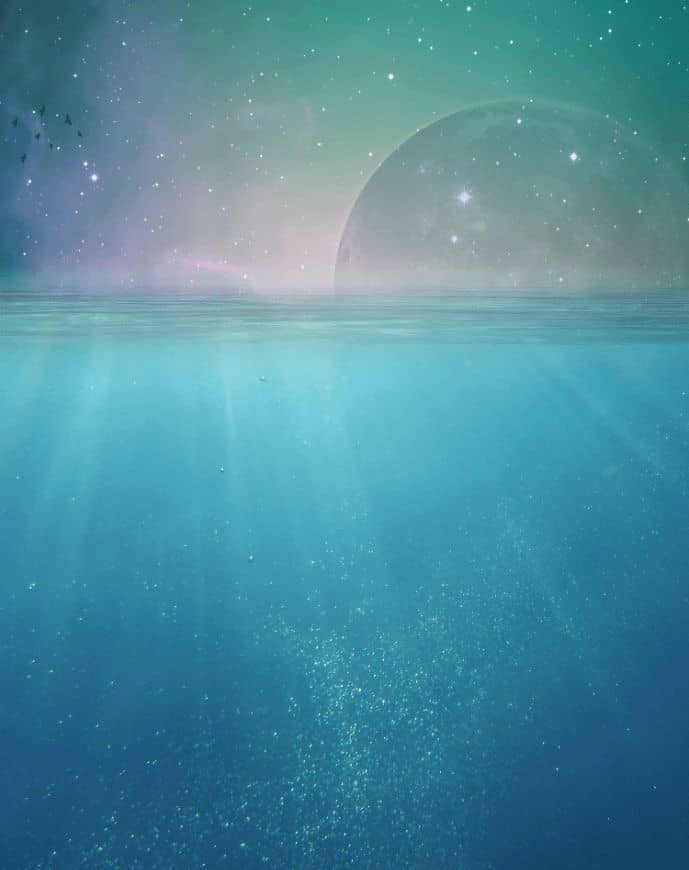
Step 9
Create a new layer and change the blending mode to Overlay. Paint a white line between the surface water and the underwater. Lower the opacity to 33%.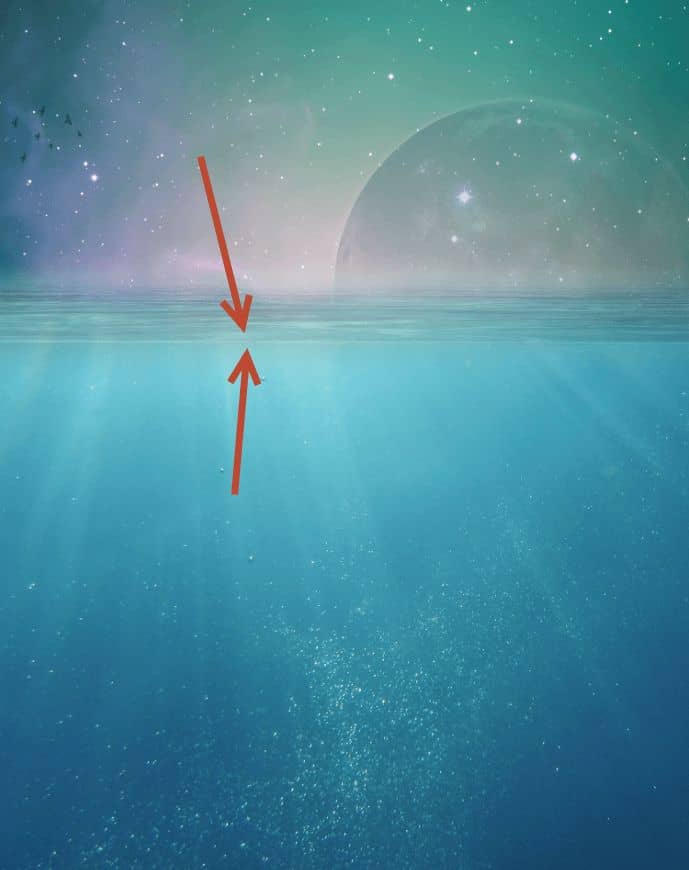
Step 10
Open the image “Fish1”. Select all and copy/paste in our document. Resize the fish and place him underwater. Lower the Opacity to 49%.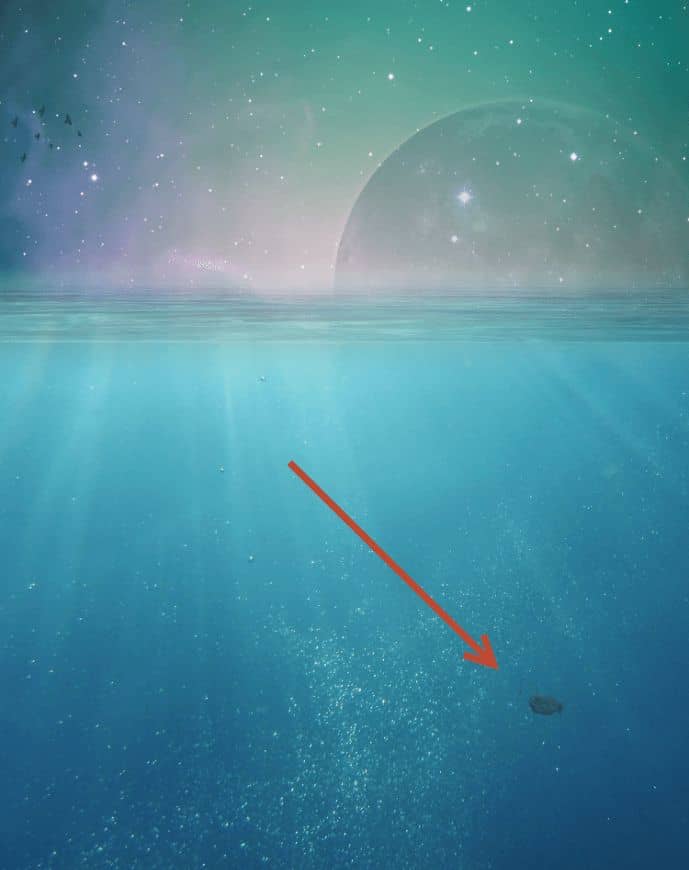
Step 11
Now let’s create the island the squid. Open the image “Squid”. Select all and copy/paste in our document. Place the squid as indicated below.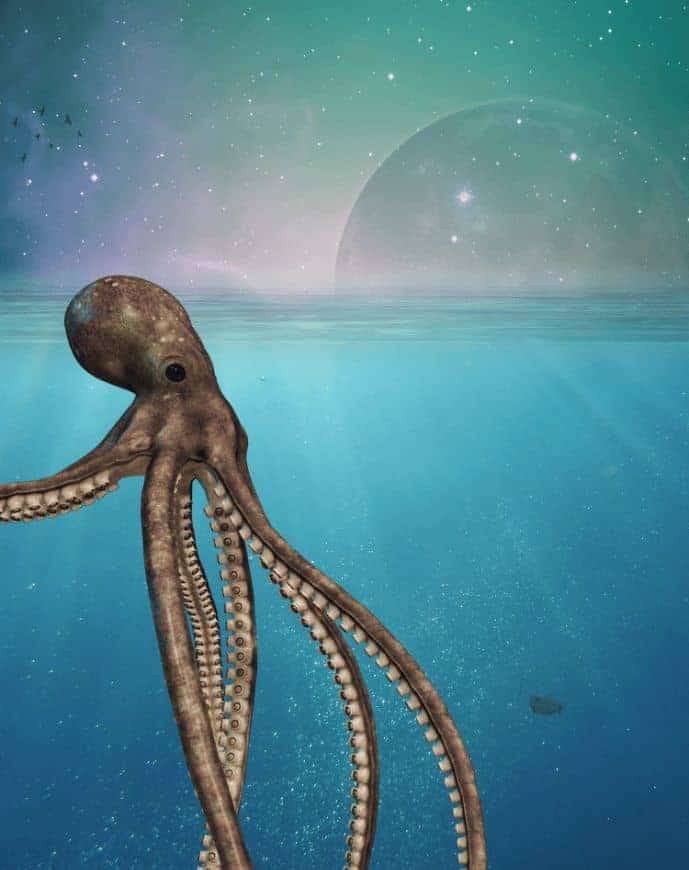
Step 12
In the layer mask partially hide the squid portions that are underwater (in the layer mask use a black brush at 40-50% Opacity).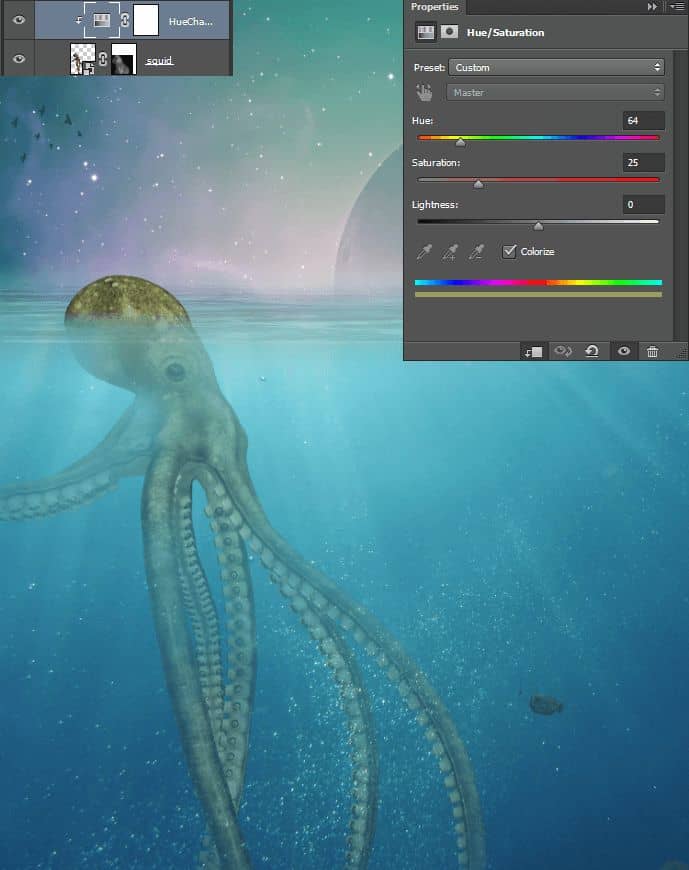
Step 13
A quick word about clipping layers because we will use them a bit in our tutorial. You can Alt-click between two layers in order to clip the upper layer to the lower. Clipping a layer to another means that the upper layer will be visible only through the pixels of the lower layer. If you want to clip multiple layers simply keep Alt-clicking between all the upper layers you want clipped and they will all show through the lower layer. Clipping layers are especially useful for adjustment layers because we can limit the adjustment to a certain layer without affecting the rest of the document.Create a Hue/Saturation Adjustment layer (fourth button from the right on the bottom of the layer panel or Layer > New Adjustment Layer > Hue/Saturation - or any other adjustment layer). Change the hue and the saturation as shown below and clip the adjustment layer to the squid.Step 14
Create another Hue/Saturation Adjustment layer and drag the saturation slider to 25. Clip it to the squid layer and fill the layer mask with black (press D to set default colors, click on the layer mask and press Ctrl + Backspace) and paint with a soft white brush at 80% opacity to gradually reveal the saturation effect on the underwater part of the squid.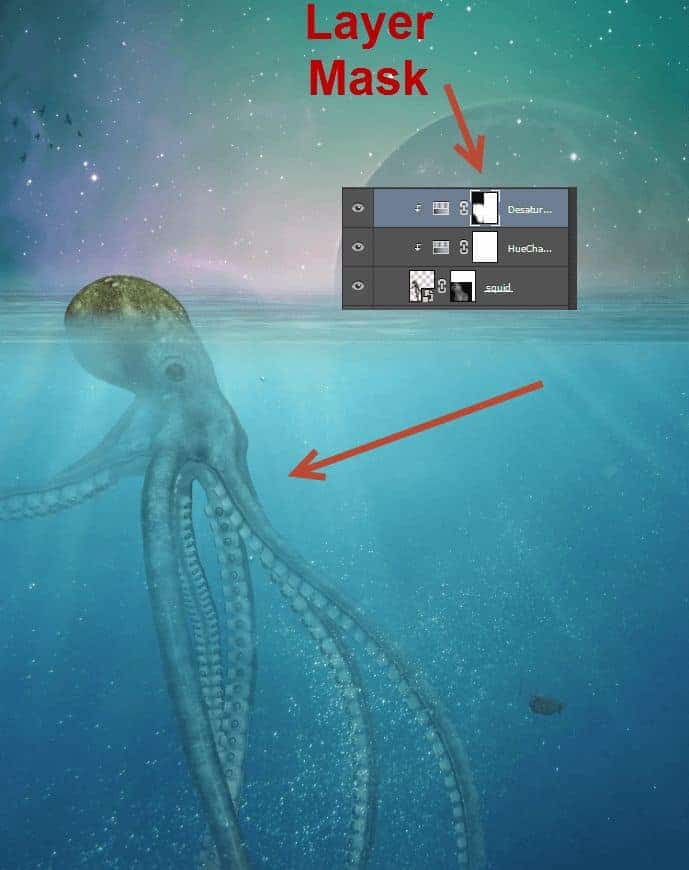
Step 15
Group the Squid layer and the two adjustment layers clipped to it into a new group (select all the layers and press Ctrl + G). Duplicate the group (Ctrl + J) and place it as shown below.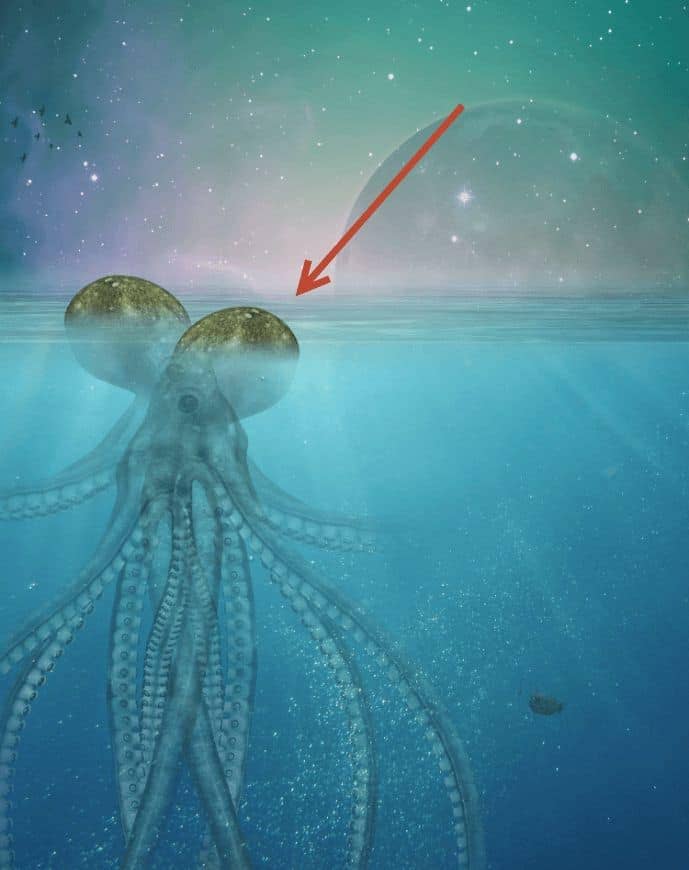
Step 16
Add a layer mask to the duplicate squid group and mask everything out but the lower left tentacles. By doing this we just easily gained some extra tentacles for our squid.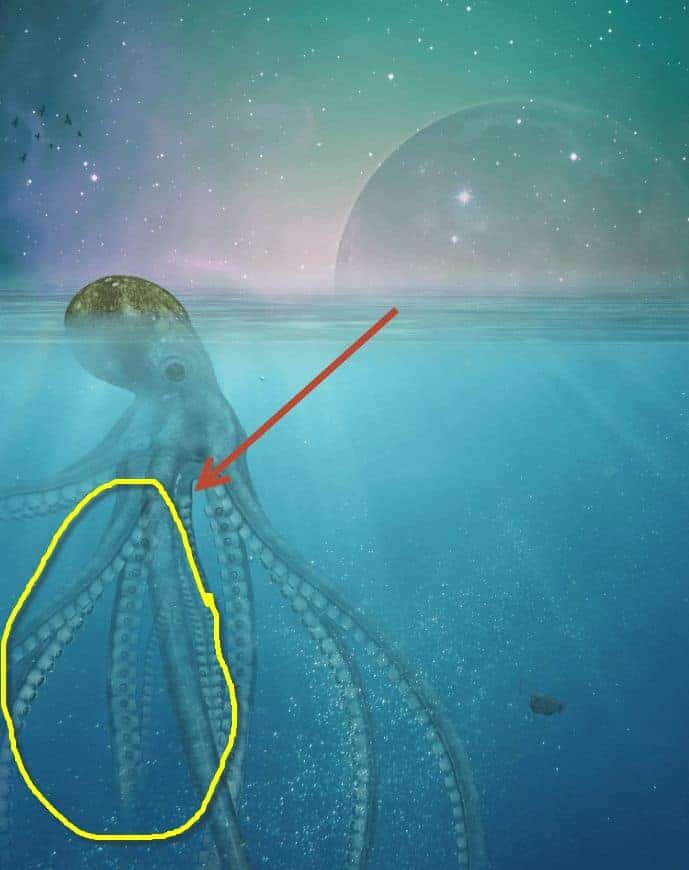
Step 17
Open image “Island”. Select all and copy/paste into our document. Place the island on the top of the squid’s head. Use a layer mask to seamlessly blend the island with the squid.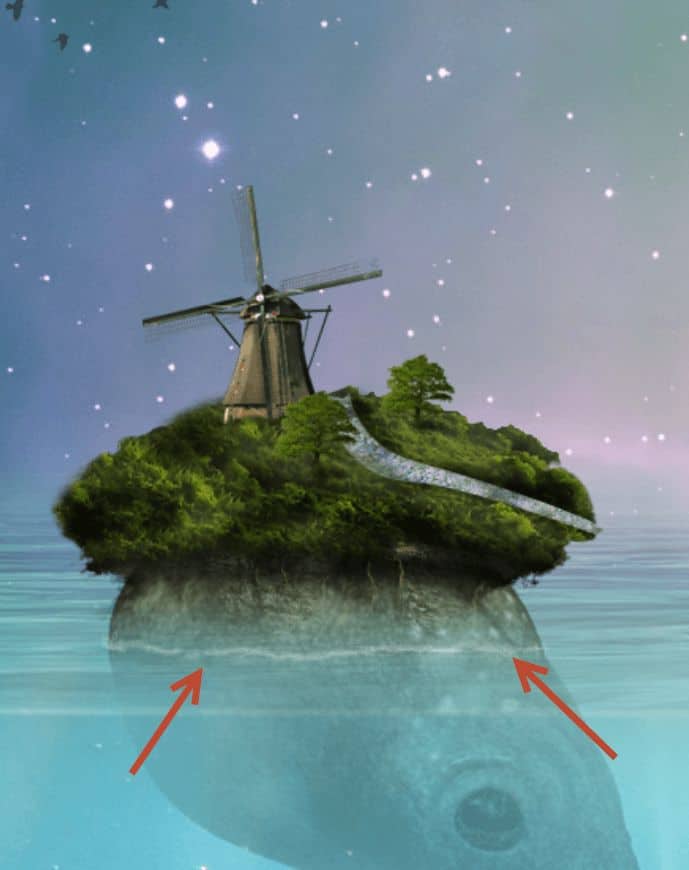
7 comments on “Create This Symbolic Underwater Scene of an Unlucky Fisherman and a Hungry Shark in Photoshop”
yhyh come on
ne
Bastante largo, pero me encantó! Intentaré hacerlo poco a poco! Gracias!
Very well explained tutorial.
Thanks
I didn't find the Nebula2 in the resources. It's not perfect, but I got this: http://s1.postimg.org/855ny4hfj/Unlucky_Fisherman.jpg
With this tutorial, I got to know more about how to use the curves, especially custom-made. Thanks.
awesome tutorial man
Nice Tutorial..!!!