


Make your artwork look like they're from an alternate universe. These Cyberpunk presets work with Photoshop (via the Camera Raw filter) and Lightroom. Download all 788 presets for 90% off.
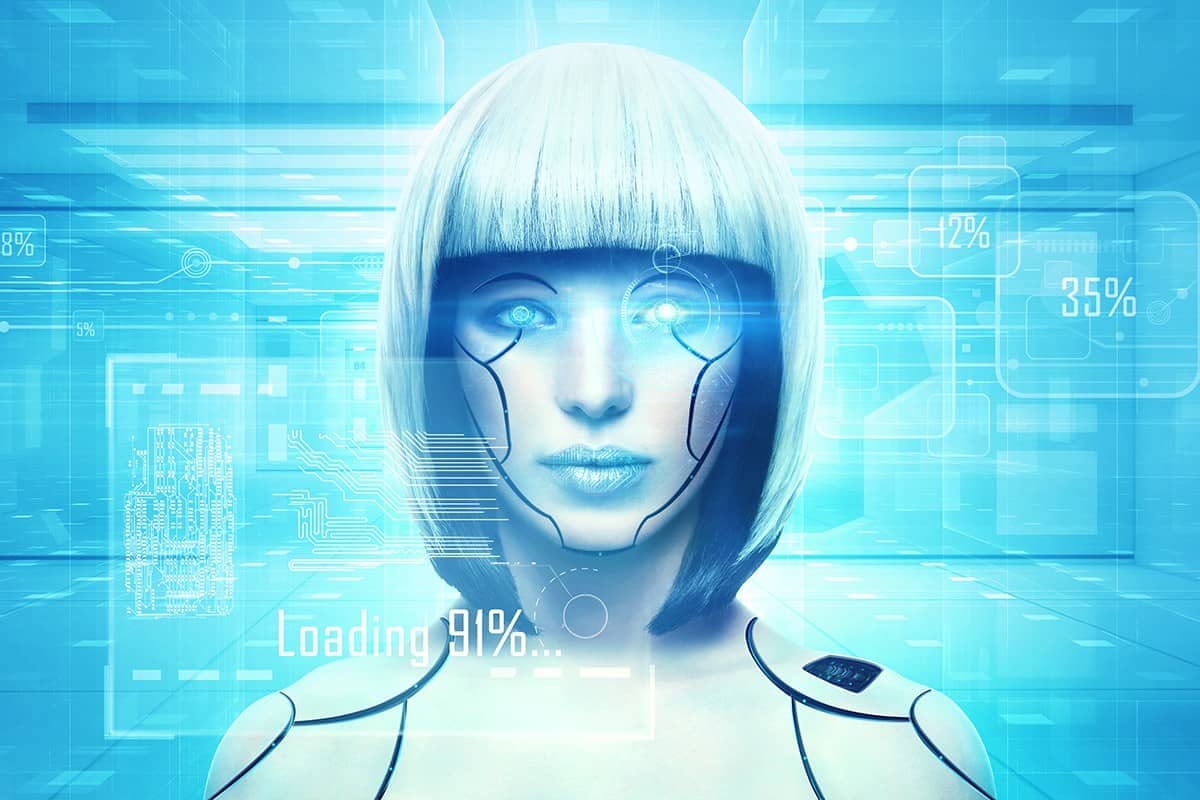
In this tutorial, I'll show you how to create a sci-fi artwork featuring a cyborg woman. You'll learn how to build a technological background, make a cyborg woman, create some sci-fi effect, enhance the color and lighting and more.
Preview of the Final Result
Tutorial Resources
Step 1
Create a new 3000x2000 pxdocument in Photoshop and fill it with white. Hit Ctrl+Shift+Nto make a new layer and hit Gto select the Gradient Tool.Select Radial Gradient with the colors #6ec1d6and #c9eff7. Drag a line from the middle to the left or right, remembering don't make a long line. Here is the result I've done:

Step 2
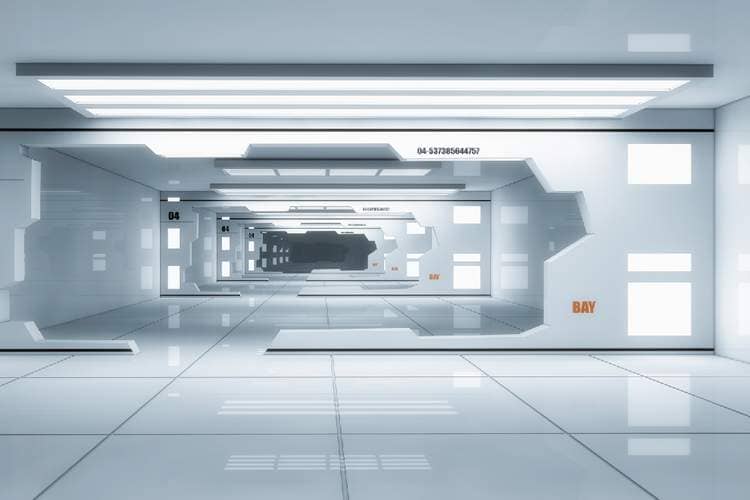
Drag the background 1 image into our canvas and change the mode toSoft Light 100%.
Step 3
I want to remove some text on the background. Make a new layer and use the Rectangular Marquee Tool (M)to select the area with 04 and fill this selection with the color #89d2e3.

Do the same with the text BAY on the right but change color to #b2e6f1.

Step 4
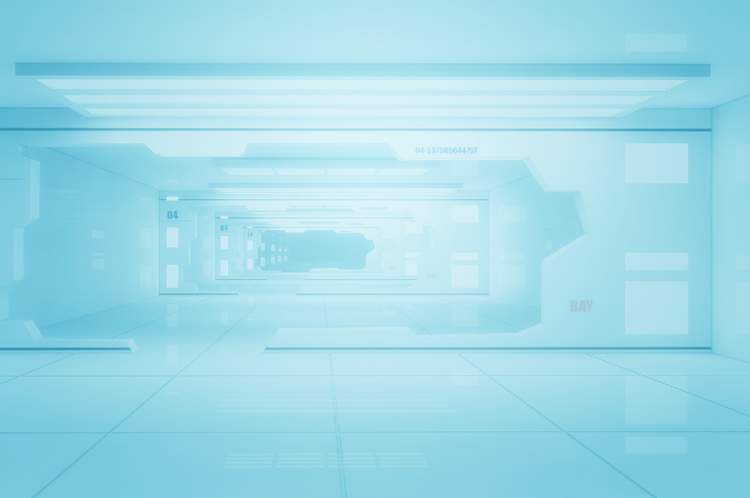
Place the background 2 image into our main document and change the mode to Soft Light 100%.

Do the same with the background 3 image. Click the second icon at the bottom of the Layerspanel to add a mask to this layer. On this layer mask, activate the Brush Tool (B)and select a soft round one with black color. Use this brush to remove the detail on the left.

Step 5
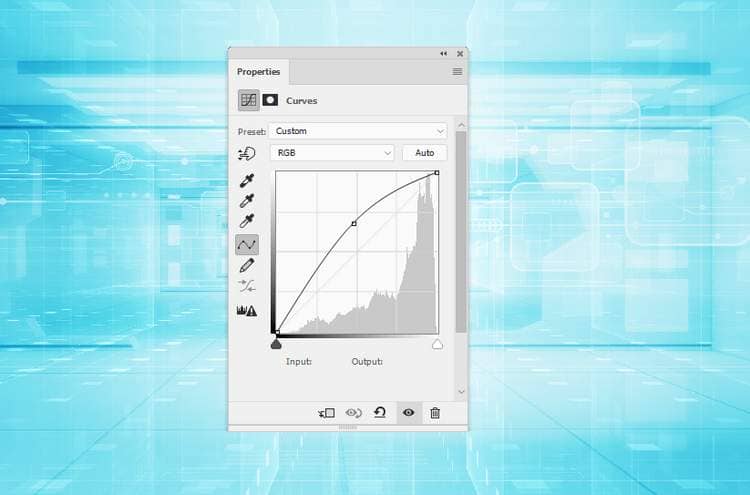
Go to Layer > New Adjustment Layer > Curvesand increase the lightness. On this layer mask, use a soft black brush to paint around the edges of the canvas, leaving the light visible on the middle.

Step 6
Cut out the model 1 from the background and place her in the middle.

Step 7
Create a new layer above the model one and set it as Clipping Mask. Use a soft brush with the color #99918eto paint on the model's lips to change their color. Alter this layer mode to Color 60%.

Step 8
We'll remove the model's eyebrows . To do it, on the model layer, use the Lasso Tool (L)to select a skin area on her right cheek (from the viewer) and hit Ctrl+Cto copy this selected part. Make a new layer above the lips' layer (set as Clipping Mask). On this layer, hit Ctrl+Vto paste this part onto it. Move it onto the right eyebrow and use the Free Transform Tool (Ctrl+T)with the Warpmode to bend this part following the form of the eyebrow.
4 comments on “How to Create a Cyborg Photo Manipulation with Adobe Photoshop”
I can't do step 22 with the pen stroke, I waste too much time on how to do it, I give up.
I love this tutorial but I wish we didn't have to pay for the images... :(
Great editing photos I ever saw. Nice retouching for this picture.
Tener que comprar las fotos para el tutorial, no me parece correcto.