


Luminar AI lets you turn your ideas into reality with powerful, intelligent AI. Download the photo editor and see how you can completely transform your photos in a few clicks.
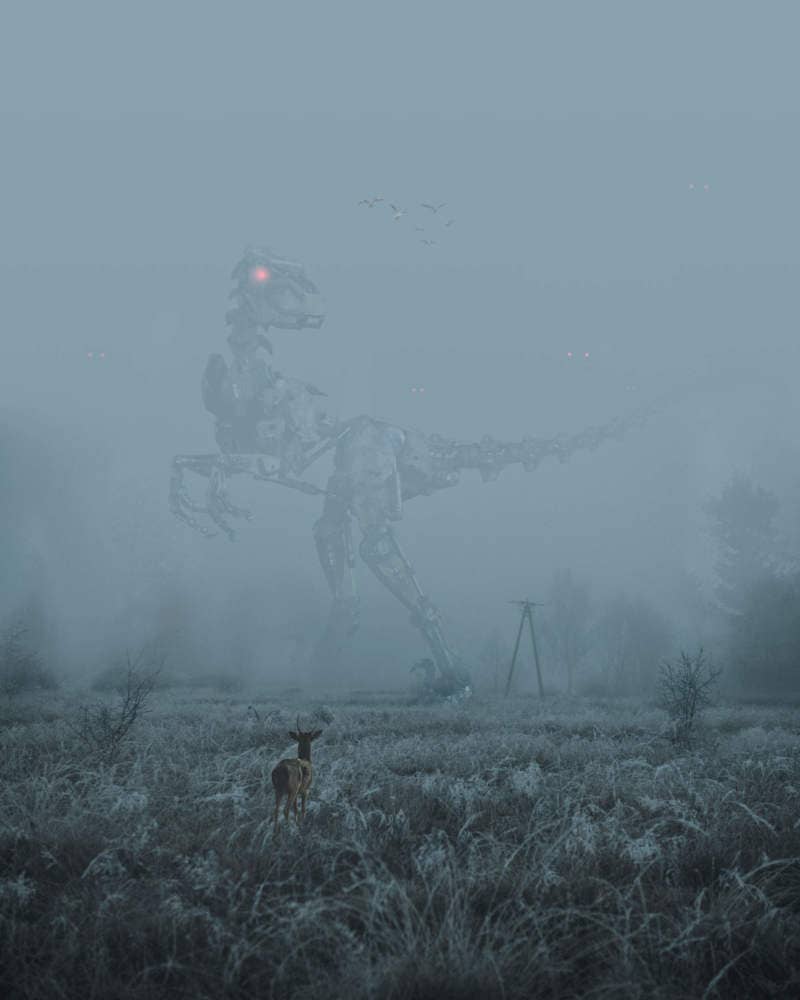
Tell me what I must slay, what I must steal, tell me the riddle I must solve or the hag I must trick. Only tell me the way, and I will do it, no matter the danger, no matter the hardship, no matter the cost.” In this Photoshop tutorial, we will learn how to create deer and Raptor in one scene. First, we created a background, then added trees and birds. Next, added raptor and blended it with adjustment layers. Also added deer and mist effect. For the final adjustment, we used Camera Raw Filter.
Preview of Final Image
Tutorial Resources
Step 1
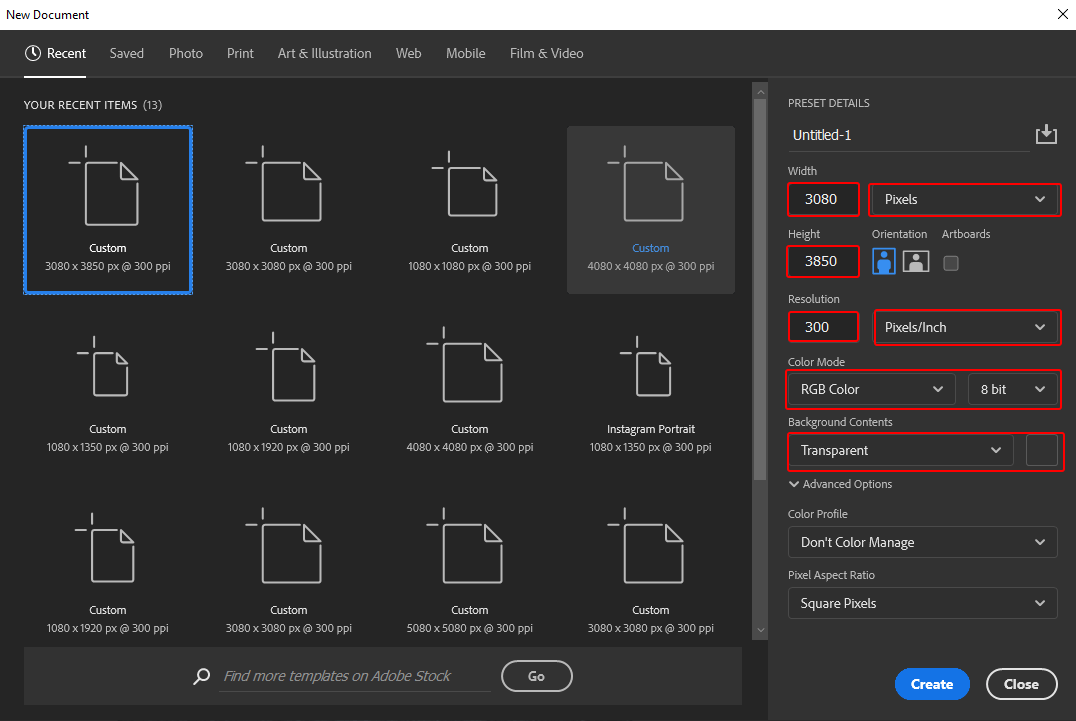
Now, let’s start by creating a new image file, go to the Menu bar and click File > New, and then input the following values on their respective fields
- Preset: Custom
- Width: 3080px
- Height: 3850px
- Resolution: 300px
- Color Mode: RGB Color 8 bit
- Background Contents: Transparent
Step 2
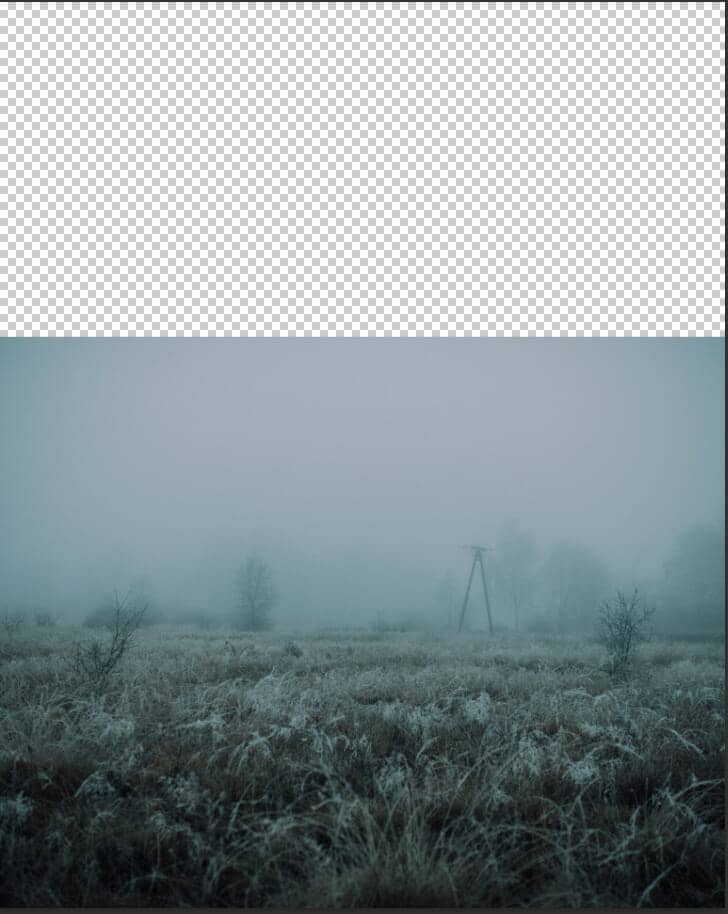
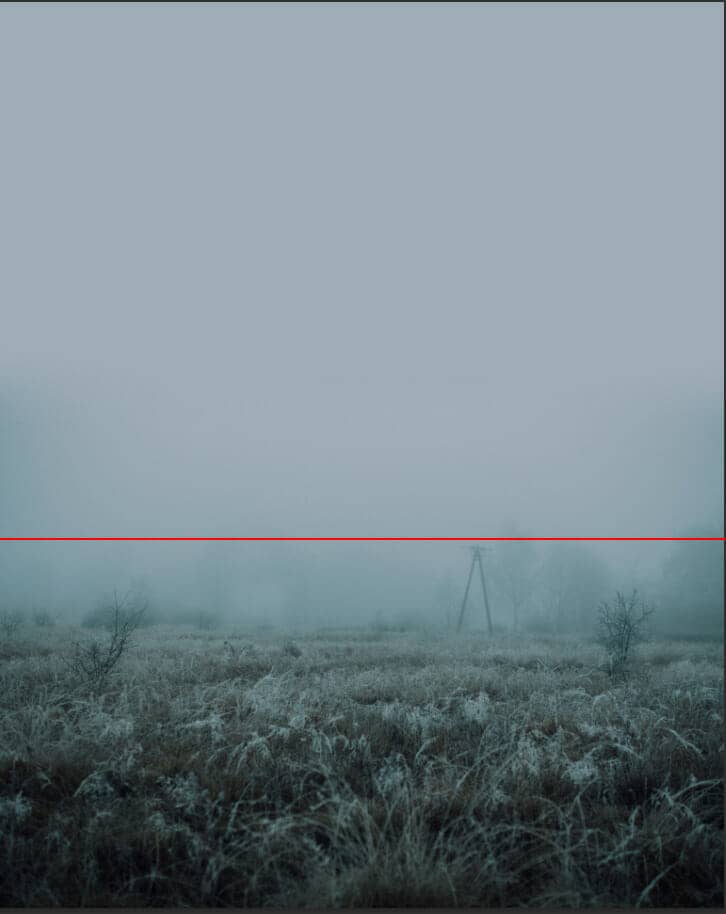
Now, place Background Go to File > Place and select Background Then place it to our work canvas and position the image with the transform tool (Ctrl / Cmd + T). Hold Alt + Shift and rasterize like the image below. In Photoshop CC only hold Alt to rasterize all sides together.
Step 3
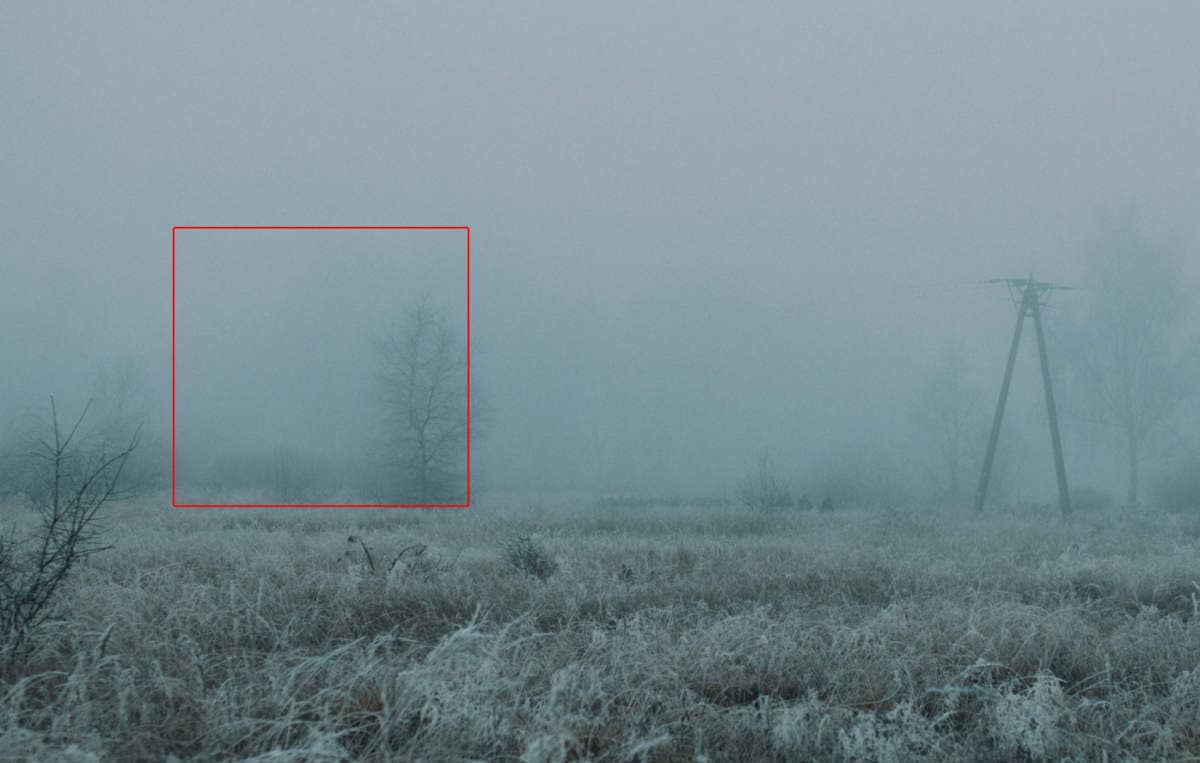
Now in this step, we will use Clone Stamp Tool(S) to remove the tree. First, select Clone Stamp Tool(S) and create a new layer. Use an empty layer for the Clone Stamp retouching With the Clone Stamp tool, you can use an empty layer to keep your retouching separate from the main image.
- Click the Add New Layer button at the bottom of the Layers panel.
- With the new layer active, click the lock position button at the top of the Layers panel to keep the new layer aligned with the Background layer.
- In the Options bar for the Clone Stamp tool, set the Sample menu to Current & Below to copy detail from the underlying layer and place it on the new layer.
Define a sample area, and brush new detail over the object
- With the Clone Stamp tool selected, Alt-click (Windows) or Option-click (MacOS) an area of detail to set the sample point. A preview inside the Clone Stamp pointer shows the detail you will use for the retouching. The preview is useful for aligning sampled detail with other parts of the image.
- Brush over the area where you want to add the sampled detail to cover an object. As you work, a crosshair indicates where the detail is copied from.
Inspect the results to check for repeating detail Removing objects with the Clone Stamp tool can sometimes result in detail from the sampled area repeated where you used the tool.
- Use the Clone Stamp tool with a smaller brush size to cover up obvious, repeating details.

Step 4
Create a new layer and use Soft Round Brush Tool(B) with the foreground color gray #a0acb8 and paint on an empty layer.
Step 5
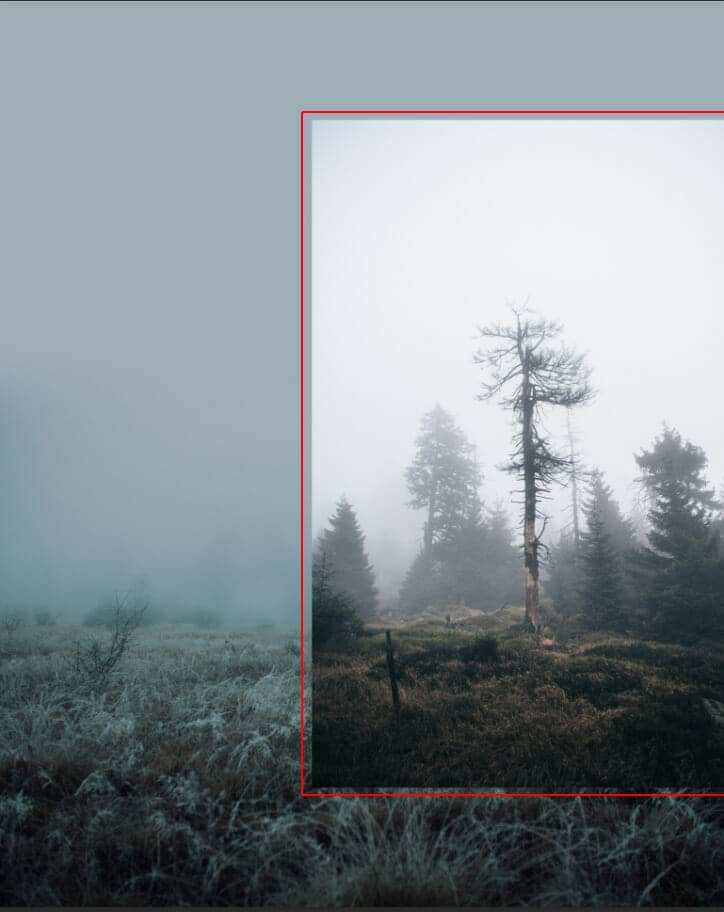
Place Tree Go to File > Place and the select tree then place it to our work canvas and position the image with the transform tool (Ctrl / Cmd + T). Hold Alt + Shift and rasterize like the image below. In Photoshop CC only hold Alt to rasterize all sides together.
Now create a layer mask and use Brush Tool(B) Soft Round with foreground color black and start painting/removing almost everything, like in the picture below. The flow of brush set to 10%.