


Make your artwork look like they're from an alternate universe. These Cyberpunk presets work with Photoshop (via the Camera Raw filter) and Lightroom. Download all 788 presets for 90% off.
“Your growing antlers,' Bambi continued, 'are proof of your intimate place in the forest, for of all the things that live and grow only the trees and the deer shed their foliage each year and replace it more strongly, more magnificently, in the spring. Each year the trees grow larger and put on more leaves. And so you too increase in size and wear a larger, stronger crown.” In this Photoshop tutorial, we will learn how to create a landscape with deer. First, we added background and blended it with adjustment layers. Next added Deer and another Sky, next added some brushes (Spiderweb, spider, moss) and Birds. Finally, we use Camera Raw Filter.
Preview of Final Image

Tutorial Resources
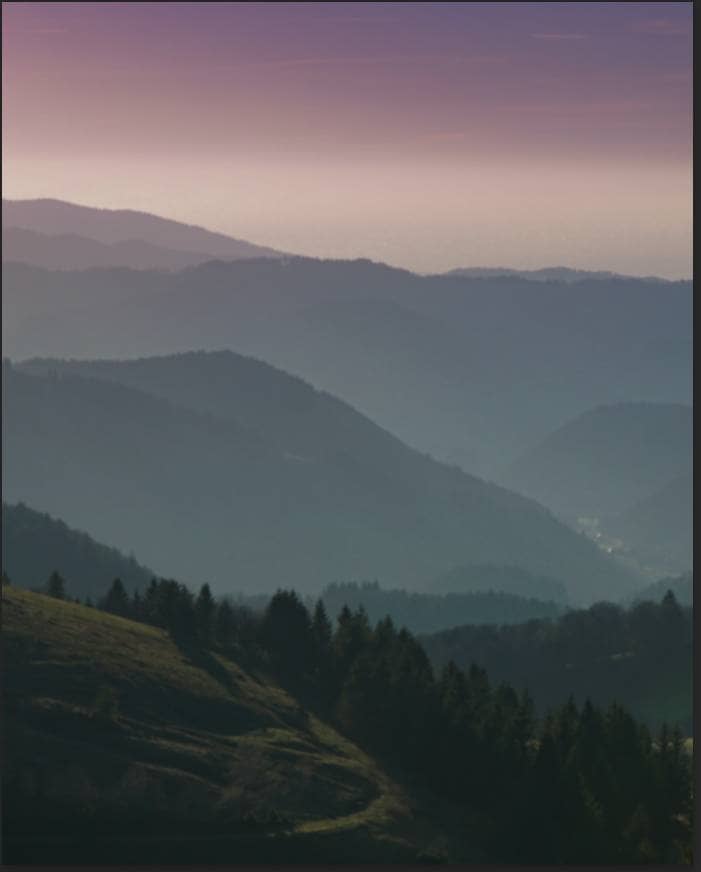
- Background
- Deer
- Sky
- Butterflys
- Birds Left
- Birds Right
- Bird 1
- Bird 2
- Bird 3
- Bird 4
- SpiderWeb Brushes
- Spider Brushes
- Moss Brushes
Step 1
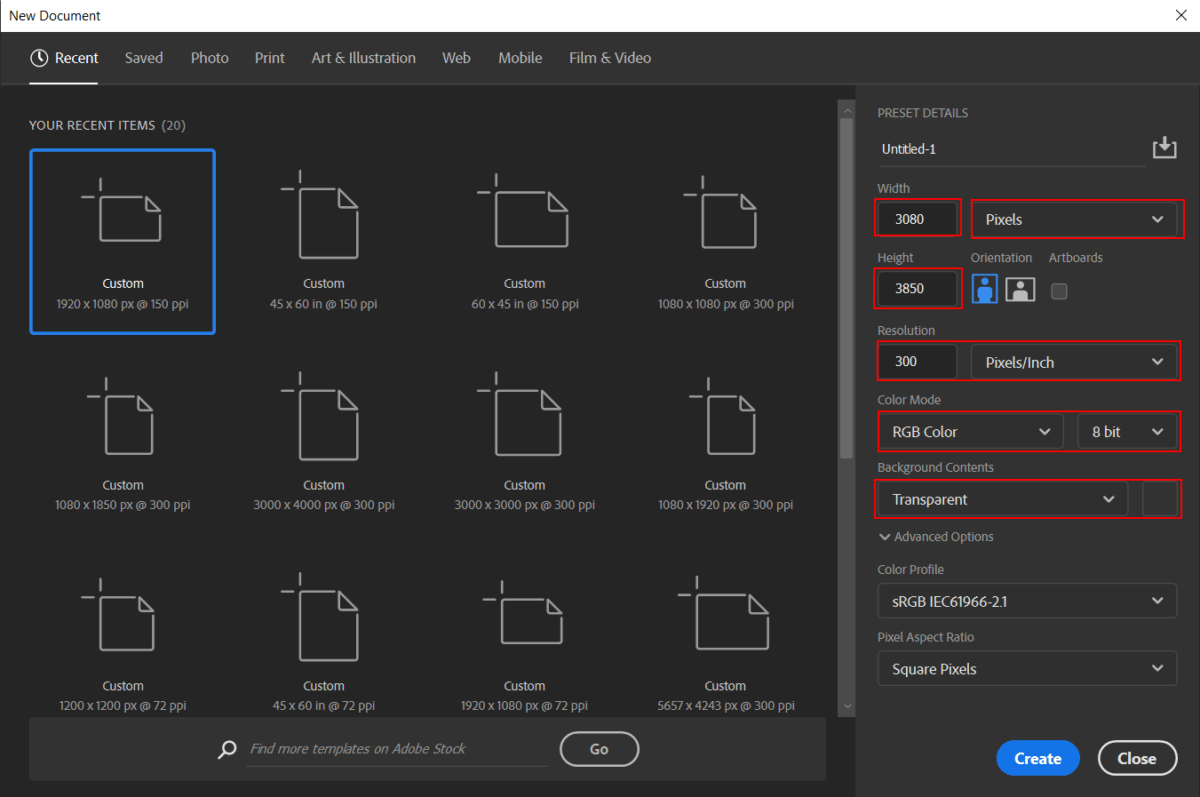
Now, let’s start by creating a new image file, go to the Menu bar and click File > New, and then input the following values on their respective fields
- Preset: Custom
- Width: 3080px
- Height: 3850px
- Resolution: 300px
- Color Mode: RGB Color 8 bit
- Background Contents: Transparent
Step 2
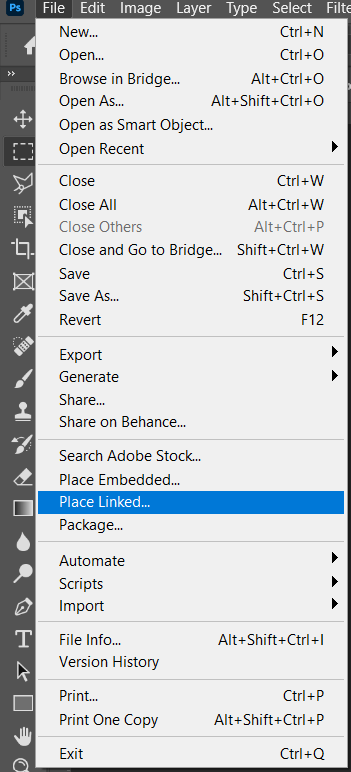
Now, place Background Go to File > Place and select Background Then place it to our work canvas and position the image with the transform tool (Ctrl / Cmd + T). Hold Alt + Shift and rasterize like the image below. In Photoshop CC only hold Alt to rasterize all sides together.
Step 3
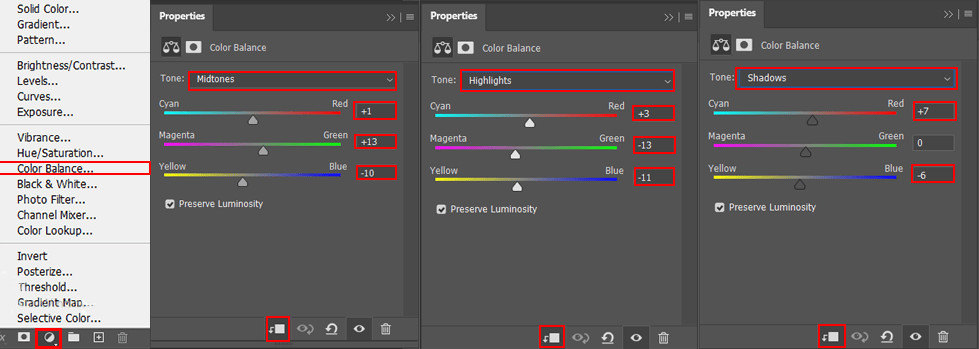
Add Adjustment Layer "Color Balance"
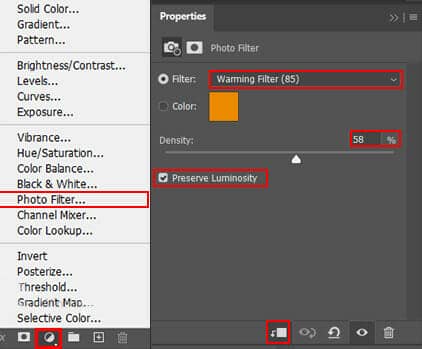
Add Adjustment Layer "Photo Filter"
Step 4
Add Adjustment Layer "Curves"

Step 5
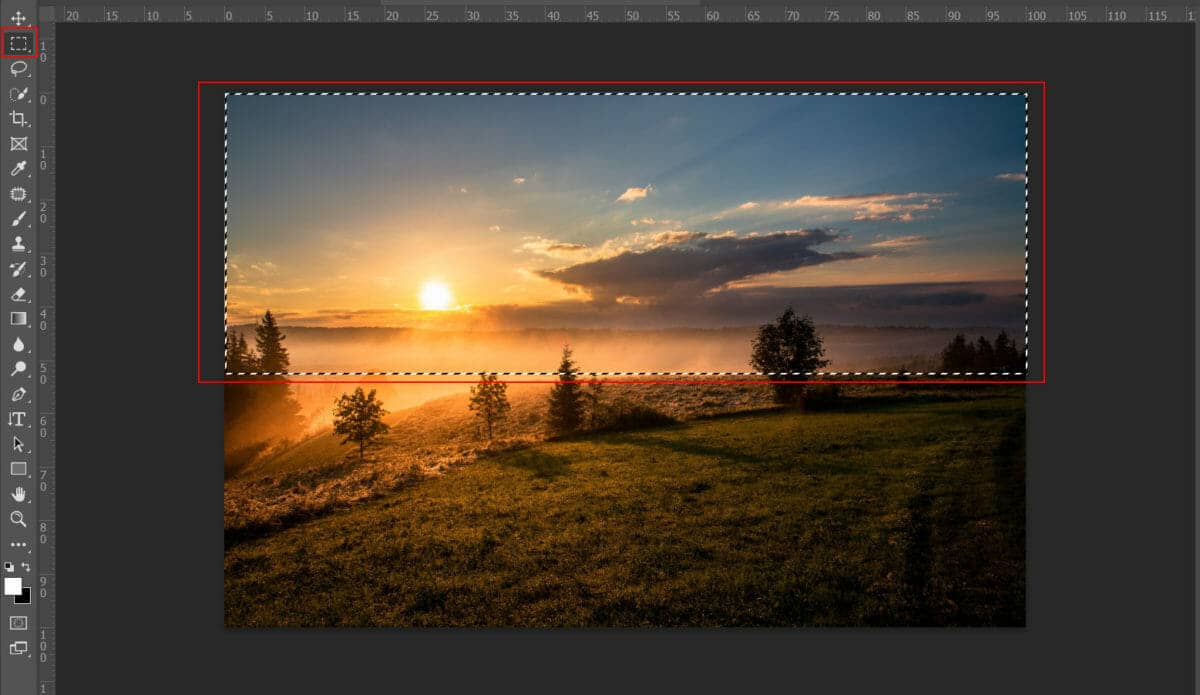
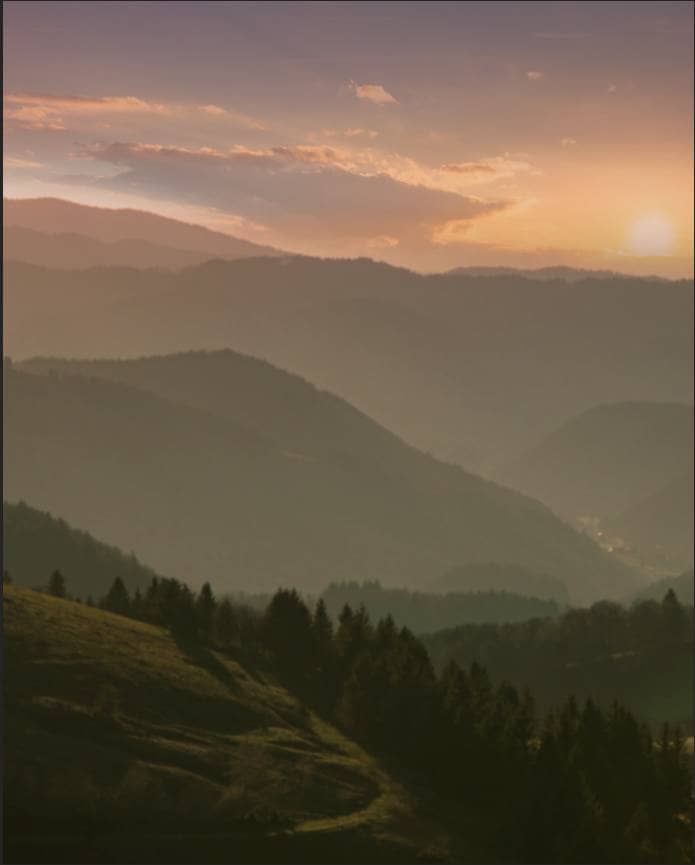
Now go to open Sky. File > Open and select Sky. Use Rectangular Marquee Tool(M). With the Rectangular Marquee tool, drag over the area you want to select. Hold down Shift as you drag to constrain the marquee to(release the mouse button before you release Shift to keep the selection shape constrained).

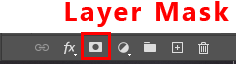
Create a layer mask and use Soft Round Brush with foreground color black and delete bottom line to blended it better. Opacity set to 40%.
Step 6
Now, go to File > Open and select Deer. Then use a Pen Tool(P) and start selecting the Animal. When we finish the selection press right-click on mouse and “Make Selection” then create layer mask. The simplest path you can draw with the standard Pen tool is a straight line, made by clicking the Pen tool to create two anchor points. By continuing to click, you create a path made of straight line segments connected by corner points.
One comment on “Create a Warm Landscape Scene of a Deer Photoshop Tutorial”
wow this is really nice, do you have a youtube page