Luminar AI lets you turn your ideas into reality with powerful, intelligent AI. Download the photo editor and see how you can completely transform your photos in a few clicks.
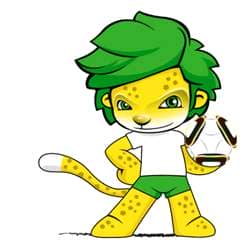
Learn step by step how to draw this lion mascot in Photoshop. This tutorial will cover the basics such as using the Pen and selection tools to create the outline, painting, and shading.
Preview of Final Results
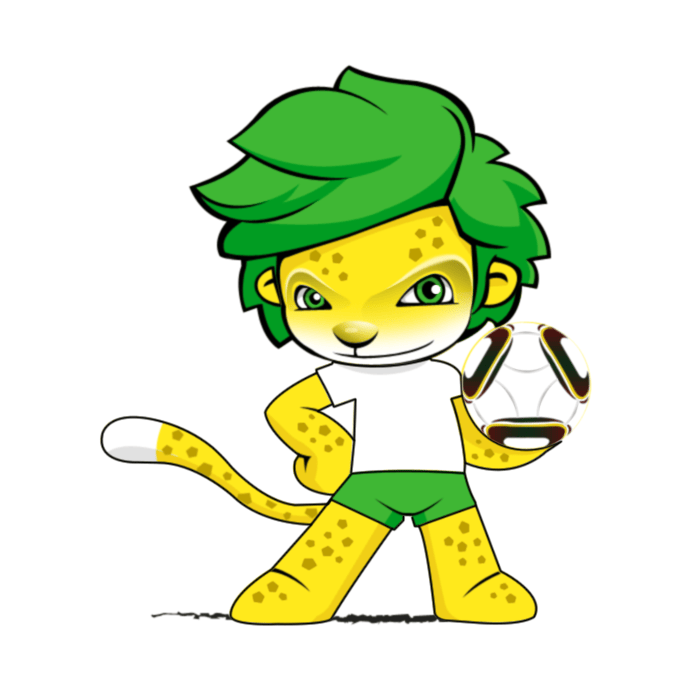
Lion Mascot Photoshop Tutorial
Step 1
Create a new document. This one is 700x700 in size and 300 dpi resolution.
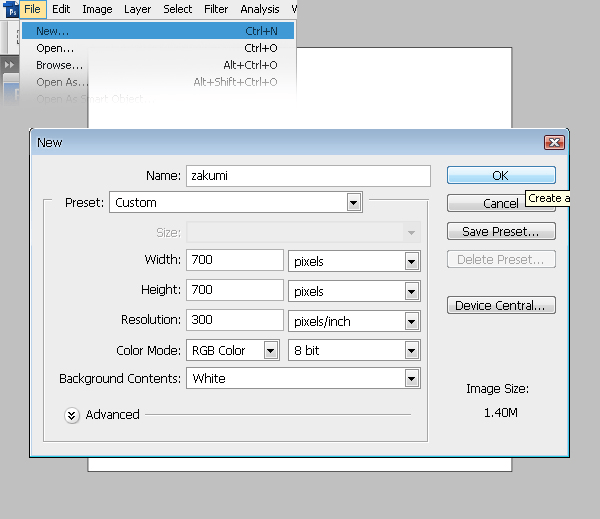
Step 2
Create a new layer (Ctrl+Shift+N) and name it “body”. Make the contour of the mascot using the pen tool.
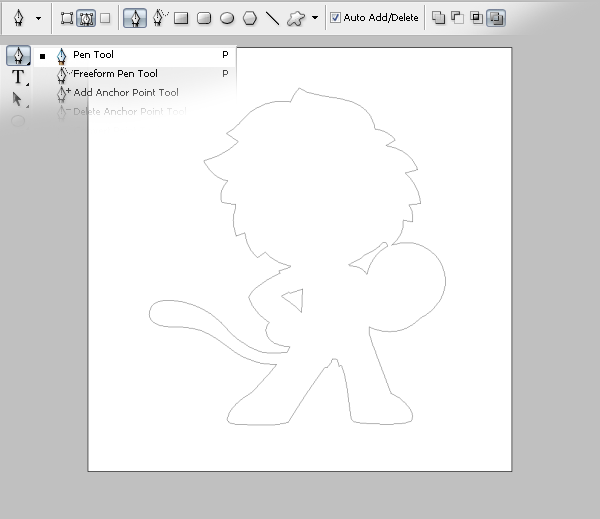
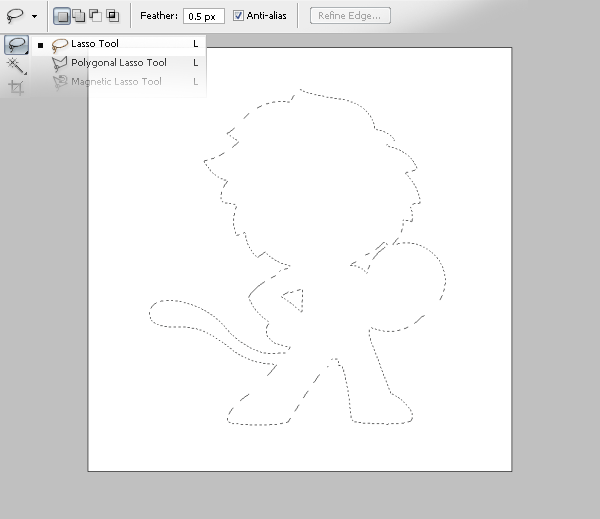
Make the selection and fill it in with yellow (#ffe91c).
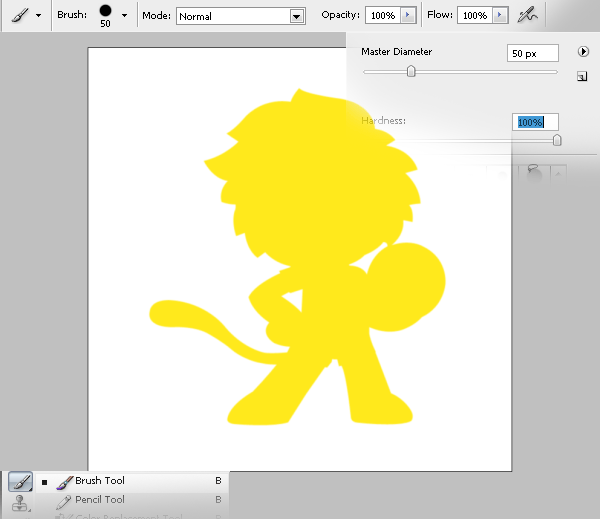
Step 3
Create a new layer (Ctrl+Shift+N) and name it “tail tip”. Move it over the “body” layer. Using the lasso tool make a zone on the tail tip and fill it in with white (#ffffff).
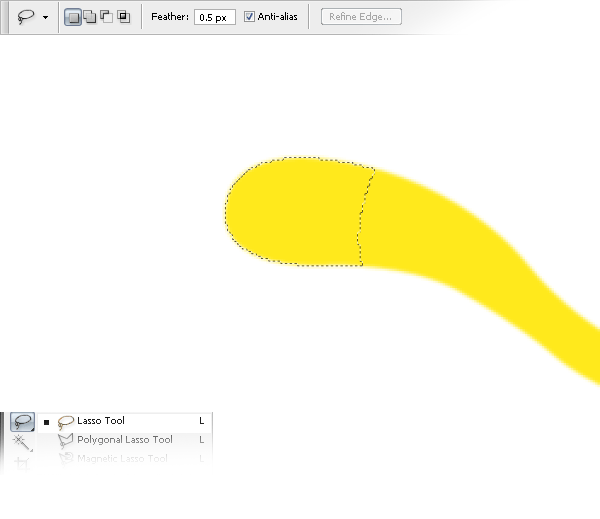
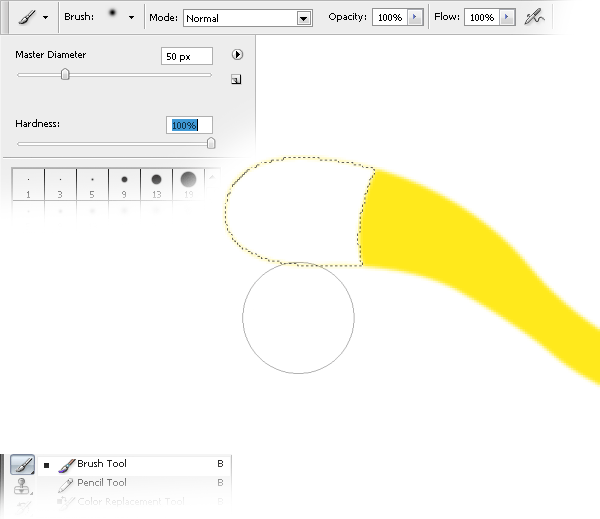
Step 4
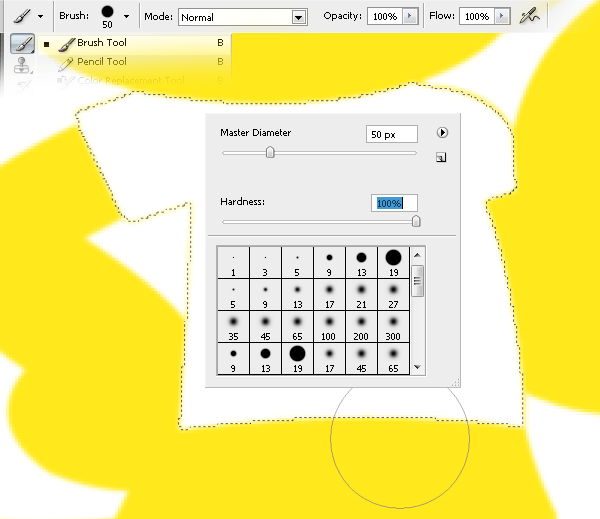
Now create the T-shirt. Create a new layer (Ctrl+Shift+N) and name it “T-shirt”. Move it over the “tail tip” layer. Using the lasso tool, make a form like a T-shirt.
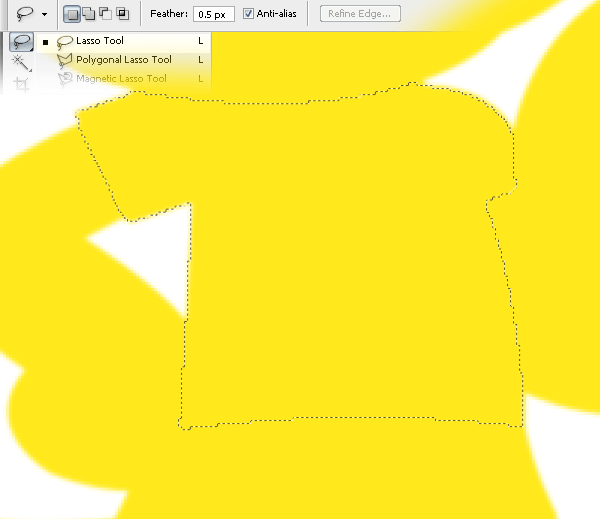
Make the selection and fill it in with white (#ffffff).
Step 5
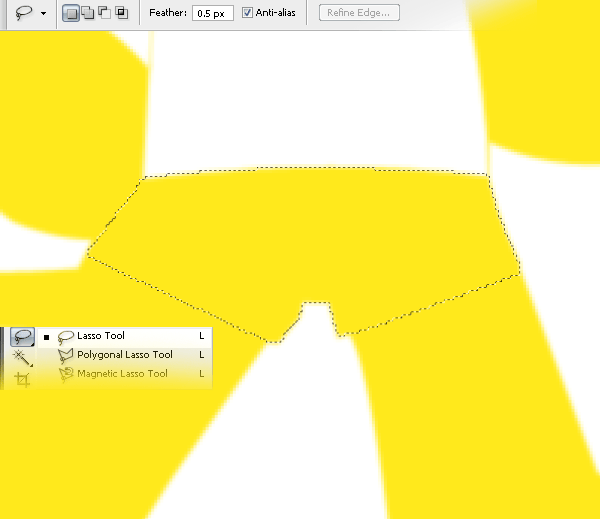
Create the pants. Create a new layer (Ctrl+Shift+N) and name it “pants”. Move it over the “T-shirt” layer. Using the lasso tool, create the paths form.
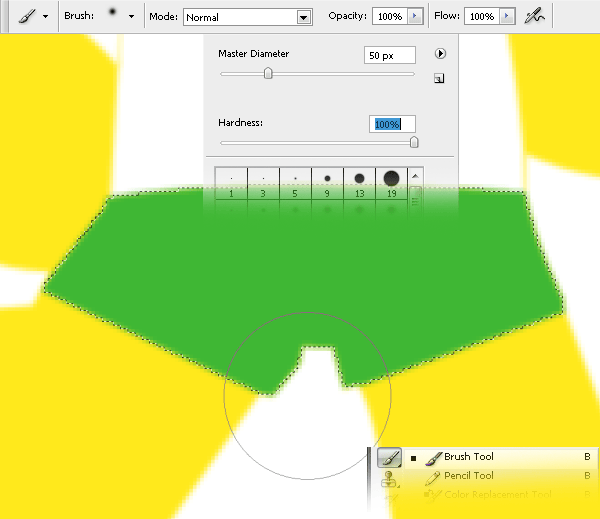
Fill the shape using the brush tool and set it to a green colour (#3fb734).
Step 6
Make the hair. Create a new layer (Ctrl+Shift+N) named “hair”. Move it over the “pants” layer. Use the pen tool to make the shape of the hair.
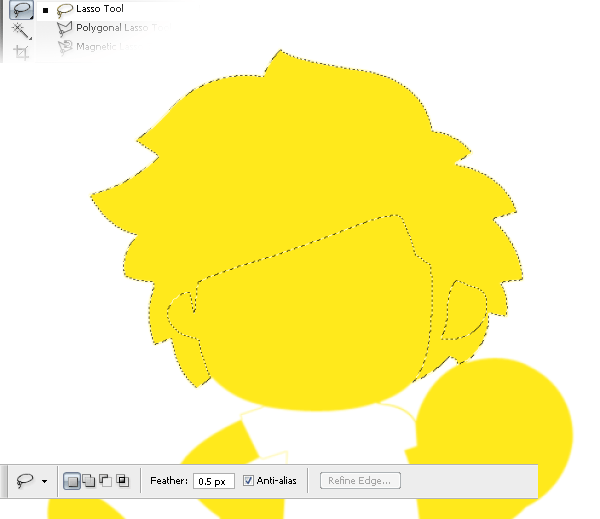
Fill it with green (#3fb734).
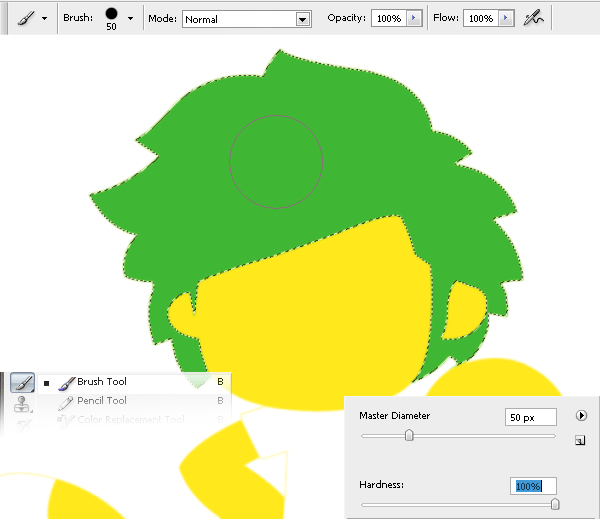
Step 7
Create a new layer (Ctrl+Shift+N) named “eyes backgound” and move it over the “hair” layer. Make the shape of the eyes
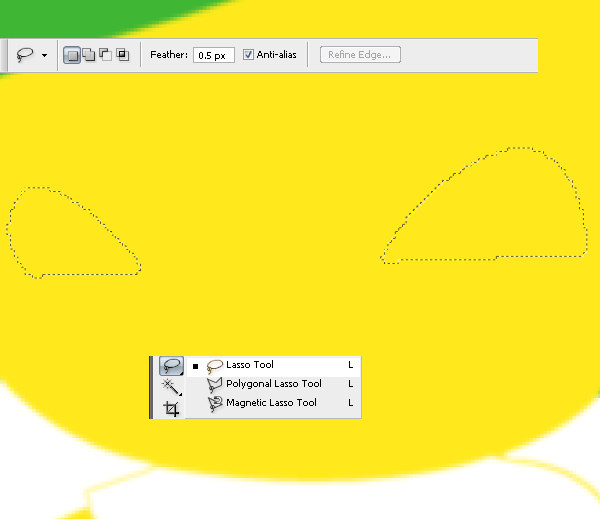
Fill the shape with white (#ffffff) with the brush tool (b).
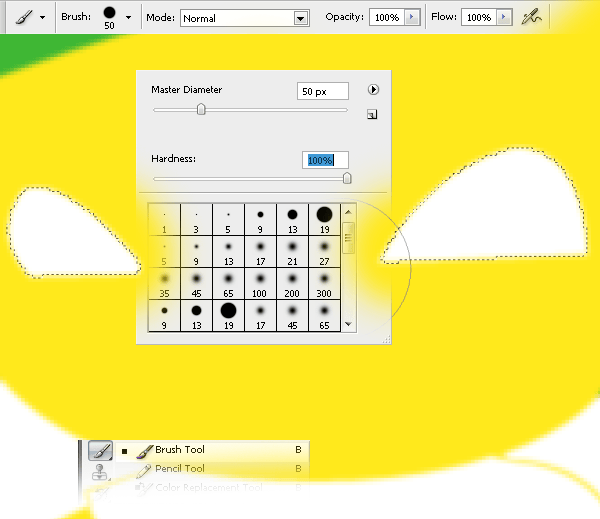
Step 8
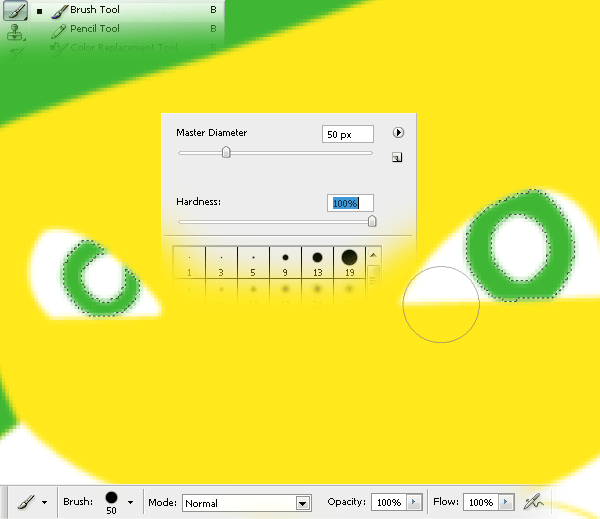
Create a new layer (Ctrl+Shift+N) named “eye green zone” and move it over the “eyes background” layer. Make the shape of the colored part of the eye.
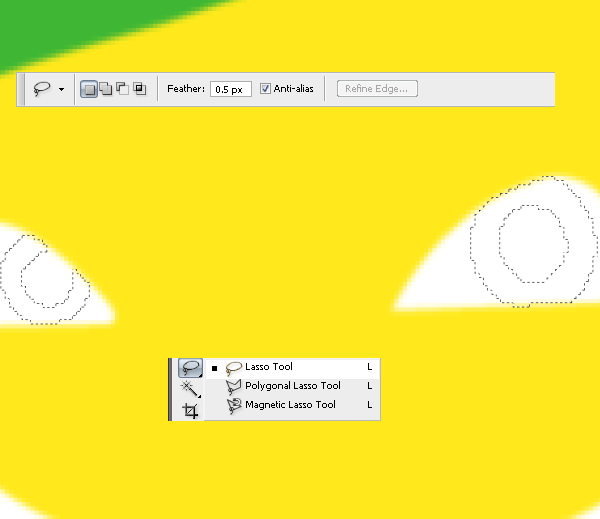
Fill it with green (#3fb734).
Step 9
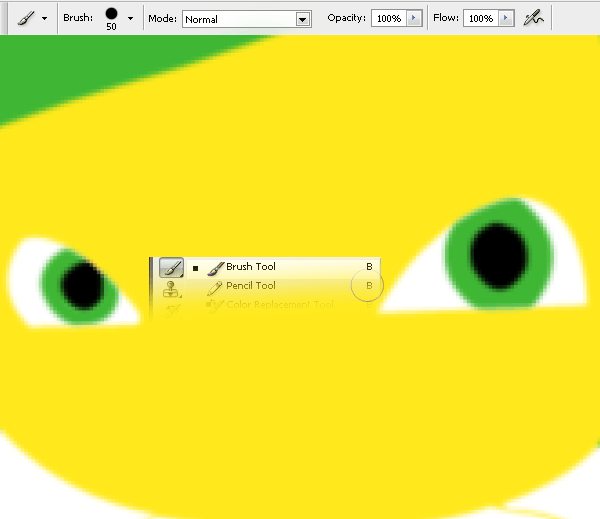
Create a new layer (Ctrl+Shift+N) named ”eye black zone” and move it under the “eyes background” layer. Fill the center part of the eye with black (#000000).
Step 10
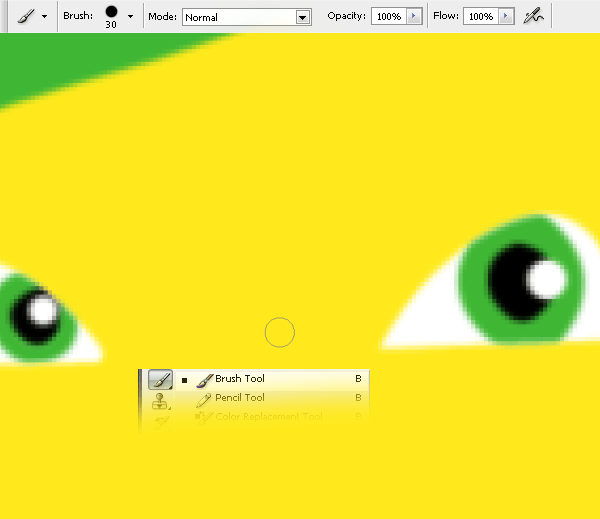
Make a new layer (Ctrl+Shift+N) named “eyes reflection” and move it over the “eyes green zone”. Using the brush tool (b) with hardness set to 100%, make two white (#ffffff) dots like in the picture.
Step 11
Create a new layer (Ctrl+Shift+N) named “nose” and move it move it over the “eyes reflection” layer. Make the selection for the nose by using lasso tool (P).

One comment on “How to Draw a Lion Mascot in Photoshop”
you really didn't cover the actual illustration shown in the original in your tutorial.